Is Now the Right Time to Install Hardwood Floors? Winter Installation Pros & Cons
Thinking about putting in new hardwood floors? You might be wondering if winter is a good time to do it. It's not always the first season that comes to mind for home projects, but there are actually some things to consider. We're going to look at the good and the not-so-good parts of hardwood floor installation winter, and what you need to do to get ready.
Key Takeaways
- Winter weather can affect wood, making it swell or shrink. This means the wood needs time to adjust to your home's temperature and humidity before installation.
- One upside to winter hardwood floor installation is that contractors might have more open slots in their schedules. You might also see fewer temperature swings inside your house compared to other seasons.
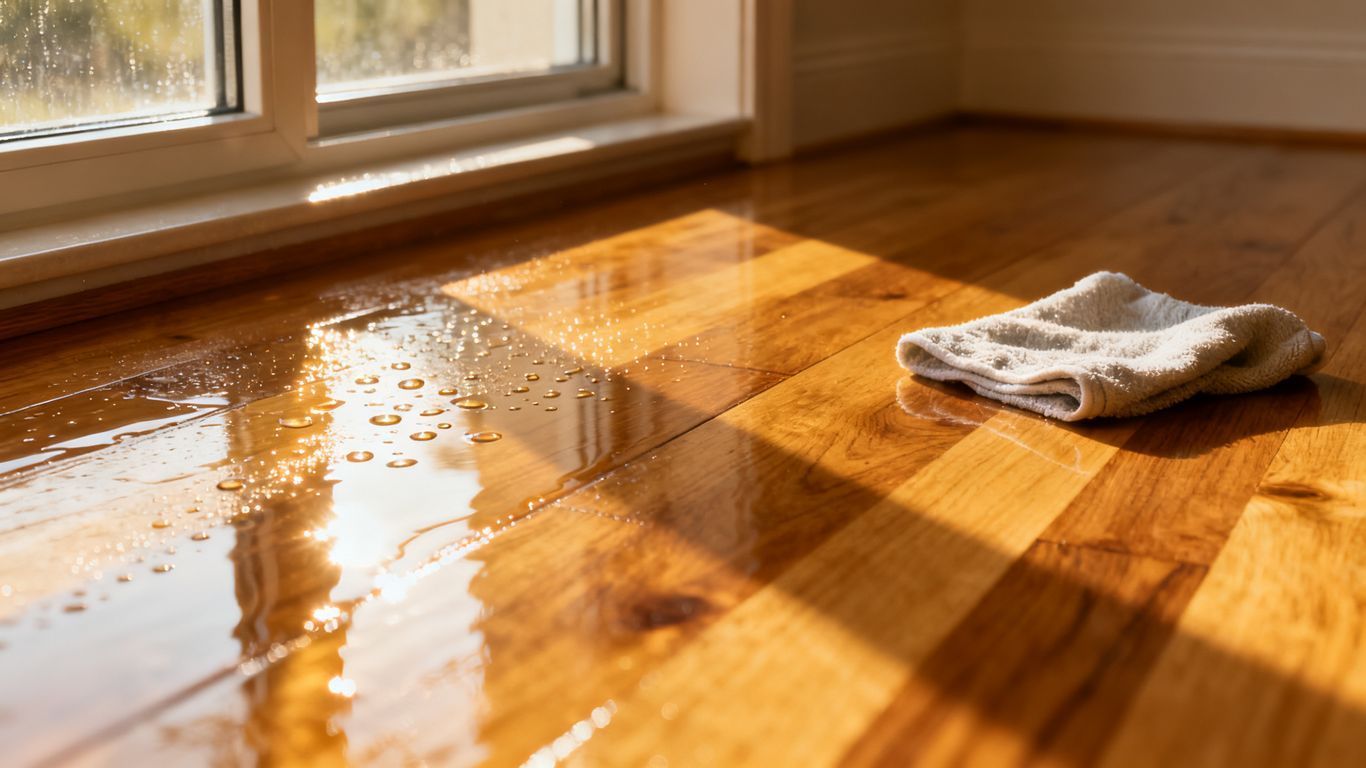
- The biggest challenge in winter is moisture. Cold outside air brought inside can make humidity levels tricky to manage, and this can cause problems for your new floors.
- To prepare for a winter install, keep your home's temperature steady and watch the humidity. Good airflow is also important, even when it's cold out.
- When picking materials, think about wood types that handle moisture well. Engineered wood might be a better choice than solid wood in winter, and make sure adhesives and finishes work in cooler temps.
Navigating Hardwood Floor Installation in Winter
So, you're thinking about putting in new hardwood floors when it's cold outside? It's definitely doable, but winter brings its own set of quirks you'll want to be aware of. The biggest thing to remember is that wood is a natural material, and it reacts to its environment. That means temperature and moisture play a much bigger role than you might initially think, especially when it's chilly.
Understanding Winter's Impact on Wood
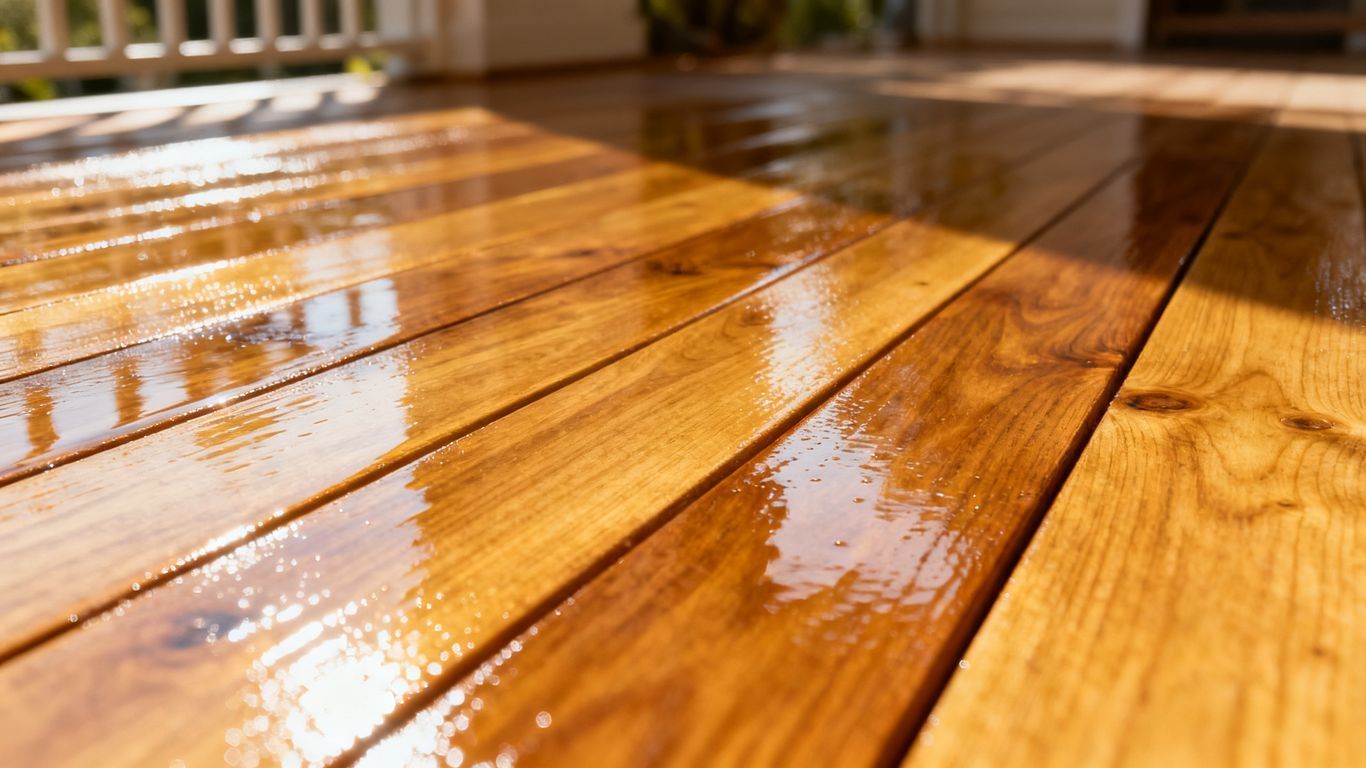
When the temperature drops, the air inside your home tends to get drier. This can cause wood to shrink. Then, if you crank up the heat, it gets even drier. On the flip side, if there's a sudden thaw or you track in a lot of snow, moisture can get into the wood, causing it to swell. This constant back-and-forth can be tough on new floors. It's why understanding how winter conditions affect flooring is so important before you even start.
Acclimation Challenges During Colder Months
Wood needs time to adjust to the temperature and humidity levels of your home before it's installed. This is called acclimation. In winter, this process can be a bit trickier. If your home's heating system is running constantly, the air might be much drier than usual. This means the wood might shrink more than expected during acclimation. You need to make sure the wood is sitting in the actual conditions it will live in post-installation.
Proper acclimation is key, and winter weather can make it feel like a guessing game. You can't just assume the wood is ready after a couple of days. It needs to be in the space, with the heat on, for the recommended time, which is often longer in winter.
The Role of Humidity in Winter Installation
Humidity is the silent player here. Low humidity in winter can lead to gapping between floorboards as the wood dries out and shrinks. Too much humidity, perhaps from a sudden warm spell or poor ventilation, can cause swelling and even cupping. Keeping humidity levels steady is a balancing act that's especially important when installing new floors. You'll want to monitor it closely throughout the process and afterward.
Advantages of Winter Hardwood Floor Installation
While winter might seem like an odd time to put in new floors, there are actually some good reasons why it could work out. You might find that scheduling is a bit easier when the weather outside is less than ideal. Many people put off big home projects during the colder months, which can mean contractors have more open slots.
Potential for Faster Scheduling
Think about it: fewer people are planning major renovations when it's cold and snowy. This often translates to more availability with flooring installers. You might be able to get your project booked sooner rather than later, avoiding those long waits you sometimes see in spring or fall. It's a good way to get things done without the usual rush.
Reduced Risk of Extreme Temperature Fluctuations
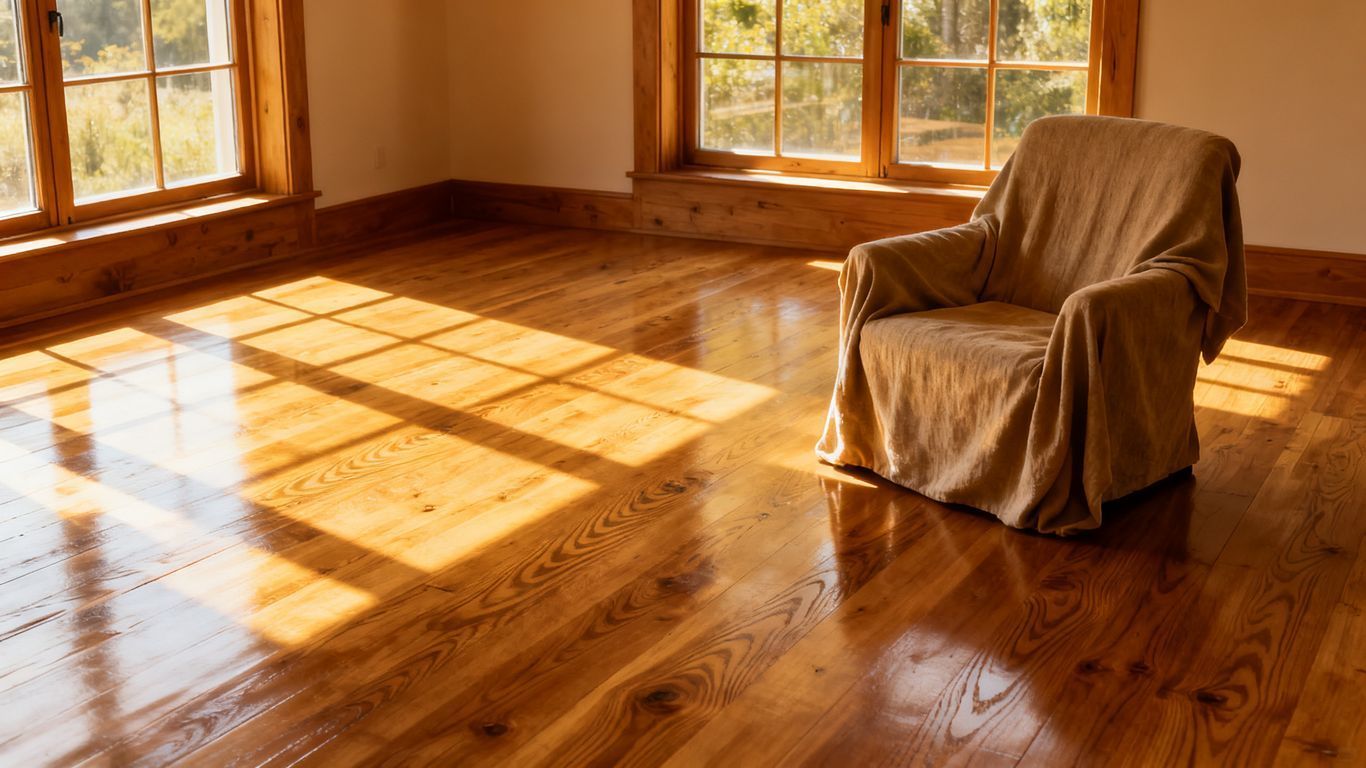
When you install floors in the dead of summer, you're dealing with heat and humidity that can really affect the wood. Winter, especially if your home's heating system is running, tends to offer a more stable indoor temperature. This consistency is actually pretty good for the wood itself, as it minimizes the stress from big temperature swings.
Observing Wood Behavior in Controlled Environments
Installing wood floors in a climate-controlled home allows you to see how the wood reacts to your specific indoor conditions. You can monitor how it settles and behaves when the heating is on, giving you a clearer picture of its long-term stability in your home's environment. This is especially helpful for understanding potential future changes.
Installing hardwood in winter means your home's heating system is likely running consistently. This creates a stable environment that can be beneficial for the wood. You get to see how the material performs under your typical indoor conditions right from the start, which is a plus for long-term expectations.
Disadvantages of Winter Hardwood Floor Installation
While winter installation has its perks, it's not all smooth sailing. There are definitely some downsides to consider before you commit to a winter project. The biggest hurdle often comes down to moisture and temperature control.
Increased Risk of Moisture Issues
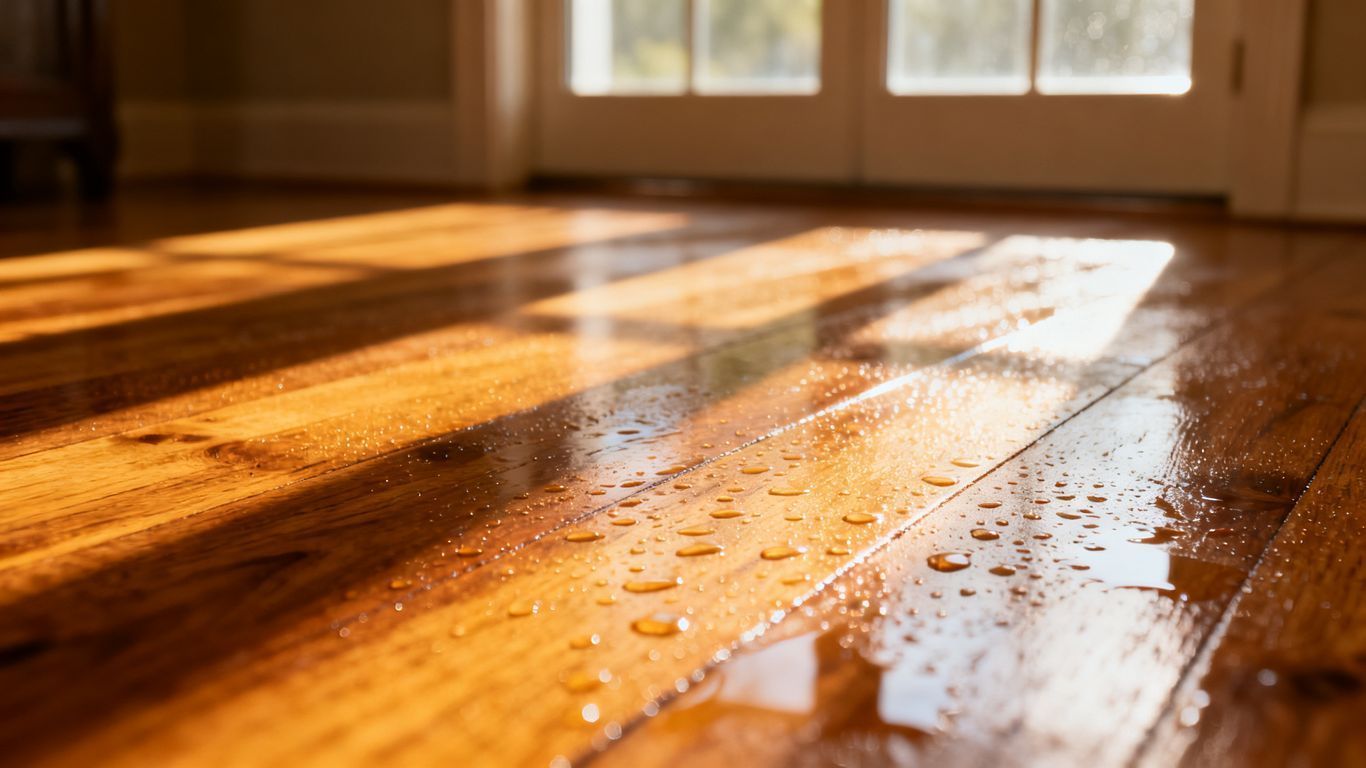
Winter air is typically drier, which might sound good, but it can actually cause problems. When you bring wood flooring into a heated home, the dry air can pull moisture out of the wood too quickly. This is especially true for solid hardwood, which is more sensitive to changes. You might see the wood shrink, leading to gaps between the planks. On the flip side, if there's too much moisture introduced during installation (like from melting snow tracked inside), the wood can absorb that and swell. It's a tricky balance.
Challenges with Temperature and Humidity Control
Keeping your home's temperature and humidity steady during winter can be a real challenge. Heating systems often dry out the air, and then opening doors or windows for ventilation can let in cold, damp air. This constant back-and-forth is tough on wood. Maintaining the ideal conditions for wood acclimation and installation requires constant vigilance.
- Acclimation: Wood needs time to adjust to your home's environment before it's installed. In winter, this process can be complicated by fluctuating indoor conditions.
- Installation: The actual laying of the floor can be affected if the temperature drops too much or if humidity spikes unexpectedly.
- Finishing: If you're finishing the floors on-site, the drying and curing times for stains and sealants can be significantly longer in cooler, more humid conditions.
Winter weather can be unpredictable. Even with the best intentions, sudden drops in temperature or unexpected moisture can impact the installation process and the final look of your floors. It's wise to be prepared for these potential issues.
Potential for Slower Drying Times
If your project involves on-site finishing, like staining or sealing, winter weather can really slow things down. The cooler temperatures and potentially higher indoor humidity mean that finishes won't dry and cure as quickly as they would in warmer months. This can extend the project timeline and mean you have to wait longer before you can actually use your new floors. This is where engineered hardwood might be a better option, as it's often pre-finished making it more stable.
- Stains may take longer to penetrate and dry.
- Polyurethane or other sealants can require extended curing periods.
- This delay can also increase the risk of dust or debris settling on the wet finish.
Preparing Your Home for Winter Installation
Getting your house ready for new hardwood floors when it's cold outside is pretty important. You don't want to mess up your new investment before it's even properly settled in, right? The goal is to create a stable environment for the wood.
Maintaining Consistent Indoor Temperatures
Wood is sensitive to temperature changes. When it's freezing outside, your heating system is working overtime. This can lead to big swings in temperature inside, especially if you're not careful.
- Keep the thermostat steady: Try to maintain a consistent temperature, ideally between 65-75°F (18-24°C), for at least 48 hours before, during, and after installation.
- Avoid drastic adjustments: Don't turn the heat way down when you leave the house or go to bed, and then crank it up high when you're home.
- Check for drafts: Seal up any drafts around windows and doors. Cold air sneaking in can mess with the temperature near the floor.
Winter weather can really throw a curveball at wood. It expands and contracts with temperature shifts. If these shifts are too wild, it can cause problems down the road, like gaps or even cracks.
Controlling Indoor Humidity Levels
This is a big one, maybe even bigger than temperature. Dry winter air, especially with heating systems running, can suck the moisture right out of the wood. On the flip side, if you have a lot of moisture from cooking or showers that isn't vented, that's bad too.
- Use a hygrometer: Get a simple device to measure the relative humidity. Aim for a level between 35-55%.
- Humidify if needed: If the air is too dry, a humidifier can be your best friend. Run it consistently, especially in the rooms where the floors will be installed.
- Ventilate moisture sources: Make sure your kitchen and bathroom fans are working well to pull out excess moisture from cooking and showering.
Ensuring Proper Ventilation
Even though you want to keep the house warm, you still need some air circulation. Stale, humid air hanging around can be just as problematic as dry air.
- Circulate air: Use ceiling fans on a low setting or open windows for short periods on milder days to refresh the air.
- Don't block vents: Make sure furniture or boxes aren't blocking heating or cooling vents, as this can create uneven temperatures.
- Allow airflow around materials: If the wood flooring is delivered early, make sure it's stored in the installation area with good airflow around the boxes, not stacked tightly against a cold wall.
Choosing the Right Materials for Winter
Selecting Appropriate Wood Species
When you're thinking about putting in hardwood floors during the colder months, the type of wood you pick really matters. Some woods are just naturally more stable than others, meaning they're less likely to expand or contract a lot with changes in temperature and humidity. This is super important in winter when indoor air can get pretty dry. Woods like hickory or pecan tend to be quite stable. They hold up well even when the environment isn't perfect. Other woods, like red oak, can be a bit more sensitive. You'll want to talk to your installer about what works best for your specific home and the conditions you're likely to have.
Considering Engineered vs. Solid Hardwood
This is a big one for winter installs. Solid hardwood is beautiful, no doubt, but it can be more prone to movement with humidity shifts. Engineered hardwood, on the other hand, is built differently. It has layers of wood glued together, with the top layer being your actual hardwood. This construction makes it more resistant to changes in moisture. Because winter air is often drier, engineered wood can be a safer bet. It's less likely to warp or cup. It's often the preferred choice for installations during seasons with more extreme temperature and humidity swings.
Adhesives and Finishes for Cold Weather
Even the glue you use and the finish you put on the floor can be affected by the cold. Some adhesives need a certain temperature range to cure properly. If it's too cold, they might not bond as well, which could cause problems down the road. You'll want to make sure your installer is using products specifically designed for colder conditions or that your home's temperature can be kept within the manufacturer's recommended range. The same goes for finishes; some need specific temperatures to dry and cure correctly without issues like cloudiness or uneven sheen. Always check the product specs.
When selecting materials, always ask your installer about their experience with winter installations. They'll know which brands and types of wood, adhesives, and finishes perform best when the temperature drops and the air gets dry. It's better to be prepared and choose wisely upfront than to deal with costly repairs later.
Post-Installation Care in Winter Conditions
So, you've got your beautiful new hardwood floors installed, and winter is still hanging around. Now what? Taking care of them during these colder months is pretty important, especially since wood can be a bit sensitive to changes. The goal is to keep your floors looking great for years to come, and winter requires a little extra attention.
Monitoring Humidity After Installation
This is probably the biggest thing to watch out for. Winter air tends to be really dry, both outside and inside once your heating system kicks in. Wood naturally absorbs and releases moisture, and if the humidity drops too low, your floors might start to shrink. This can lead to small gaps appearing between the planks, which isn't ideal.
- Keep an eye on your home's humidity levels. A simple hygrometer can help you track this.
- Aim for a consistent relative humidity between 30% and 50%. This range is generally good for wood floors and helps them stay stable.
- If levels drop too low, consider using a humidifier. It doesn't have to be a fancy whole-house system; a few portable ones can make a big difference in specific rooms.
Winter air, especially when heated, can be surprisingly dry. This dryness is the main culprit behind potential shrinking and gapping in newly installed hardwood floors. Proactive humidity control is your best defense.
Protecting New Floors from Winter Elements
Winter brings in all sorts of stuff from the outside. Think wet boots, snow, salt, and mud. These can be rough on a new floor finish.
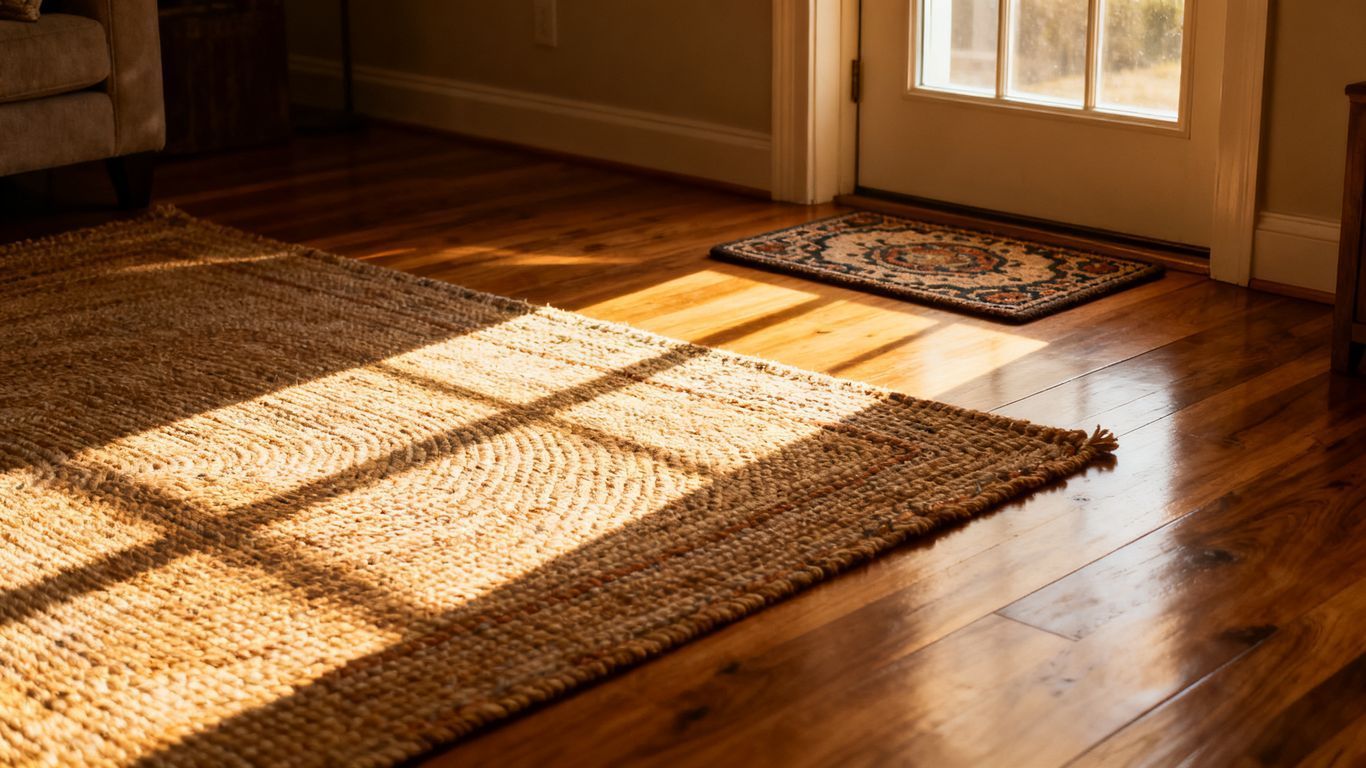
- Use doormats both outside and inside entryways. This is your first line of defense against tracked-in moisture and grit.
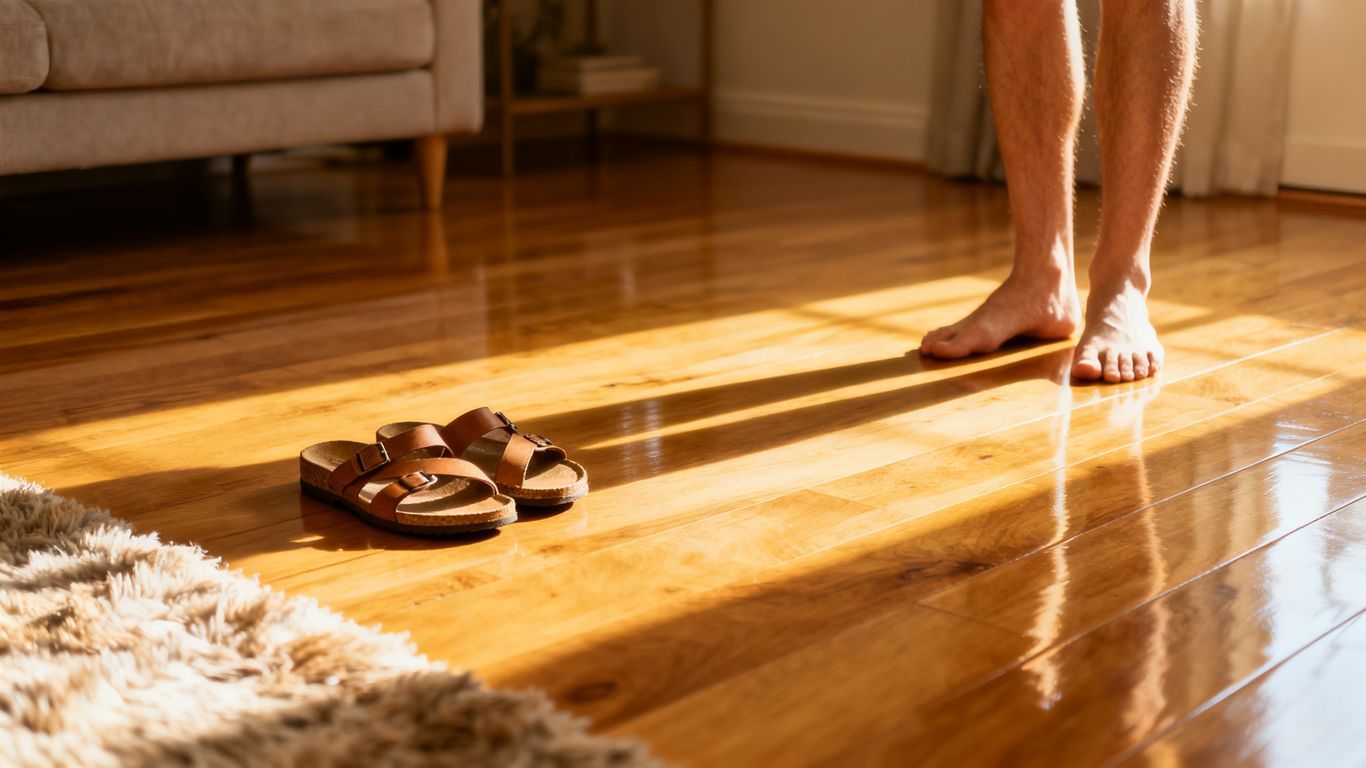
- Have residents and guests remove wet or snowy shoes before walking on the floors. A small bench or shoe rack near the door can encourage this.
- Consider using area rugs in high-traffic zones, especially near entrances and in living areas. This adds an extra layer of protection.
Addressing Potential Gapping or Cupping
Even with the best preparation, sometimes wood will react to its environment. Gapping (spaces between boards) is more common with low humidity, while cupping (edges of boards higher than the center) can sometimes happen with too much moisture, though less common in dry winter air unless there's a specific leak.
- If you notice minor gapping, don't panic immediately. It might close up as humidity levels stabilize. Learn about acclimation.
- If gapping becomes significant or you see signs of cupping, it's time to investigate the cause. Is the humidity too low or too high in a specific spot?
- Consult with your installer if you're concerned. They can assess the situation and recommend the best course of action, which might involve adjusting humidity or, in rare cases, more involved repairs.
When winter arrives, your newly installed floors need a little extra attention. Keeping your floors protected from the cold and moisture is key to making sure they look great for years to come. Simple steps can make a big difference in how well your floors handle the chilly weather. For more tips on keeping your floors in top shape all year round, visit our website!
So, Should You Install Hardwood This Winter?
Thinking about putting in new hardwood floors when it's cold outside? It's definitely doable, but you've got to be ready for a few extra steps. The biggest thing is letting the wood get used to your home's temperature and humidity before it goes down. This helps stop those annoying gaps or buckling later on. If you can manage that and keep your house warm and steady, winter installation can work out just fine. Just remember to talk to your installer about the cold weather plan. It might not be the easiest time, but with a little extra care, you can still get those beautiful floors you've been dreaming of.
Frequently Asked Questions
Can I put in hardwood floors when it's cold outside?
Yes, you can install hardwood floors in the winter! While it might seem tricky because of the cold, many people do it. The key is to be prepared and know what to expect. Your installer will be used to working in different weather conditions and will take steps to make sure your floors turn out great, no matter the season.
Does the cold weather mess with the wood for my floors?
The cold can affect wood, but it's mostly about how it handles moisture. Wood can soak up water or dry out depending on how wet or dry the air is. When it's cold outside, the air inside your house can get very dry. This means the wood needs to get used to your home's usual conditions before it's put down, a process called acclimation.
What's the hardest part about putting in wood floors in winter?
One of the trickiest parts of winter installation is managing moisture. The air inside can get really dry when the heat is on, and if there's too much moisture, it can cause problems with the wood. Also, sometimes the wood might take a little longer to settle or dry properly compared to warmer months.
Are there any good things about installing floors in winter?
Actually, there can be! Sometimes, scheduling your installation might be easier because it's not as busy. Also, because the indoor temperatures are usually more steady in winter (thanks to your heating system), you can get a good idea of how the wood will behave in your home's normal environment. It's a chance to see it settle in.
How do I get my house ready for wood floors in winter?
Getting your house ready means keeping the temperature steady, like how it normally is when you're home. You also need to watch the humidity – that's the amount of moisture in the air. Using a humidifier if it's too dry, or a dehumidifier if it's too damp, helps a lot. Good airflow is important too.
What kind of wood is best for winter installation?
When installing in winter, it's smart to pick wood that handles changes in moisture well. Some types of wood are better than others. Also, engineered wood, which is made with layers, can sometimes be more forgiving with moisture than solid wood. Talking to your installer about the best options for your home and the season is a great idea.