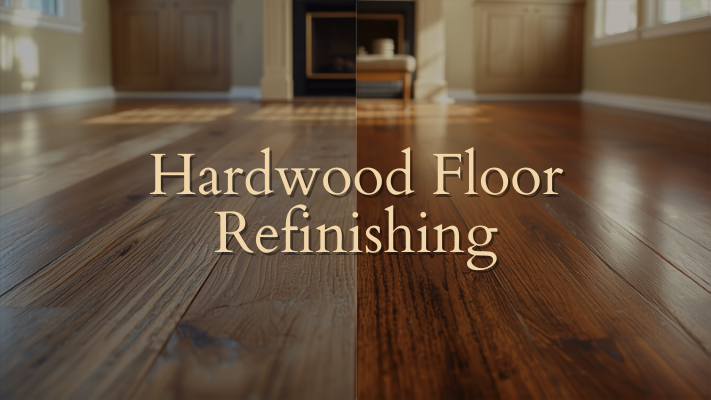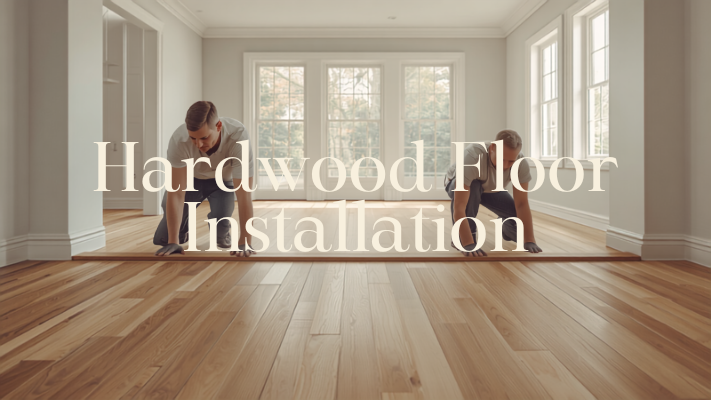
How Spring Weather Impacts Hardwood Floor Installation Timelines
Thinking about getting new hardwood floors installed? Spring can be a tricky time for this. The weather changes a lot, with more rain and humidity, which can really mess with the wood. This means your hardwood floor installation spring project might take longer than you expect. We'll look at how the weather affects the wood and what you can do to make sure your new floors turn out great.
Key Takeaways
- Spring's higher humidity can cause hardwood to absorb moisture and swell, delaying installation.
- Temperature swings in spring affect how wood acclimates and can impact adhesive curing.
- Rain and dampness increase the risk of water damage and extend drying times for new floors.
- Proper planning, including checking forecasts and ensuring good ventilation, is key for a smooth spring installation.
- Different types of hardwood react differently to spring conditions, affecting finishing and sealing.
Understanding Spring Humidity's Effect On Hardwood
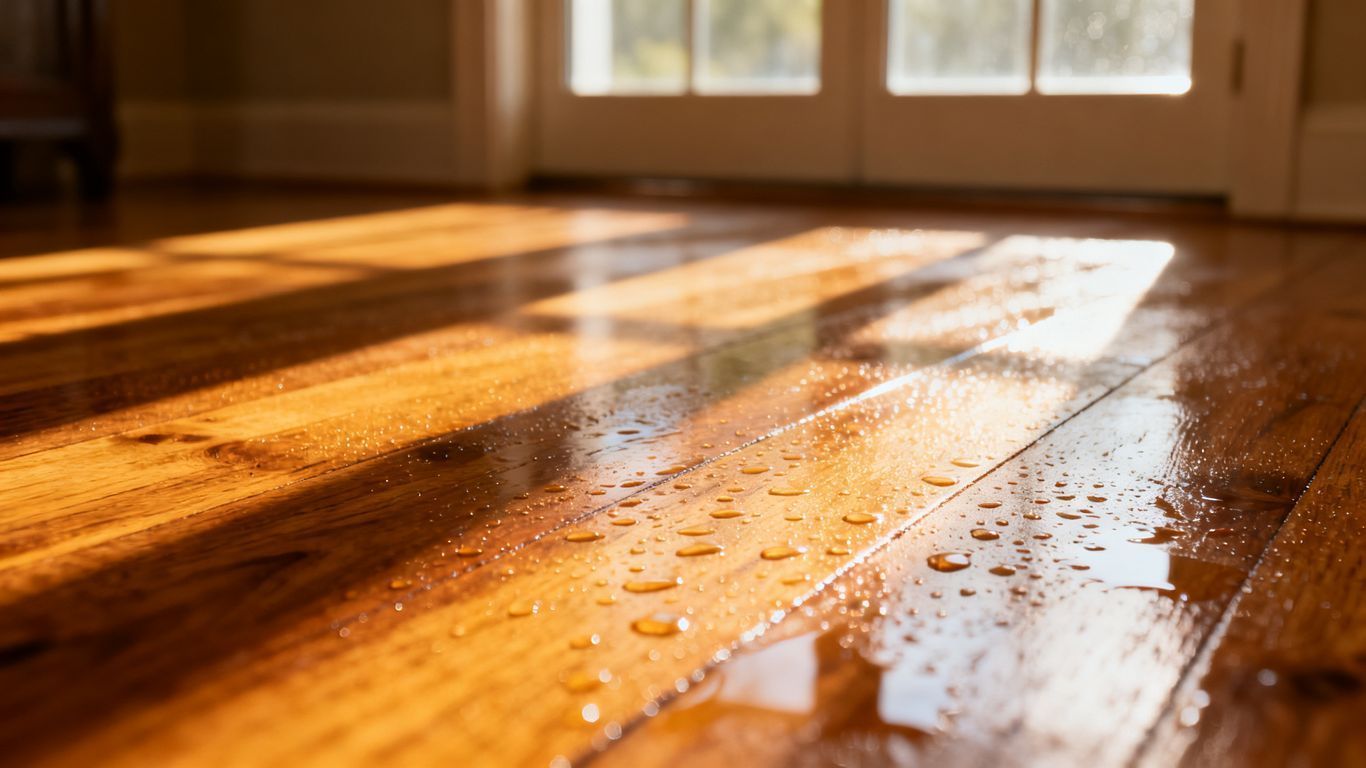
Spring weather brings a lot of changes, and one of the biggest for hardwood floors is the rise in humidity. You know how sometimes the air just feels thick and damp? That's what we're talking about. This moisture in the air can really mess with your hardwood, especially if you're planning on installing it.
Moisture Absorption And Wood Swelling
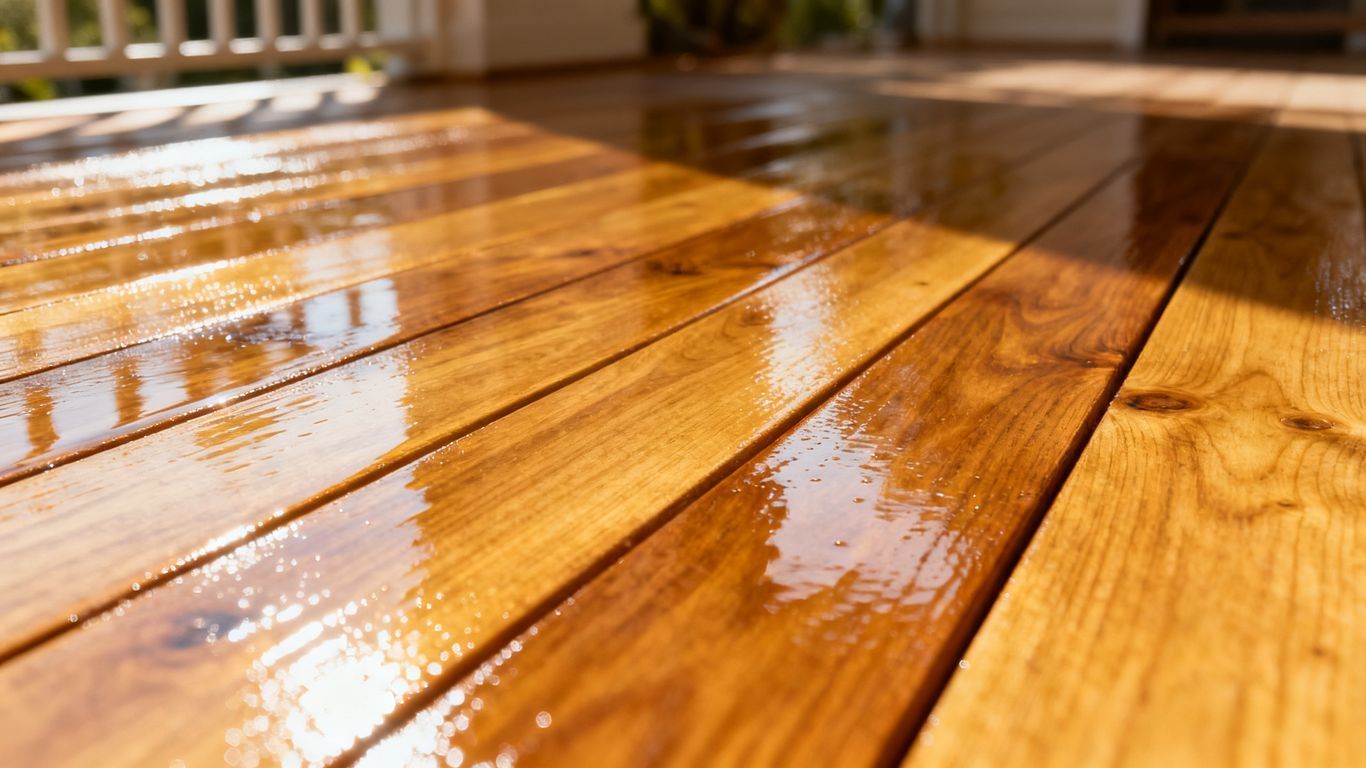
Wood is a natural material, and it loves to soak up moisture from its surroundings. When the humidity goes up in the spring, your hardwood planks will start to absorb that extra dampness. Think of it like a sponge. As the wood takes in more water, it actually swells up. This swelling isn't usually a big deal for finished floors, but during installation, it can cause some serious headaches. The expansion can lead to boards pushing against each other, creating stress.
Impact On Acclimation Periods
Before you even think about laying down those beautiful planks, they need to get used to the environment they'll be living in. This is called acclimation. Normally, you'd have a set time for this, maybe a week or two. But with spring's unpredictable humidity, that timeframe can get thrown off. If the wood swells too much during acclimation, it might not have room to shrink back down later, or it might swell unevenly. This means:
- You might need to extend the acclimation period.
- You'll have to monitor the wood's moisture content more closely.
- The standard acclimation guidelines might not be enough.
It's really important to let the wood adjust. Rushing this step because you think the weather is okay can lead to problems down the road that are way harder to fix than just waiting a bit longer.
Preventing Cupping And Crowning
When wood swells unevenly due to moisture differences, you can end up with some ugly floor issues. Cupping happens when the edges of the plank swell more than the center, making it look like a shallow bowl. Crowning is the opposite, where the center swells more than the edges, creating a hump. Both are caused by moisture imbalances, and spring's fluctuating humidity is a prime culprit. Getting the moisture content right before and during installation is key to avoiding these problems.
Temperature Fluctuations And Installation Schedules
Spring weather can be a real rollercoaster when it comes to temperature. One day it's warm enough to wear a t-shirt, and the next, you're reaching for a sweater. This unpredictability can throw a wrench into hardwood floor installation plans if you're not careful.
Effects Of Rapid Temperature Changes
Sudden shifts in temperature can cause the wood to expand and contract. This movement, especially if it happens quickly, puts stress on the planks and the installation itself. It's like putting a sweater on a very hot day and then taking it off an hour later – the material goes through a lot. This constant back-and-forth can lead to gaps between boards or even buckling if the wood isn't given enough time to adjust. It’s not just about comfort; it’s about the physical integrity of your new floor.
Maintaining Consistent Indoor Temperatures
To combat these temperature swings, keeping your home's indoor climate as steady as possible is key. This means:
- Using your HVAC system to regulate the temperature, even if it's just a little.
- Avoiding drastic temperature changes, like turning the heat way up or down.
- Monitoring the temperature and humidity levels regularly.
A stable environment helps the wood acclimate properly and reduces the stress during the installation process. Think of it as giving the wood a calm, predictable home to settle into.
Adhesive Curing Under Variable Conditions
If you're using glue-down installation, temperature plays a big role in how the adhesive cures. Most adhesives have specific temperature ranges they work best in. If it's too cold, the glue might not set properly, leading to a weak bond. If it's too hot, it could dry out too quickly, again compromising the bond. This is why checking the adhesive manufacturer's instructions is super important. You want that glue to cure evenly and strongly, and that requires the right temperature conditions throughout the curing period, which can sometimes take a few days.
The Role Of Precipitation In Spring Flooring Projects
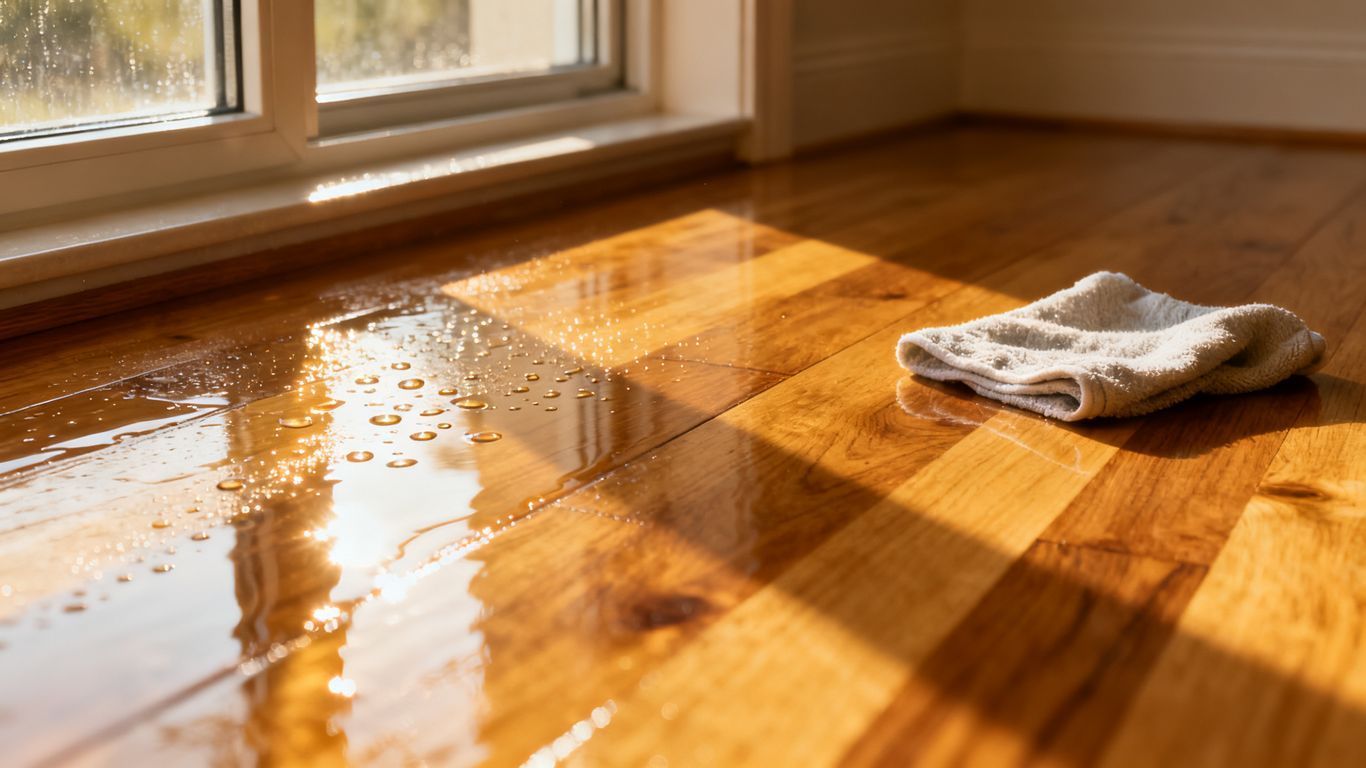
Spring showers can really throw a wrench into hardwood floor installation plans. It's not just about the rain itself, but the humidity it brings and the potential for water to get where it shouldn't. Dealing with precipitation means being extra careful.
Preventing Water Damage During Installation
When it's raining, you've got to be vigilant about keeping water away from your job site. This means:
- Making sure doors and windows are sealed up tight. Even a little bit of rain blowing in can cause problems.
- Using tarps or temporary coverings if you have any outdoor access points that might get splashed.
- Having towels and mops ready to go for any unexpected drips or spills. It’s better to be overprepared than to deal with water-damaged wood.
Managing Moisture Levels In Basements And Crawl Spaces
These areas are often the first to get damp when it rains a lot. High moisture down there can creep up into your new floors. You might need to:
- Run dehumidifiers more often than usual.
- Check sump pumps to make sure they're working correctly.
- Consider temporary vapor barriers if the levels are really high.
The ground gets saturated during heavy spring rains. This moisture can then travel upwards through your home's foundation, especially in basements and crawl spaces. If these areas aren't properly sealed or ventilated, that dampness can affect the wood you're about to install, leading to issues down the line.
Extended Drying Times Due To Rain
Even if you manage to keep the rain out, the general dampness in the air means things take longer to dry. This affects:
- The wood itself needing more time to acclimate.
- Any subfloor preparation that requires drying.
- The curing time for adhesives or finishes, which can be significantly slowed by high humidity.
Optimizing Hardwood Floor Installation During Spring Showers
Spring showers can really throw a wrench into hardwood floor installation plans. It's not just about the rain itself, but the whole package of higher humidity and fluctuating temperatures that comes with it. Getting your floors installed right during this season means being smart about timing and protection.
Scheduling Installation Around Weather Forecasts
The best way to avoid headaches is to plan your installation around the weather. Don't just pick a date and hope for the best. Keep a close eye on the forecast for at least a week or two before your scheduled start date. Look for windows of drier weather. Even a few consecutive dry days can make a big difference in allowing the wood to settle and adhesives to cure properly.
- Check daily forecasts for rain and high humidity.
- Look for periods with lower humidity readings.
- Have a backup plan if the weather turns unexpectedly.
Sometimes, you might need to be flexible. If a big storm is rolling in, it might be better to push the installation back a few days than to risk problems down the line. It's a small delay for a much better outcome.
Protecting Newly Installed Floors From Moisture
Once the wood is down, it's super vulnerable. You've got to shield it from any water that might get in. This means:
- Covering: Use breathable floor protection, like Ram Board or specialized felt, over the newly laid floor. Avoid plastic sheeting, as it traps moisture.
- Entryways: Place mats at all entrances to catch water from shoes. Make sure everyone knows to take off wet footwear before walking on the new floor.
- Leaks: Double-check for any potential leaks from windows, doors, or even plumbing issues. Address them immediately.
Importance Of Proper Ventilation
Good airflow is your best friend when installing hardwood in damp spring weather. It helps to circulate air, reduce humidity within the home, and aid in the drying and curing process. Make sure:
- Windows and doors are opened when conditions allow (i.e., when outside humidity is lower than inside).
- Any HVAC systems are running to help manage indoor air quality and temperature.
- Fans are used strategically to keep air moving over the floor surface, especially in areas prone to dampness.
Spring Weather Considerations For Different Hardwood Types
Spring weather can really throw a wrench into hardwood floor installation plans, and not all wood is created equal when it comes to handling it. You've got to think about what you're actually putting down.
Solid vs. Engineered Hardwood in Spring
Solid hardwood is basically one piece of wood. It's more sensitive to moisture changes than engineered hardwood. Engineered wood has layers, with a real wood top and a plywood-like core. This construction makes it more stable. So, engineered floors tend to fare better during those unpredictable spring swings. Solid wood might expand more noticeably, leading to potential issues if not acclimated properly. Think of it like this: engineered wood has a bit more give and take with the humidity. If you're installing solid wood, you'll want to be extra careful about acclimation times, maybe even extending them a bit. For engineered options, while still needing acclimation, they often present fewer headaches in damp spring conditions. It's a good idea to check out installation guides for specific product recommendations.
Species Susceptibility to Moisture
Different wood species react differently to moisture. Softer woods, like pine, tend to absorb moisture more readily and swell up quite a bit. Harder woods, such as oak or maple, are generally more resistant. They still move, of course, but their reaction might be less dramatic. If you're looking at something like walnut, it's known to be a bit more sensitive than, say, hickory. It really pays to know what kind of wood you're working with. Some woods are just naturally more prone to expanding or contracting.
Finishing and Sealing Challenges
Spring's dampness can also mess with the finishing process. If you're staining or sealing your floors, high humidity can slow down drying times significantly. This means your project could take longer than expected. Sometimes, it can even affect how the finish cures, potentially leading to a less durable surface. You might notice issues like a hazy appearance or uneven color if the conditions aren't right. It's often best to wait for a drier spell if possible, or make sure your workspace has good ventilation and climate control.
The key takeaway here is that spring's weather isn't just about inconvenience; it directly impacts the wood itself. Understanding how your chosen hardwood type interacts with moisture and temperature is half the battle. Proper planning and patience are your best friends during this season.
Preparing Your Home For Spring Hardwood Floor Installation
Getting ready for new hardwood floors in the spring means thinking about the weather, sure, but also about your house itself. It's not just about the outside conditions; what's happening inside your home plays a big part too. Making sure your home environment is stable before the installers even show up can save you a lot of headaches down the road.
Pre-Installation Moisture Testing
Before any wood hits the floor, you've got to check the moisture levels. This is super important, especially when spring humidity is doing its thing. High moisture in your subfloor or even in the air can cause problems later on.
- Subfloor Moisture: Use a reliable moisture meter to test the subfloor. You want to see readings within the manufacturer's recommended range. If it's too high, you'll need to figure out why and fix it before installing.
- Acclimation Environment: The wood itself needs to get used to your home's conditions. This means letting it sit in the room where it will be installed for a specific period, usually a few days to a week. The moisture content of the wood needs to match the moisture content of your home.
- Humidity Levels: Keep an eye on the relative humidity in your home. Spring can be unpredictable, with damp days followed by dry spells. Aim for a consistent range, typically between 35% and 55%, depending on the wood type and manufacturer guidelines.
Testing for moisture isn't a one-time thing. It's a good idea to test the subfloor in several spots and at different times leading up to the installation. This gives you a clearer picture of what's going on.
Ensuring Adequate Climate Control
Your heating and cooling system is your best friend during spring flooring projects. It helps manage both temperature and humidity. Think of it as creating a mini-climate controlled bubble for your new floors.
- Consistent Temperature: Try to maintain a steady temperature inside your home. Big swings can stress the wood. Most manufacturers suggest keeping the temperature between 60°F and 80°F (15°C to 27°C).
- Humidity Management: Use your HVAC system, dehumidifiers, or humidifiers as needed. The goal is to keep the air from getting too damp or too dry. This is especially important if you have allergies or respiratory issues, as it makes your home more comfortable overall.
- Ventilation: Good airflow is key. Make sure your vents aren't blocked and that air can circulate freely. This helps prevent moisture buildup in corners or under cabinets.
Choosing The Right Installation Window
Even with preparation, the actual installation day matters. You want to pick a time when the weather is relatively stable, if possible. It’s not always easy, but it can make a difference.
- Check the Forecast: Look ahead a few days. If a major rainstorm or a sudden heatwave is predicted, it might be worth waiting a bit. You don't want installers working in a downpour or extreme heat if you can help it.
- Avoid Extreme Conditions: Try to schedule the installation when your area isn't experiencing prolonged periods of very high or very low humidity. This gives the wood the best chance to settle in properly.
- Communicate with Your Installer: Talk to your flooring professional about the best time to start. They have experience with local weather patterns and can offer advice on when to proceed.
As spring arrives, it's the perfect time to think about refreshing your home. If you're considering new hardwood floors, getting your house ready is key. This means clearing out furniture and making sure the area is clean and dry. Proper preparation ensures a smooth installation process and beautiful results. Ready to give your home a stunning new look? Visit our website today to learn more andschedule your consultation!
Wrapping Up: Spring Flooring Considerations
So, as we've seen, spring's arrival brings its own set of challenges and benefits when it comes to putting in new hardwood floors. The fluctuating humidity and moisture levels can really throw a wrench in things, potentially delaying your project or affecting how the wood settles. It's not just about the pretty weather; it's about managing the environment your new floors will live in from day one. Planning ahead, communicating with your installer about these spring-specific factors, and being a little patient can make all the difference. Getting those beautiful floors installed right means considering all the elements, even the unpredictable spring air.
Frequently Asked Questions
Why does spring weather make installing hardwood floors take longer?
Spring often brings more moisture in the air, which hardwood floors can soak up. When wood gets wet, it swells. This swelling can mess with the installation timeline because the wood needs time to adjust to the right moisture level before it's put down. If it's too wet, it might not fit right or could cause problems later on.
How does humidity affect the wood before installation?
Think of hardwood like a sponge for moisture. In the spring, the air is often damp. This means the wood planks can absorb that moisture. When wood absorbs too much water, it gets bigger, or swells. This is why installers need to let the wood sit in your home for a while, a process called acclimation, to make sure it's at the right moisture content for your specific environment.
What happens if the wood swells too much?
If the wood swells a lot, it can lead to issues like 'cupping,' where the edges of the planks curl up, or 'crowning,' where the center of the plank is higher than the edges. This happens because the wood is expanding unevenly. Getting the moisture content right before installation helps prevent these problems, keeping your floors looking flat and smooth.
Can temperature changes in spring impact the installation schedule?
Yes, definitely! Big swings in temperature, going from cool to warm quickly, can also affect the wood. It might expand or shrink. Installers try to keep the temperature steady inside your house during installation. This helps the wood behave predictably and ensures things like glue or finishes set properly without issues.
How does rain affect hardwood floor projects?
Rain means more moisture in the air and a higher chance of water getting into your home. Installers have to be careful to protect the wood and the work area from any rain or puddles. Sometimes, if it's very damp outside, the wood might take longer to dry out properly, which can add extra days to the project. Ensuring good airflow inside is super important too.
What's the best way to prepare for hardwood installation in the spring?
The best preparation involves checking the moisture levels in both the wood and your home's subfloor before starting. It's also smart to make sure your heating or cooling system is working to keep the indoor temperature stable. Looking at the weather forecast and picking a window with drier, more consistent weather can really help avoid delays and ensure a smooth installation.