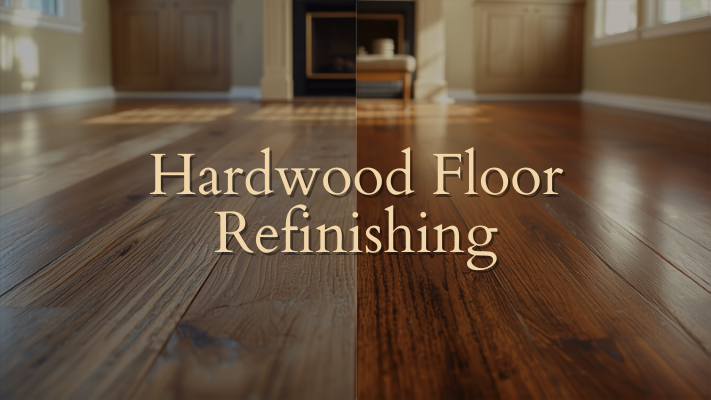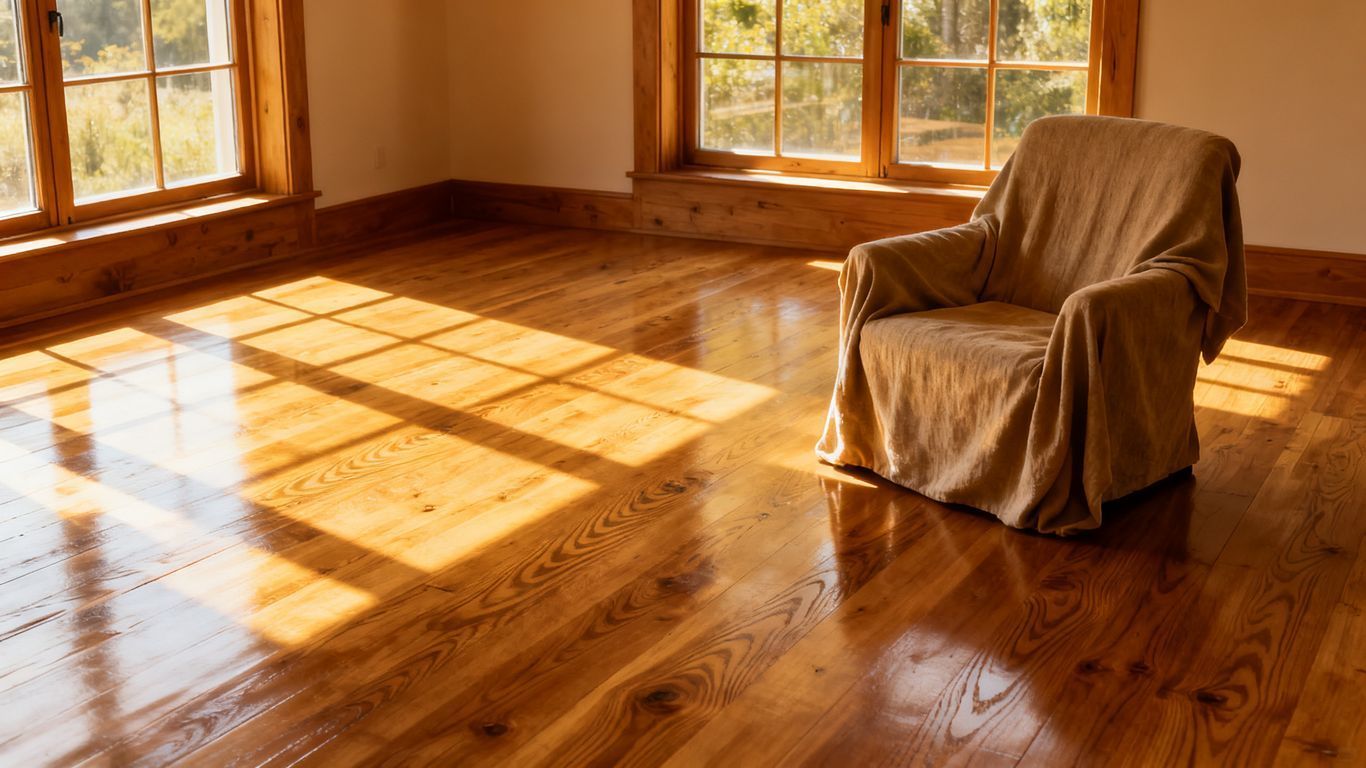
Signs Your Hardwood Floors Need Repair After Winter
Winter can be tough on your home, and your hardwood floors are no exception. The cold, the snow, the salt tracked in on boots – it all adds up. When spring finally arrives, you might start noticing some changes in your beautiful wood flooring. Don't ignore these signs; they could indicate a need for attention. Early detection and repair can save you a lot of trouble and expense down the line. If you're in the Chattanooga area and wondering if your floors have seen better days, here are some common indicators that it's time for some hardwood floor repair Chattanooga specialists can help with.
Key Takeaways
- Watch out for warping or cupping, which often signals moisture problems.
- Gaps appearing between floorboards can mean your wood is too dry.
- Squeaks and creaks usually point to loose boards or issues with the subfloor.
- Scratches and dents are common from winter wear and tear; some can be fixed easily.
- Fading or discoloration might be due to sun exposure or water spills.
Warping And Cupping Of Floorboards
Identifying Warped Planks
Winter weather can really do a number on your hardwood floors. One of the most noticeable signs is when your floorboards start to warp. You might see planks that aren't lying flat anymore, looking a bit like waves or humps across the surface. This isn't just an eyesore; it's a sign that something's wrong underneath. Sometimes, it's subtle, and you might only notice it when you walk across the room, feeling an unevenness underfoot. Other times, it's pretty obvious, with edges lifting up noticeably.
Understanding Cupping
Cupping is a specific type of warping where the edges of the floorboards are higher than the center. Imagine a tiny boat hull, but made of wood and stuck to your floor. This happens when the moisture content in the wood changes unevenly. The bottom of the plank is absorbing more moisture than the top, causing it to expand more along the edges. It’s the opposite of crowning, where the center is higher, which usually happens when the top surface gets too wet.
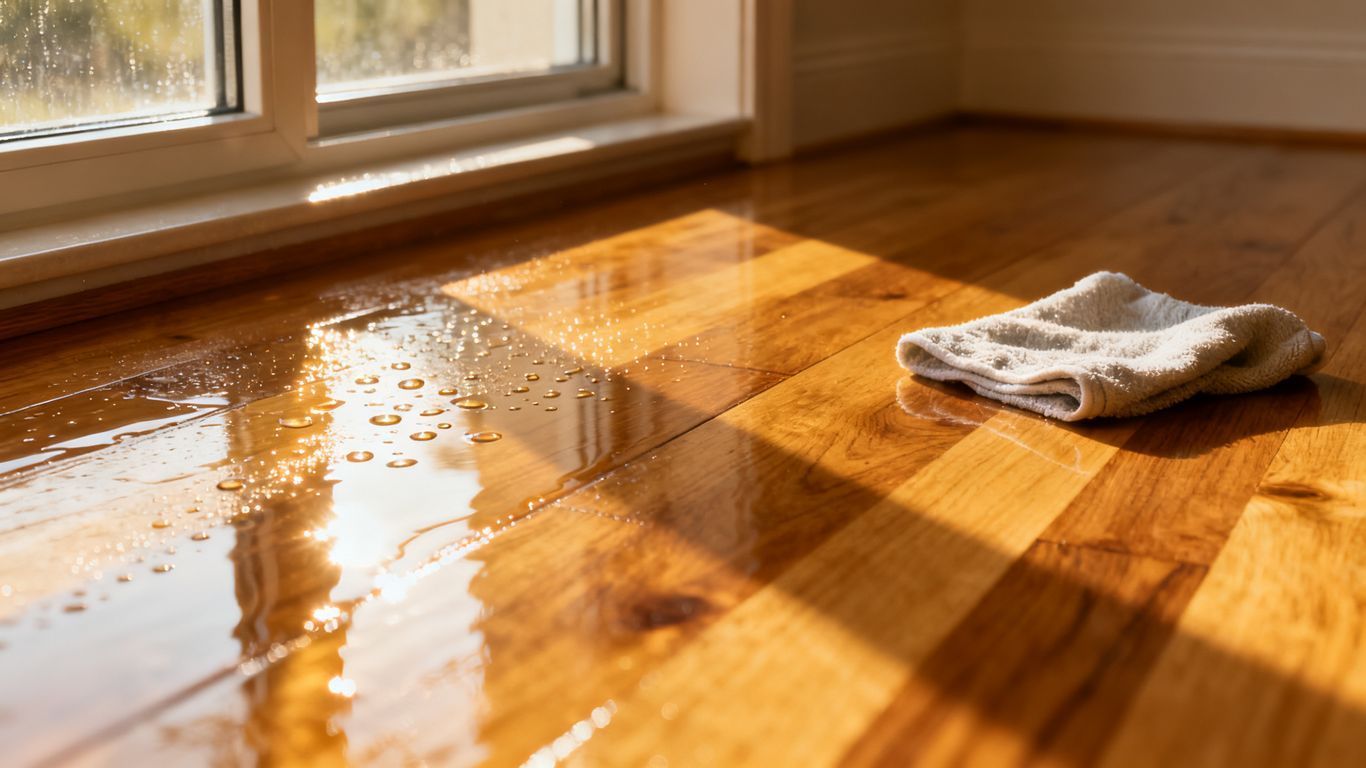
Causes Of Moisture Damage
So, what causes this moisture trouble? Winter is a prime suspect. Think about:
- Snow and Ice Melt: When snow or ice is tracked inside on shoes and boots, it melts and can seep into the floorboards, especially around entryways.
- Humidity Fluctuations: Heating systems in the winter tend to dry out the air inside your home. This can cause the wood to shrink. Then, when you have a thaw or a humid day, the wood can absorb moisture and expand unevenly.
- Leaks: Even small, unnoticed leaks from plumbing, appliances, or even a poorly sealed window can introduce moisture directly to your floor.
It's easy to overlook small amounts of water, but wood is a living material that reacts to its environment. Consistent exposure to moisture, even in small doses, can lead to significant structural changes over time. Pay attention to areas that might be more prone to getting wet, like near doors or windows that don't seal perfectly.
If you see these signs, it's time to figure out what's going on before it gets worse. Addressing the moisture issue is the first step to fixing warped or cupped boards.
Gaps Between Floorboards
Winter can be tough on your hardwood floors, and one common issue that pops up is the appearance of gaps between the planks. It’s not just an aesthetic problem; it can sometimes point to deeper issues with your flooring.
The Appearance Of Gaps
Have you noticed little spaces opening up between your floorboards lately? It might seem like a minor thing, but it’s worth paying attention to. These gaps can start small, almost unnoticeable, and then gradually widen. Sometimes they’re just a few hairline cracks, other times they can be wide enough to catch dust bunnies or even small objects. This separation is often a sign that your wood is reacting to its environment.
Shrinkage Due To Dryness
Wood is a natural material, and it expands and contracts with changes in humidity and temperature. During the winter months, indoor heating systems can really dry out the air. When the wood loses moisture, it shrinks. This shrinkage causes the individual floorboards to pull away from each other, creating those noticeable gaps. It’s a natural process, but excessive dryness can lead to more significant shrinkage than you might expect.
When To Seek Professional Help
While some minor gapping due to seasonal dryness is normal, there are times when you should call in the pros. If the gaps are very wide, if they appear suddenly, or if you notice other signs of damage like warping or buckling, it’s time to get an expert opinion. They can assess the situation and determine if it’s just a simple humidity issue or something more serious that needs immediate attention.
Don't ignore persistent or widening gaps. They can be an early warning sign of more significant problems that, if left unaddressed, could lead to more costly repairs down the line. It's better to be safe than sorry when it comes to your beautiful hardwood floors.
Squeaking And Creaking Noises
Hear that? It’s the sound of your hardwood floors complaining after a long winter. Those annoying squeaks and creaks aren't just background noise; they're often a sign that something's up with your floorboards.
Common Causes Of Floor Squeaks
So, what's making all that racket? Usually, it's a combination of things:
- Friction: When floorboards rub against each other or the subfloor, you get that tell-tale squeak. This happens when the wood moves.
- Loose Fasteners: Nails or screws that hold the floorboards down can loosen over time, especially with changes in humidity.
- Moisture Fluctuations: Winter's dry air can cause wood to shrink, creating small gaps. Then, when humidity rises, the wood expands, and things rub.
Loose Floorboards
Sometimes, the simplest explanation is the right one: your floorboards are just a bit loose. This can happen for a few reasons. Maybe the nails or screws that were put in during installation have worked their way out over the years. Or, perhaps the adhesive used to hold the planks down has dried out and lost its grip. When floorboards aren't held down firmly, they can shift and rub against each other, producing those irritating squeaks. It's like a tiny dance party happening under your feet whenever you walk across them.
Addressing Subfloor Issues
If the squeaking isn't just a few random spots but seems more widespread, the problem might be with the subfloor itself. The subfloor is the layer of wood beneath your hardwood. If it's warped, damaged, or not properly secured to the joists, it can cause the entire floor system to flex and move. This movement puts stress on the hardwood planks above, leading to more pronounced squeaking and creaking. Fixing subfloor issues can be a bit more involved, sometimes requiring access from below, like through a crawl space or basement.
It's easy to ignore those little noises at first, thinking they're just part of having older floors. But persistent squeaking is your floor telling you it needs attention. Ignoring it can sometimes lead to bigger problems down the line, like more significant damage to the wood or even the structure beneath.
Surface Scratches And Dents
Winter Footwear Damage
Winter brings a lot of extra foot traffic into the house, and with it, the potential for damage to your hardwood floors. Think about the grit, salt, and ice that can get tracked in on shoes. Even if you have a good doormat, some of that abrasive stuff can still make its way onto your floors. Walking over these particles, especially with heavier winter boots, can create tiny scratches that, over time, add up. These aren't usually deep gouges, but more like a general dulling of the finish. It's like sandpaper is constantly being dragged across your floor, just on a much smaller scale. The protective top layer of your hardwood is the first line of defense, and it's surprisingly easy to wear down.
Impact From Falling Objects
Let's be honest, winter means more time spent indoors, and sometimes that leads to a bit more clumsiness. Dropping something heavy, like a log for the fireplace, a piece of exercise equipment, or even a dropped tool if you're doing some indoor DIY, can leave a noticeable dent or scratch. These are usually more localized than the general wear from shoes. A sharp, heavy object hitting the floor can break through the finish and even dent the wood itself. It's the kind of damage that really stands out because it's so specific.
Repairing Minor Surface Imperfections
For those small scratches and light dents, you might be able to do some touch-up work yourself. It really depends on the severity, of course. Here are a few things to consider:
- Cleaning: First things first, give the area a good clean. You don't want to rub dirt into the scratch.
- Scratch Repair Kits: For minor scratches, there are wood repair markers and putty kits available. You can often find them in colors that match your floor.
- Wood Filler: For slightly deeper dents, wood filler can be a good option. You'll need to match the color as closely as possible and then sand it smooth once it dries.
- Refinishing: If the damage is more widespread or deeper, you might be looking at a larger refinishing project. This could involve sanding down the affected area or even the whole floor and applying a new protective coat.
Sometimes, the best approach for minor damage is to address it before it gets worse. A small scratch might seem insignificant, but it can be an entry point for moisture or dirt, leading to bigger problems down the line. Taking a little time to fix these issues can save you a lot of hassle later on.
It's important to know your limits, though. If you're dealing with deep gouges, widespread damage, or if you're just not comfortable with DIY repairs, it's always best to call in a professional. They have the tools and experience to make your floors look like new again without causing further damage. Remember, your floor's finish is what protects the wood, so treating it with care is key.
Fading And Discoloration
Sunlight Exposure Effects
Ever notice how some things left in the sun too long start to look a bit washed out? Your hardwood floors can do the same thing. Direct sunlight, especially over long periods, can really bleach out the natural color of the wood. It's not just about looking dull; it can actually change the wood's pigment over time. This fading is usually more noticeable on certain types of wood or finishes. If you have large windows or patio doors, this is probably the main culprit for any uneven coloring you're seeing.
Water Stains And Marks
Winter often means wet boots, snow tracked inside, and maybe even a leaky plant pot. If water sits on your hardwood floors for too long, it can leave behind some pretty stubborn marks. These can range from light rings to dark, ugly stains, depending on how long the water was there and what might have been in it. Sometimes, it's just a surface issue, but other times, the moisture can seep into the wood itself, causing deeper discoloration that's harder to get rid of. Even small spills, if not wiped up quickly, can cause damage.
Restoring Color And Vibrancy
So, what can you do about faded or stained floors? Well, for minor fading from sunlight, sometimes a good cleaning and a fresh coat of polish can help bring back some of the shine. For deeper discoloration or stains, it gets a bit trickier. You might be able to spot-treat certain stains, but often, a full refinishing of the floor is the best way to get a uniform look again. This involves sanding down the old finish and applying a new one, which can make your floors look almost new. It's a bigger job, for sure, but the results can be pretty dramatic.
Dealing with fading and discoloration isn't just about looks; it can sometimes be an early sign of deeper issues with the wood's integrity or finish. Addressing these problems promptly can prevent more significant damage down the line and keep your floors looking great for years to come.
Here are a few things to consider:
- Assess the damage: Figure out if it's just surface fading, a specific stain, or if the wood itself seems affected.
- Consider your floor's finish: Different finishes react differently to sunlight and moisture.
- Test cleaning solutions: Always try any cleaning or stain removal product on an inconspicuous spot first.
- Think about protection: Using rugs in high-traffic or sunny areas can help prevent future fading.
Loose Or Damaged Trim
Winter's chill and the subsequent thaw can play havoc with the trim around your hardwood floors. You might notice your baseboards pulling away from the wall or find pieces of decorative trim cracked or broken. This isn't just an aesthetic issue; it can also indicate underlying problems with your floor or walls.
Baseboard Separation
As the temperature and humidity levels fluctuate, wood expands and contracts. This movement can cause the nails or adhesive holding your baseboards in place to loosen. If you see a gap forming between the top of your baseboard and the wall, it's a sign that the trim is no longer securely attached. This separation can allow dust and drafts to sneak in, making your home less comfortable and potentially increasing energy costs.
Cracked Or Broken Trim Pieces
Sometimes, the stress from seasonal expansion and contraction, or even a stray bump from furniture or a vacuum cleaner, can cause trim pieces to crack or break. This is especially common with older, more brittle wood. Small cracks might be repairable with wood filler, but larger breaks often require replacement of the entire trim piece to maintain a clean look.
Reattaching And Replacing Trim
Dealing with loose or damaged trim usually involves a few steps:
- Assess the Damage: Figure out how widespread the issue is. Are just a few spots loose, or is the trim pulling away all around the room?
- Reattaching: For minor separation, you might be able to re-secure the trim using finishing nails or a strong adhesive. Make sure to use the right type of nail for your trim material and wall type.
- Repairing: Small cracks or dents can often be fixed with wood filler. Sand it smooth once dry and touch up with matching paint or stain.
- Replacing: If trim pieces are severely damaged or broken, you'll need to remove the old piece and install a new one. Measure carefully and cut the new trim to fit snugly.
It's important to address trim issues promptly. Not only do they affect the overall appearance of your room, but loose trim can also create entry points for pests or moisture, leading to bigger problems down the line. A little attention now can save you a lot of hassle later.
If you're unsure about how to tackle these repairs, or if the damage seems extensive, it's always a good idea to call in a professional. They have the tools and experience to get the job done right, ensuring your trim looks great and stays put.
Buckling Floor Sections
Sometimes, winter's chill and the subsequent thaw can do more than just warp a few boards; they can cause entire sections of your hardwood floor to lift and buckle. This is a more serious issue than simple cupping and needs prompt attention.
Severe Moisture Intrusion
Buckling usually happens when moisture gets trapped under the floorboards. Think about melting snow tracked inside, leaks from windows, or even plumbing issues. When the wood absorbs too much water, it swells significantly, pushing against adjacent boards and the walls. This pressure causes the floor to lift, creating those alarming humps and waves.
Identifying Buckling Patterns
Buckling isn't always uniform. You might see:
- Large, raised areas: Entire sections of the floor look like they're trying to escape.
- Wave-like formations: The floor appears to ripple across a significant space.
- Separation from walls: The buckling can push the floorboards away from the baseboards, creating noticeable gaps.
The key is to act fast because severe buckling can lead to permanent damage if left unaddressed.
Addressing buckling requires understanding the root cause. Simply trying to flatten the boards without stopping the moisture source is like putting a band-aid on a broken bone. You need to find out where the water is coming from and stop it first. This might involve checking for leaks around windows, doors, or even in your basement or crawl space.
Urgent Hardwood Floor Repair Chattanooga Needs
If you notice buckling, the first step is to identify and eliminate the source of moisture. After that, you'll need to dry out the area thoroughly. Fans and dehumidifiers are your friends here. For minor buckling, once dry, you might be able to flatten the area by placing heavy objects on it for a while. However, for significant buckling, it's often best to call in the pros. They have the tools and knowledge to properly assess the damage and perform the necessary hardwood floor repair to restore your floor's integrity.
When your floors start to bend or sag, it's a clear sign of trouble. This "buckling" can make your home look worn out and even become a safety hazard. Don't let a sinking feeling ruin your home's appeal. Visit our website today to learn how we can fix your floor problems and restore its beauty and strength.
Don't Let Winter Damage Linger
So, winter's grip is finally loosening, and you've spotted some issues with your hardwood floors. It's easy to just ignore them and hope they go away, but that's usually not how it works. Small problems can turn into bigger, more expensive ones down the road if you don't address them. Taking a look now and fixing up those scratches, gaps, or warped boards will save you a lot of hassle later. Plus, your floors will look so much better, making your whole home feel more comfortable. Get them sorted before the next season rolls around.
Frequently Asked Questions
Why do my wood floors look wavy or bent after winter?
Winter's cold and dampness can make your wood floorboards swell up and then shrink. This can cause them to bend upwards at the edges, a problem called cupping, or to warp, making them look uneven and wavy.
I see small spaces between my wood floor planks. Is this normal?
It's quite common for wood floors to develop small gaps between the planks, especially after a dry winter. The wood naturally shrinks when the air gets dry, creating these little spaces. Usually, this isn't a big deal unless the gaps get really wide.
My floors are making a lot of noise when I walk on them. What's causing that?
Those annoying squeaks and creaks often happen when the floorboards become a bit loose. Sometimes, the nails holding them down might loosen up, or there could be an issue with the layer underneath your wood floor, known as the subfloor.
How does winter weather damage the surface of my wood floors?
Walking in with wet or snowy shoes can leave scratches and dents on your wood floors. Also, if something heavy is dropped, it can easily dent the wood. Small marks can often be fixed, but deeper ones might need more work.
Why are my wood floors looking faded or stained?
Too much sunlight can make your wood floors lose their color over time, making them look pale. Spills that aren't cleaned up quickly can also leave ugly water stains or marks that change the wood's color.
What should I do if my wood floor looks like it's bubbling up in some spots?
When wood floors bubble up, it's usually a sign of serious water damage. This means a lot of moisture has gotten under the floor, causing it to swell significantly. This is a serious issue that needs to be fixed right away by a professional.