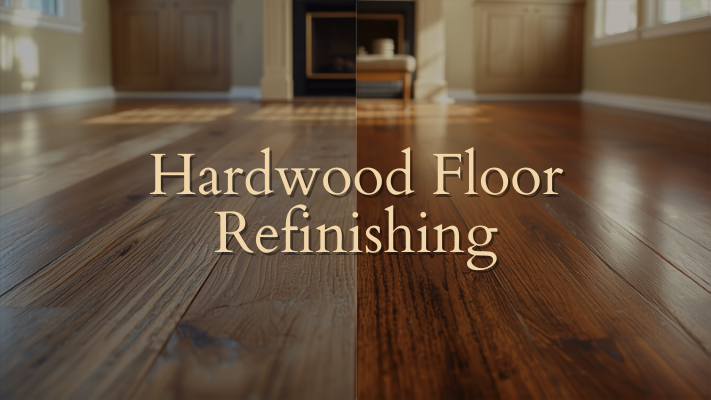
Refinishing Hardwood Floors Before Selling Your Home This Spring
Thinking about selling your home this spring? One thing that can really make a difference is how your hardwood floors look. Refinishing hardwood floors before selling can seriously boost your home's appeal and potentially get you a better price. It's a project that might seem like a lot, but the payoff can be huge. Let's look at why this is a smart move and what's involved.
Key Takeaways
- Refinishing hardwood floors before selling can make your home look much better to potential buyers.
- A good refinish job can increase your home's resale value.
- Sanding, staining, and applying a new coat are the main steps in refinishing.
- You can either do it yourself or hire someone, depending on your skills and budget.
- Timing is important, especially with drying times, so plan ahead for the spring selling season.
Boost Your Home's Appeal With Hardwood Floor Refinishing
The Impact Of Refinished Floors On Buyer Perception
Okay, so you're thinking about selling your place this spring. Smart move, it's a great time to list. One thing that can really make a difference, and I mean a big difference, is the state of your hardwood floors. Buyers notice these things, you know? They walk in, and the floors are one of the first things they see. If they're looking tired, scratched up, or just generally dull, it can give off a vibe that the whole house hasn't been well-maintained. It's like wearing a nice outfit with scuffed-up shoes – it just doesn't quite work. Refinishing them, though? That changes everything. It makes the whole space feel brighter, cleaner, and frankly, more valuable. It shows you've taken care of the place, and that's a huge selling point.
Maximizing Resale Value Through Floor Restoration
When you're getting ready to sell, you want to get the most bang for your buck, right? Refinishing your hardwood floors is a pretty straightforward way to do that. It's not like a massive kitchen remodel that costs a fortune. Instead, it's a focused improvement that has a high return. Buyers see beautiful, shiny floors and immediately think, "Wow, this place is move-in ready." They might even be willing to pay a bit more because they don't have to worry about doing the work themselves. It's a smart investment that can pay off when you get that offer.
Here's why it's so effective:
- First Impressions Matter: Floors are a major visual element. Freshly refinished floors grab attention in a good way.
- Perceived Value: Buyers associate well-maintained floors with a well-maintained home overall.
- Cost-Effective Upgrade: Compared to other renovations, refinishing offers a significant visual impact for the cost.
Sometimes, a simple refresh is all it takes to make a property shine. It's about presenting your home in its best light, and those floors play a starring role.
Creating A Welcoming Atmosphere For Potential Buyers
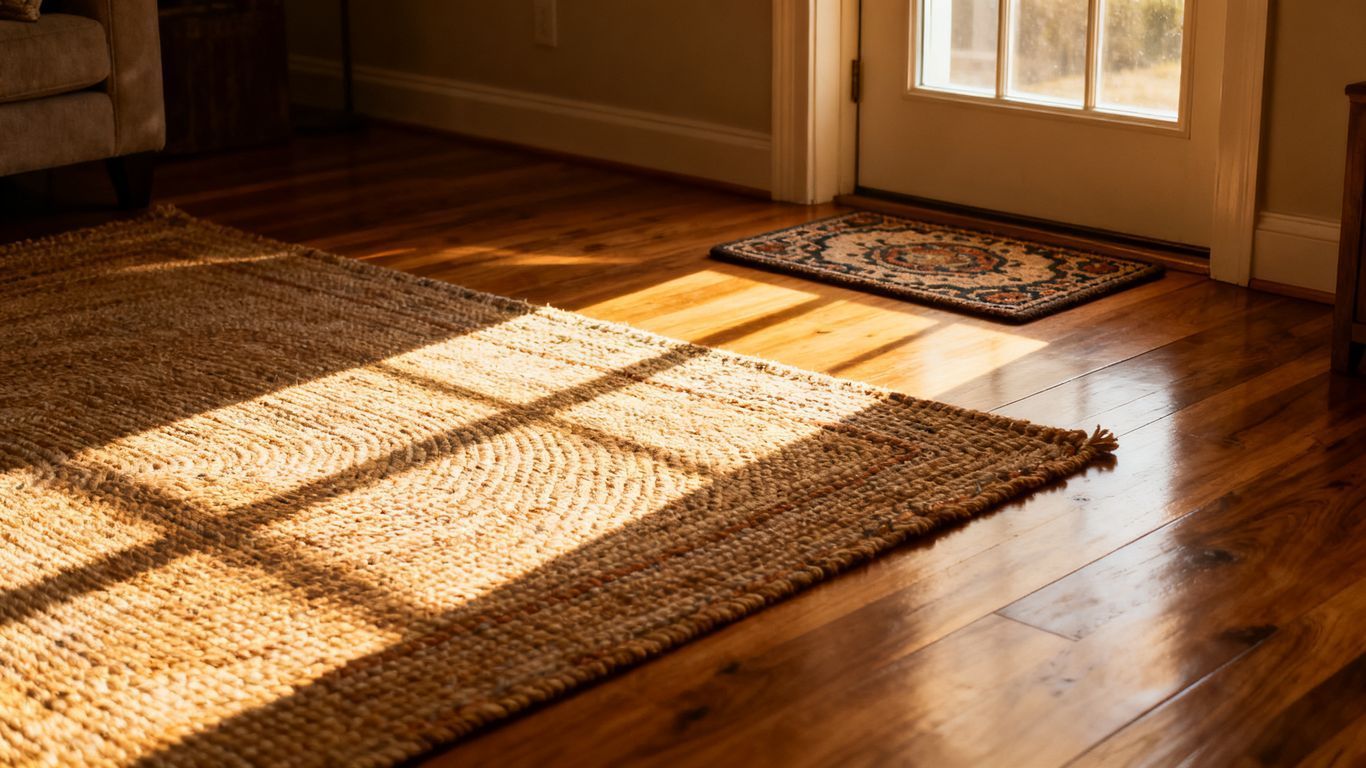
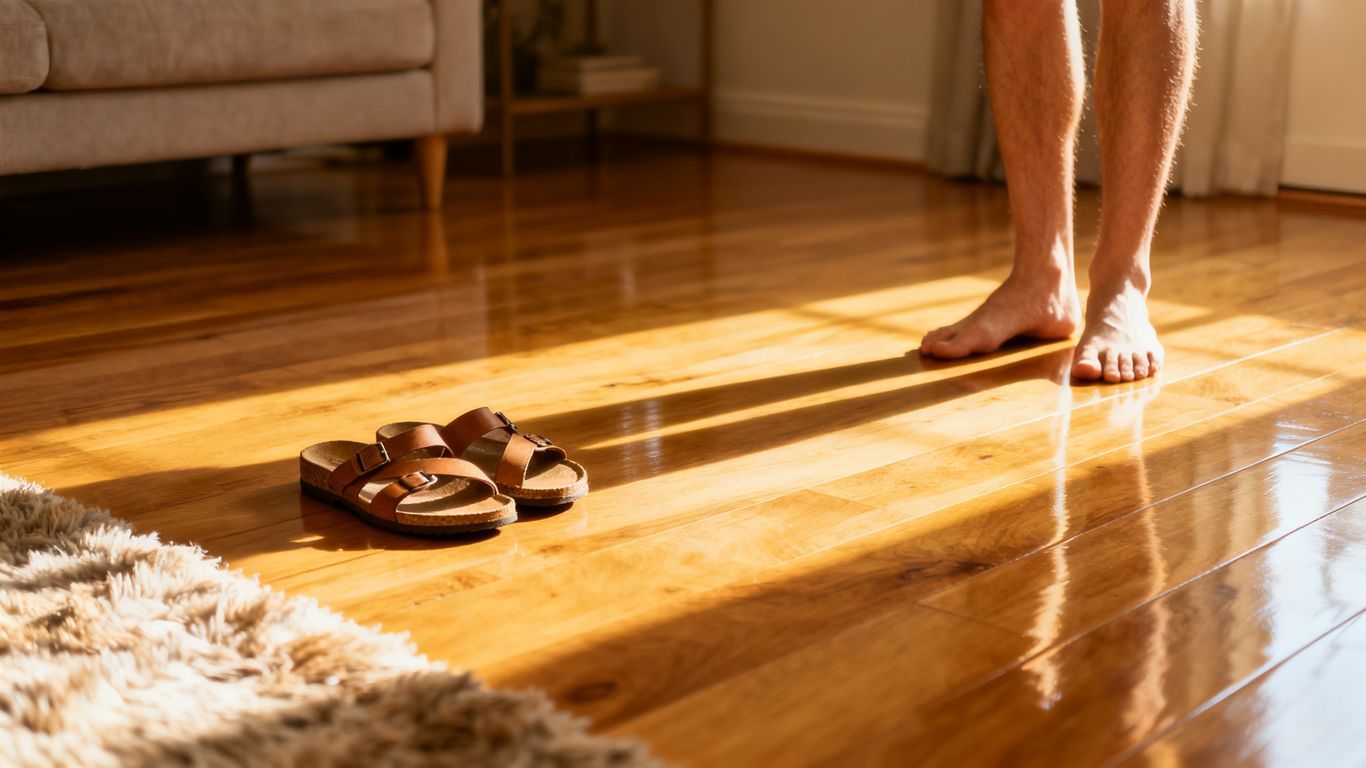
Think about walking into a home. What makes you feel instantly comfortable and happy? Often, it's the little things, and your floors are definitely not little. When they're clean, smooth, and have a nice sheen, they just make a room feel more inviting. It's like the house is giving you a warm hug. This welcoming feeling is exactly what you want potential buyers to experience. It makes them picture themselves living there, enjoying the space. It's not just about aesthetics; it's about creating an emotional connection. A good refinish job can make even an older home feel fresh and modern, ready for its next chapter.
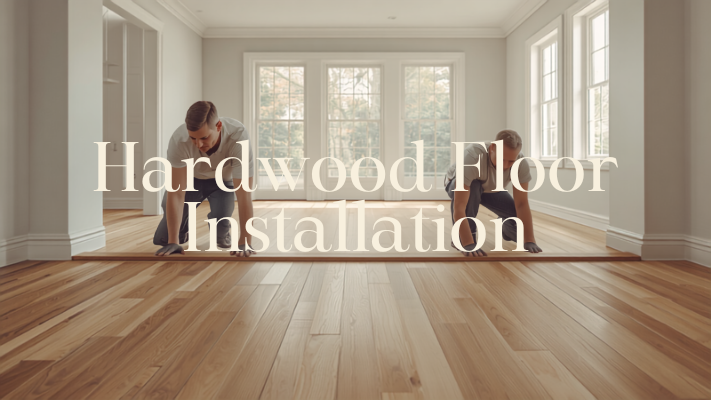
Understanding The Hardwood Floor Refinishing Process
Refinishing hardwood floors might sound like a massive task, but breaking it down can make everything more manageable. Getting your floors ready for sale usually means tackling some dust and dedication, but the end result is pretty satisfying. Let’s walk through what really happens when you decide to refinish your floors.
Sanding Away Imperfections And Old Finishes
Sanding is the first real step in the process. If your floors have scratches, old finish, or even minor unevenness, sanding wipes the slate clean. Here’s what usually happens:
- Floors are checked for any nails or staples that can damage sanding equipment.
- The old finish is stripped away using heavy-duty sanding machines.
- Finer sandpaper is used to smooth things out and get the wood ready for finishing.
Proper sanding is what helps your hardwood floors look almost brand new again.
Staining Options To Complement Your Decor
You don’t have to stick with the natural wood color. Once the floor is smooth, staining comes in. There are a bunch of stain shades, whether you like darker or lighter wood. Here’s how it usually goes:
- Test patches are applied to help you pick the right stain.
- After choosing a color, the stain is evenly brushed or wiped onto the boards.
- The floor is left to absorb the stain for the right amount of time, then the excess is wiped off.
A new stain can really change the feel of a room—going for a lighter look can actually help a smaller room feel bigger.
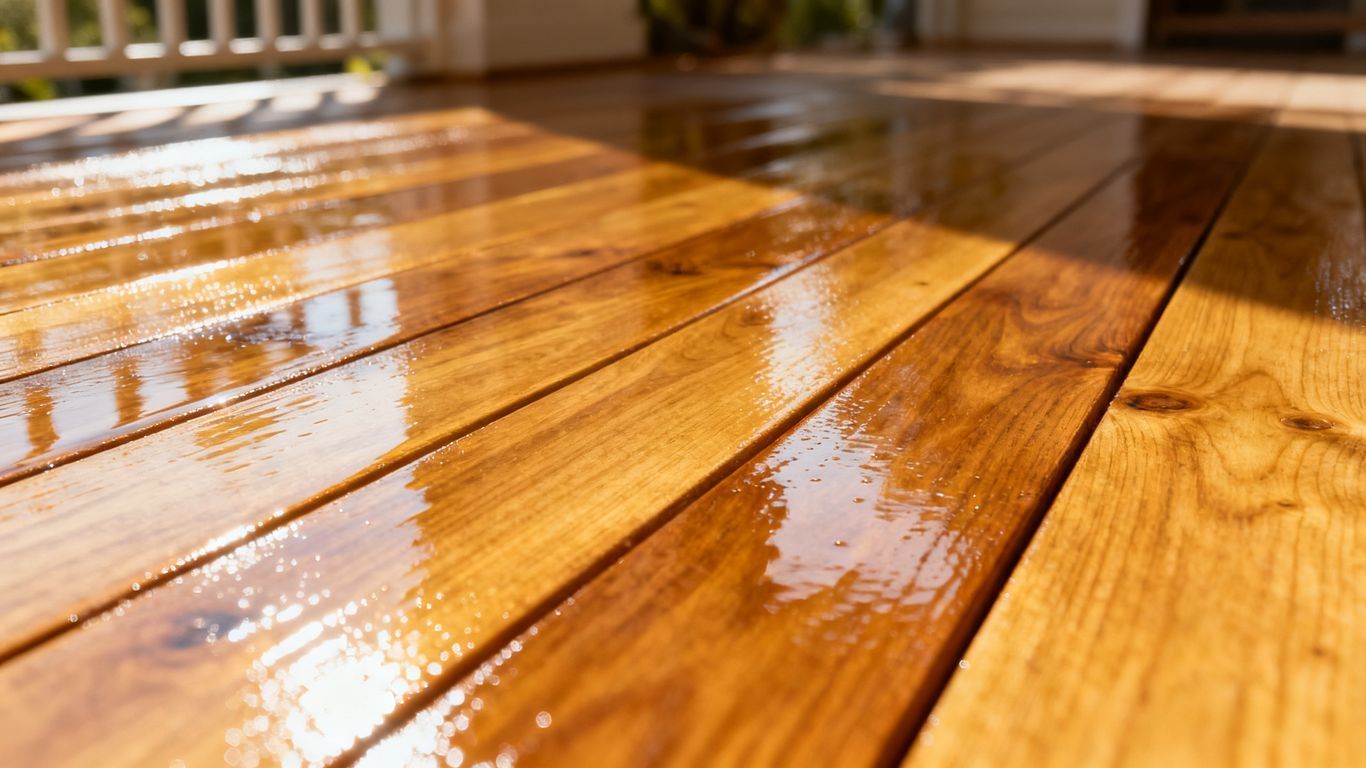
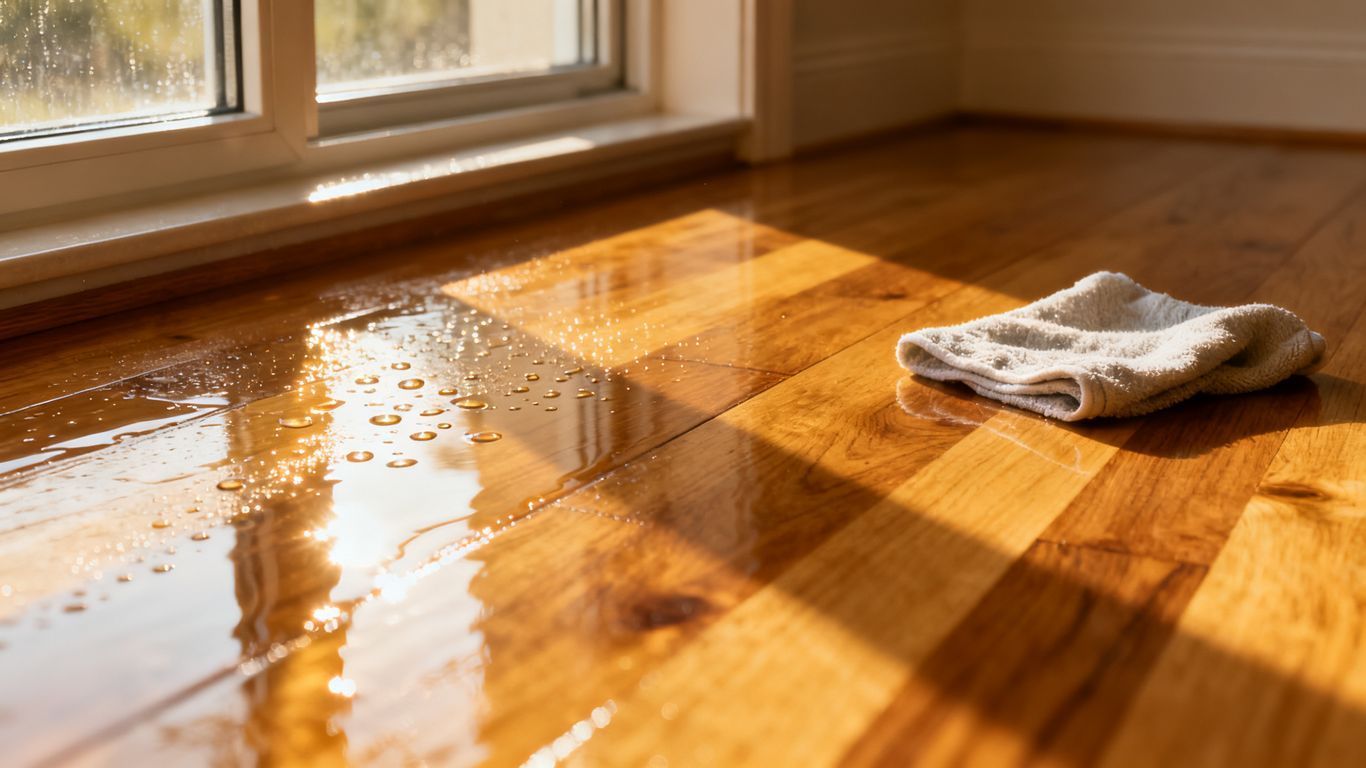
Applying Protective Topcoats For Durability
The last step is sealing everything in. The topcoat protects your floor from water, dirt, and everyday wear. Without it, you'd have to redo everything pretty soon. The topcoat can be water- or oil-based. Here's what happens in this phase:
- The first layer of finish goes on after the stain dries completely.
- More coats are added, with light buffing between them for a smooth touch.
- The finish is left to fully dry before moving furniture back in.
If you’re curious about more details or tricky floor issues, you can check some helpful info on the basic steps involved in hardwood floor refinishing.
In the end, when you know what to expect during the refinishing process, you can plan your home sale with less stress and a bit more confidence.
DIY vs. Professional Hardwood Floor Refinishing
Assessing Your Skill Level For A DIY Project
If you’re thinking about sanding and refinishing your own hardwood floors, it’s good to first be honest with yourself about your experience and patience.
- Do you already have access to the right tools, like a sander and respirator?
- Are you comfortable dealing with dust, fumes, and noise for a few days?
- Have you tackled home projects with moving parts before—a little electrical, a little heavy lifting, and a lot of cleaning up after?
DIY refinishing can save money, but mistakes are hard to fix and can cost extra time and frustration down the road.
When To Hire A Professional For Best Results
Sometimes you just want things done right and fast, especially if you’re hoping to get your home on the market this spring. Pros come in with years (sometimes decades) of handling every type of wood floor mess—uneven boards, deep scratches, weird stains. Hire out if:
- You have valuable or old floors you don’t want to damage.
- There are patches, repairs, or odd stains that you’re not sure about.
- You want a smooth, long-lasting finish without the risk of rookie errors.
If you’re comparing whether to spend more on pros or risk a DIY mishap, remember that hiring help can sometimes end up being more cost-effective and less stressful over time. For more on the dollars and sense of your choices, find out which option is more cost-effective.
Cost Considerations For Each Approach
DIY projects can seem cheaper up front. But factor in the cost of tool rentals, sandpaper, stains, protective gear, cleaning materials, and, oh yeah, your time. If you mess up, repair costs add up fast. Professionals cost more, but their work tends to last longer and looks better for listing photos.
Weigh both the upfront price and the hidden costs of possible mistakes before choosing your path. Homeowners sometimes save a little cash now but pay more later if floors need to be redone before selling or if buyers balk at uneven work.
Timing Your Hardwood Floor Refinishing Project
The Ideal Spring Selling Season Timeline
Spring is prime time for selling homes, and getting your floors looking their best before listing is smart. You want to aim to have the refinishing work completed at least a few weeks before potential buyers start touring. This gives the finish ample time to cure properly, so you don't have to worry about scuffs or damage from foot traffic. Think about starting the project about 4-6 weeks before you plan to list your home. This buffer accounts for any unexpected delays, like weather or material availability, and gives you peace of mind.
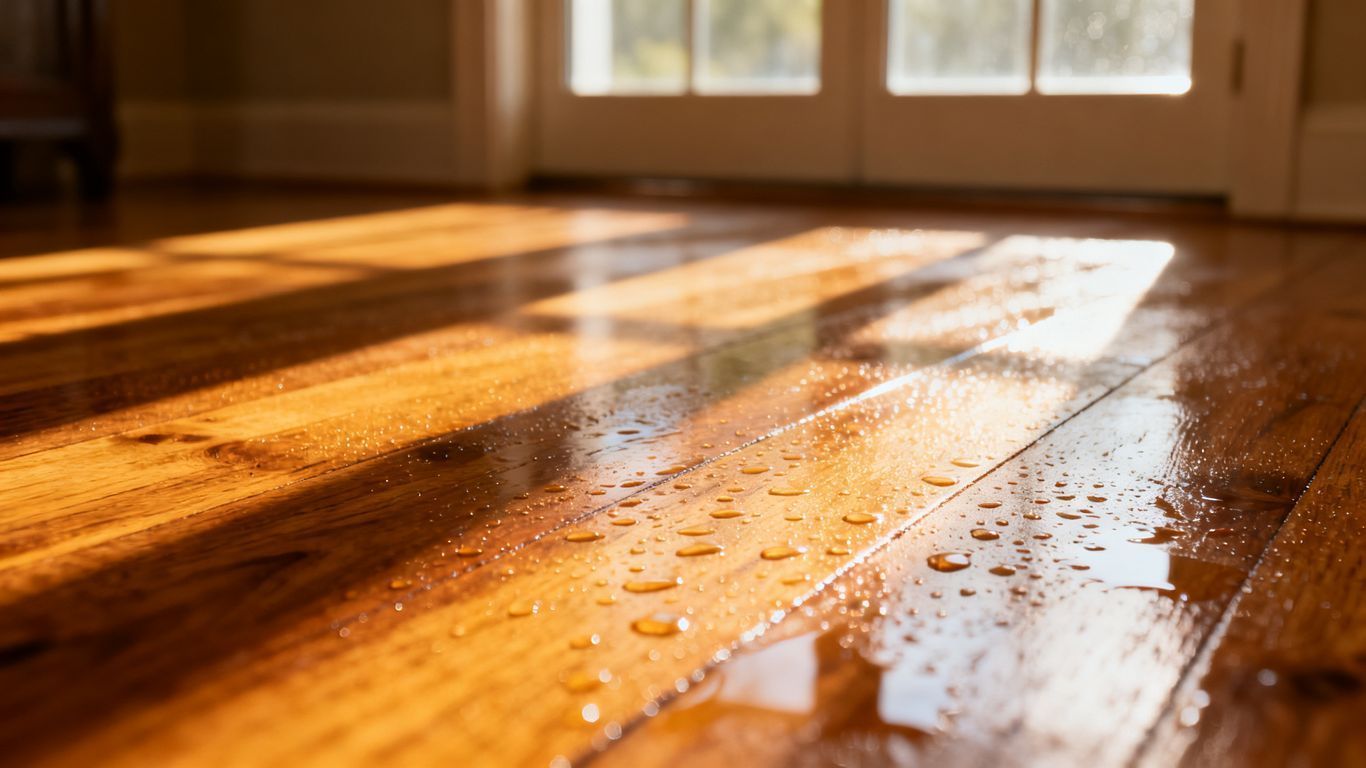
Allowing Adequate Drying And Curing Time
This is super important. Just because the floor looks dry to the touch doesn't mean it's ready for heavy use. The finish needs time to harden all the way through. Different finishes have different timelines, but generally, you'll want to avoid heavy furniture placement for at least a week, and sometimes longer for full cure. Light foot traffic with socks is usually okay after a few days, but always check the manufacturer's recommendations for the specific product you're using. Rushing this step can lead to permanent damage that's hard to fix.
The curing process is where the magic really happens. It's not just about the surface looking good; it's about the protective layer becoming tough and resilient. Skipping or shortening this period is like building a house and not letting the foundation set – it's asking for trouble down the road.
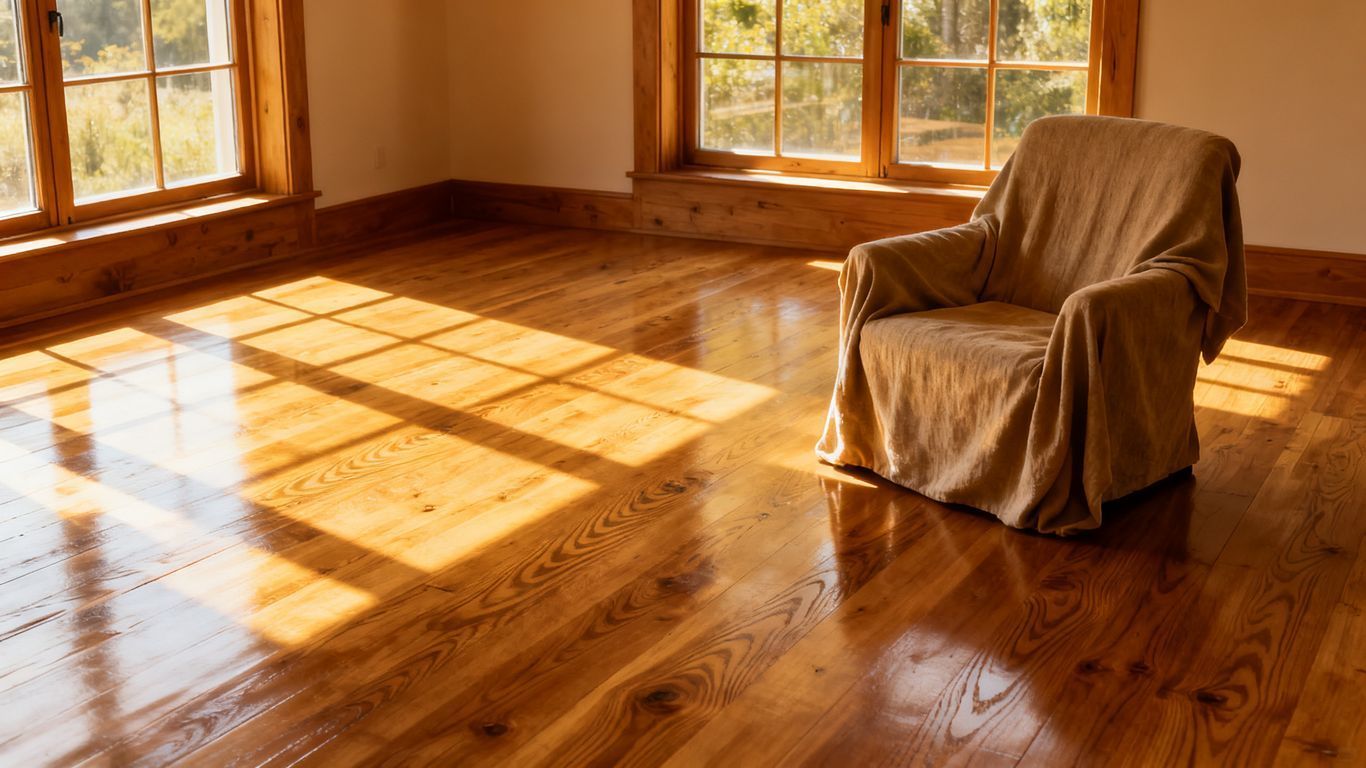
Preparing Your Home For The Refinishing Work
Before the sanding even begins, you've got some prep to do. You'll need to clear out all furniture and belongings from the rooms being refinished. This means emptying closets, taking down drapes, and moving everything to a safe space, like a garage or a rented storage unit. Also, make sure to disconnect and move any electronics. You'll also want to protect areas not being worked on from dust. This usually involves sealing off doorways with plastic sheeting and tape. It's a bit of a hassle, but it's necessary to keep dust from spreading throughout your house. Plan for this disruption; you might need to stay elsewhere for a few days depending on the scope of the work and ventilation.
Common Hardwood Floor Issues Addressed By Refinishing
Refinishing hardwood floors can solve problems that make a home feel old and worn. If you’ve ever walked into a room and noticed scratched-up boards or faded spots, you know how distracting those things can be. Below, we’ll break down a few of the top issues and how refinishing really makes a difference.
Repairing Scratches And Dents Before Sanding
- Dragging furniture and daily foot traffic put dents and scratches in wood floors over time
- Small imperfections can sometimes be filled, but deep damage often needs professional attention
- Before sanding, it’s important to clean out debris from gouges to get the smoothest end result
Taking care of scratches and dents before you refinish will make your floors look almost new again. If you’re not sure how bad the damage is, consider reading about how to evaluate old floors under carpets and what steps come next in the process (assess old hardwood floors).
Dealing With Faded Or Discolored Wood
Sunlight, spills, and cleaning products can fade wood color over the years. This patchiness can make even a tidy home look neglected. When you sand away that old surface, you strip off the tired finish and reveal fresh wood underneath. Then, new stain gives your floor a clean, even look.
Sometimes it’s shocking how much brighter and newer a room looks after old stains disappear. Suddenly, the place doesn’t feel dull anymore.
Restoring Worn-Out Areas To Their Former Glory
- High-traffic zones—hallways, kitchen spots, even the area near the front door—wear down faster
- These spots can look almost gray or “bare” compared to the rest of the floor
- Refinishing blends these worn areas back in so the floors feel whole again
By tackling these common problems, refinishing turns floors that once seemed like a problem into something guests and buyers will notice right away. If your goal is a quick refresh before selling, focusing on these fixes could make a real difference.
Choosing The Right Finish For Hardwood Floor Refinishing
Selecting a finish for your floors isn't just a matter of color—it actually changes the whole look and feel of a room. Whether you want something shiny or more subdued, the finish you pick will also affect how you maintain your floors down the line. Let's break it down so you can find what works for your space.
Exploring Different Sheen Levels: Matte To High Gloss
When you're trying to decide on the sheen of your floor, there are a few main options to think about:
- Matte: This gives a natural, understated look and hides scratches pretty well.
- Semi-gloss: Offers a bit of shine, making the wood look richer, but it does show dust and imperfections more than matte.
- High gloss: Super shiny and eye-catching, but honestly, any pet hair or footprints will show up quickly.
Matte and satin finishes have been trending, especially if you want a modern feel, while glossy finishes are a bit more formal and classic.
Durability And Maintenance Of Various Finishes
Not all finishes hold up the same, so it's good to consider how much traffic your floors get and how much time you want to spend cleaning. Here are a few types to think about:
- Polyurethane: Known for toughness and simple upkeep. Available in both oil- and water-based forms.
- Acrylic urethanes: Similar to polyurethane in many ways, but provide excellent wear and water resistance, as you can see with some acrylic-impregnated wood options (acrylic-impregnated woods offer durability).
- Traditional wax: Gives a warm, classic appearance but needs more frequent touch-ups and care.
Selecting A Stain Color That Appeals To Buyers
Picking a stain color can actually tip the first impression in your favor. Neutral tones tend to be safe for most homes, but even a slightly bolder choice can work if it fits the house.
- Light-colored stains: Great for making small spaces look larger and hiding dust.
- Medium stains: These are timeless, easy to match with different furniture, and look good in almost any setting.
- Dark stains: Dramatic and elegant, but they really highlight dust, hair, and scratches.
If you’re getting your home ready for spring buyers, it's smart to choose a color and finish that feels fresh and appealing to most people, not just your own taste.
Thinking through your finish now saves you a lot of trouble tomorrow. You want something that'll hold up, look good, and won’t chase off potential buyers because it’s too flashy or too bland. Choosing the right finish can actually make all the difference when folks come to see your home.
Picking the perfect look for your wooden floors can seem tricky. There are many choices, and each one changes how your home feels. We can help you figure out the best way to make your floors look amazing. Ready to give your floors a fresh new style? Visit our website to see all the options and get a free quote today!
A Fresh Start for Your Home Sale
So, you've put in the work to get those hardwood floors looking great. It really makes a difference, doesn't it? A good refinish can really catch a buyer's eye and show them that your home has been well cared for. It’s a solid investment that often pays off when it’s time to sign on the dotted line. Think of it as one less thing for the new owners to worry about, and a big plus for your home's overall appeal this spring selling season.
Frequently Asked Questions
Why should I refinish my hardwood floors before selling?
Refinishing your hardwood floors makes them look amazing! It's like giving them a fresh, new look. This really grabs buyers' attention and makes them think your house is well-cared for, which can help you sell it faster and for more money.
What's the main goal when refinishing floors for selling?
The main goal is to make your floors look their absolute best. We want to get rid of any scratches, old, worn-out finishes, and dullness. The idea is to make them look bright, clean, and inviting, so potential buyers can easily picture themselves living there.
Can I do the refinishing myself, or should I hire someone?
You can definitely try doing it yourself if you're handy and have the time. However, it's a lot of work, and professionals have the right tools and experience to do a really great job. If you want perfect results and don't want the hassle, hiring a pro is usually the way to go.
How long does it take to refinish hardwood floors?
The time it takes depends on the size of your home and whether you do it yourself or hire someone. Generally, the sanding and staining might take a few days, but the most important part is letting the finish dry and harden properly, which can take several more days. You'll need to stay off the floors during this time.
What if my floors have deep scratches or dark spots?
Refinishing is great for fixing those issues! The sanding process removes the top layer of wood, taking scratches and discoloration with it. If there are very deep gouges, a professional might need to do some wood filling first, but generally, sanding smooths out most problems.
What kind of finish should I choose for my floors?
For selling, it's best to pick a finish that looks natural and appeals to most people. A satin or semi-gloss finish is usually a safe bet. It gives a nice shine without being too slippery or showing every little speck of dust. It also protects the wood well.