Common Hardwood Floor Problems We Fix Every Spring
Spring is finally here, and with the warmer weather, it's the perfect time to give your home a good once-over. That includes your beautiful hardwood floors. Winter can be tough on them, bringing moisture, heavy foot traffic, and maybe even some furniture rearranging. If you're noticing some issues, don't worry. Many common hardwood floor problems pop up this time of year, and luckily, most are fixable. This guide will help you spot what needs attention and how to tackle it, making your floors look great for the rest of the year. We'll cover everything from warped planks to dull finishes, focusing on effective hardwood floor repair in spring.
Key Takeaways
- Winter's moisture can cause hardwood planks to warp, a common issue needing attention in spring.
- Scratches and dents from furniture are often more noticeable after winter, requiring specific repair techniques.
- Sunlight can fade and discolor hardwood floors, especially as days get longer in spring.
- Seasonal changes can lead to gaps between floorboards due to wood expanding and contracting.
- A worn finish makes hardwood floors look dull, and spring is a good time for refinishing.
Warped Planks From Winter Moisture
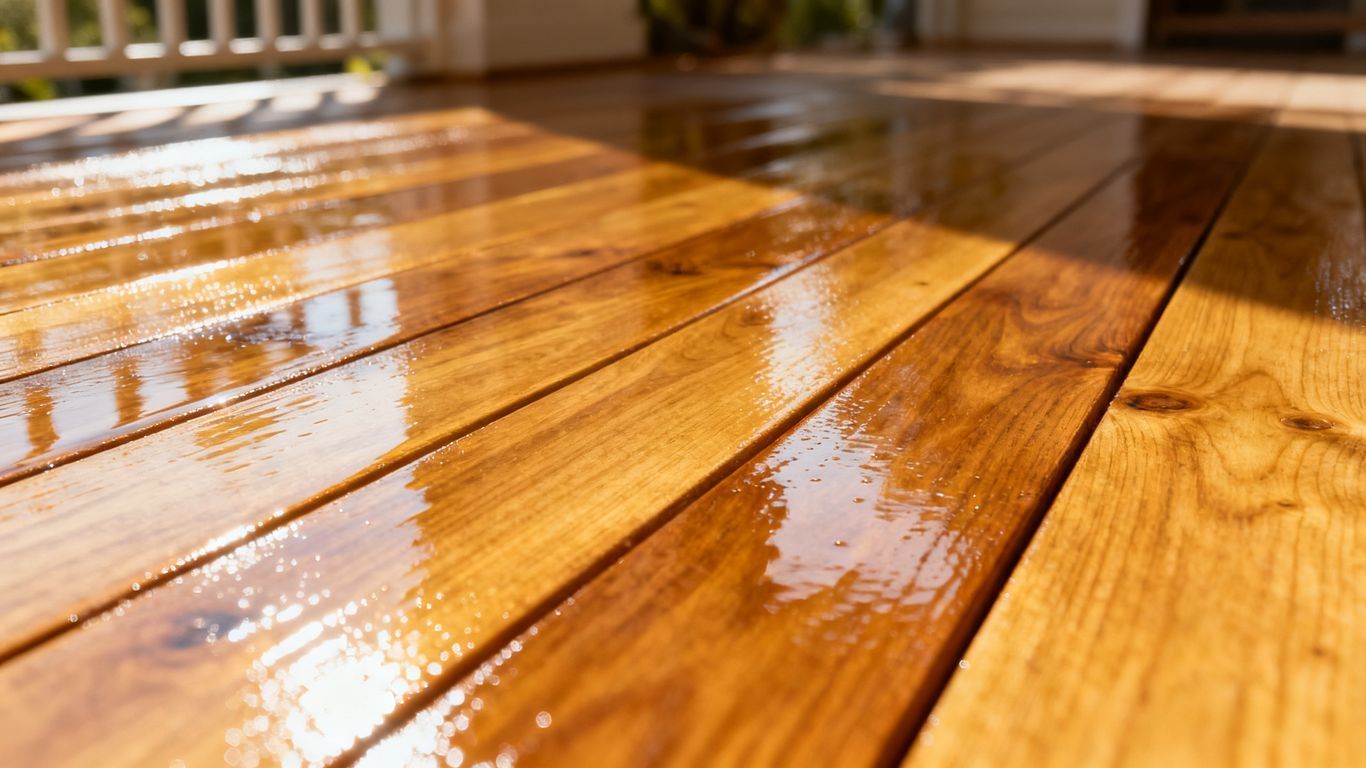
Winter can be tough on hardwood floors. All that snow, ice, and then the indoor heating kicking into high gear can really mess with your wood. You might start noticing some planks aren't lying flat anymore. They can look like little waves or humps, especially near windows or doors where the temperature changes the most. It's a common issue we see a lot when the snow melts and things start to dry out.
Identifying Warped Hardwood
Warping shows up in a few ways. Sometimes it's a gentle curve, other times it's more like a twist. You might see gaps appearing between boards because they're pulling away from each other. The most obvious sign is when a plank no longer sits flush with its neighbors, creating a noticeable height difference. This can make walking feel uneven and even become a tripping hazard if it's bad enough. It's not just about looks; it means the wood's structure is changing.
Causes of Winter Moisture Damage
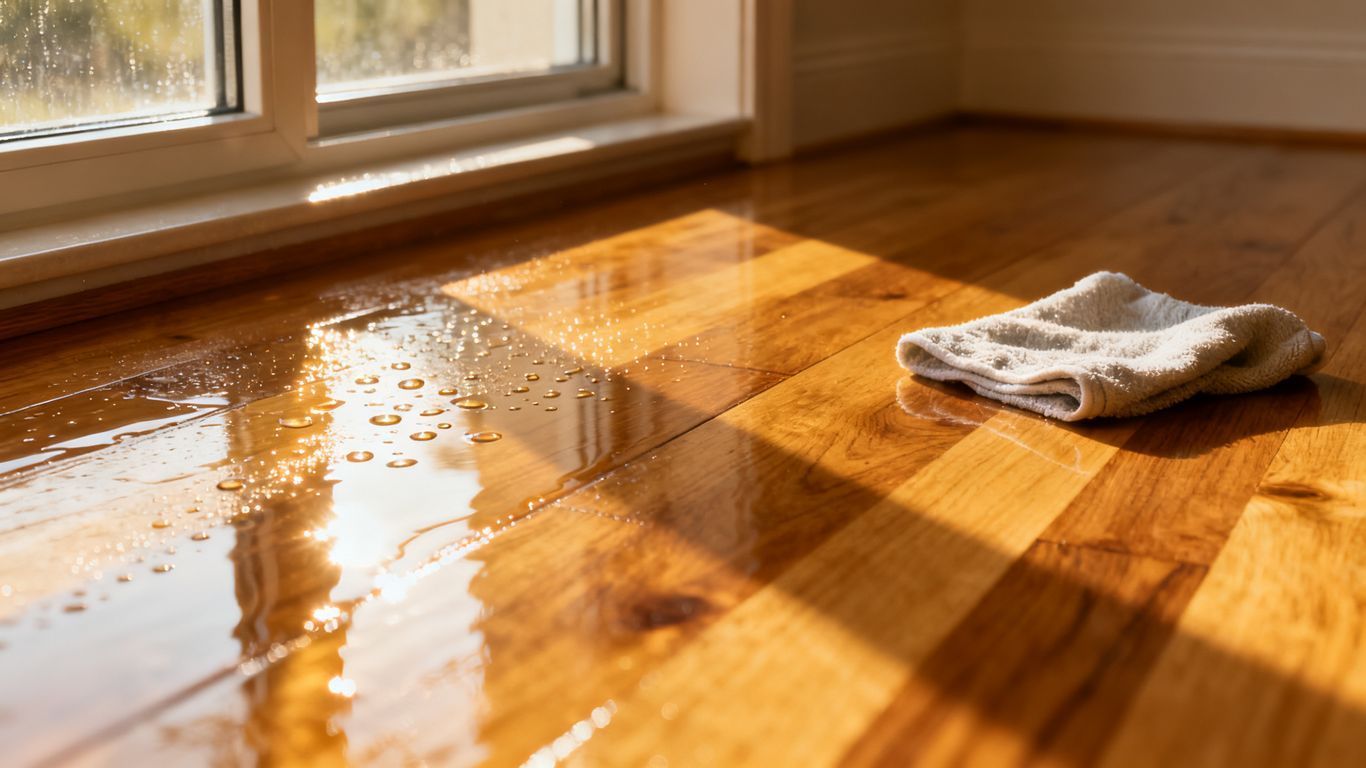
So, what exactly causes this? It usually comes down to moisture. During winter, snow and ice get tracked inside. Even if you wipe your feet, some dampness gets on the floor. Then, your heating system dries out the air inside your home. This rapid change from wet to dry, or even just fluctuating humidity levels, makes the wood expand and contract. Wood is a natural material, and it reacts to its environment. When one side of a plank gets more moisture than the other, or when it dries out too quickly, it can cause that uneven movement we call warping. Think of it like a sponge – when it gets wet, it swells, and when it dries, it shrinks.
Springtime Repair Strategies
Fixing warped planks depends on how bad the damage is. For minor issues, sometimes just controlling the humidity in your home can help the wood settle back down over time. We recommend using a humidifier in drier months and a dehumidifier when it's damp. If the warping is more serious, we might need to:
- Carefully remove the damaged plank(s).
- Assess the subfloor for any moisture issues that need addressing.
- Replace the warped boards with new ones that have been acclimated to your home's environment.
- Secure the new planks properly to prevent future movement.
Sometimes, the subfloor itself can hold moisture, making the problem worse. It's important to check that everything underneath is dry and stable before putting new flooring down. Ignoring the subfloor can lead to the same warping issues happening again.
For really severe cases where multiple planks are affected or the warping is extreme, a full floor refinish or even partial replacement might be the best route. The goal is always to get your floors looking good and feeling solid again.
Scratches and Dents From Heavy Furniture
Heavy chairs, couches, and even rolling carts can really scratch up a hardwood floor. If your living room looks like a racetrack or your dining area has mysterious dings, you’re not alone—furniture is rougher on wood than most people think.
Assessing Surface Damage
Spotting scratches and dents before they get worse makes a difference. Some clues:
- Shallow lines that catch the sunlight
- Tiny pits right where a heavy piece sits
- Deeper gouges that sometimes get dirty
Often, what looks like a huge, ugly mark fades when you check it from different angles. Still, even a small scrape can mess with the look of natural wood grain if you let it go.
Preventing Future Scratches
Staying ahead of destruction is way easier than fixing it. Try a few quick things:
- Stick felt pads under every chair leg and table foot—seriously, every one.
- Don't slide stuff; lift it whenever you can.
- Keep small pebbles and grit out with regular sweeping.
Just a few good habits go a long way in keeping those floors smoother over time.
Repairing Dents and Scratches
When fixing a dent, don’t panic or overthink it. If the ding isn’t too deep, you can start by lightly sanding off the finish above the spot. Then, a simple trick: place a damp towel over the dent and run a warm iron across it for a few seconds. The steam can swell and lift the wood fibers almost like new. For more on getting dents out, check the easy method described in repair a dent in a hardwood floor.
If the scratch or dent doesn’t disappear after one try, don’t give up. Go slow and repeat your steps—sometimes it takes a few rounds to get floors looking right again.
Fading and Discoloration Due to Sunlight
Recognizing Sun Damage on Floors
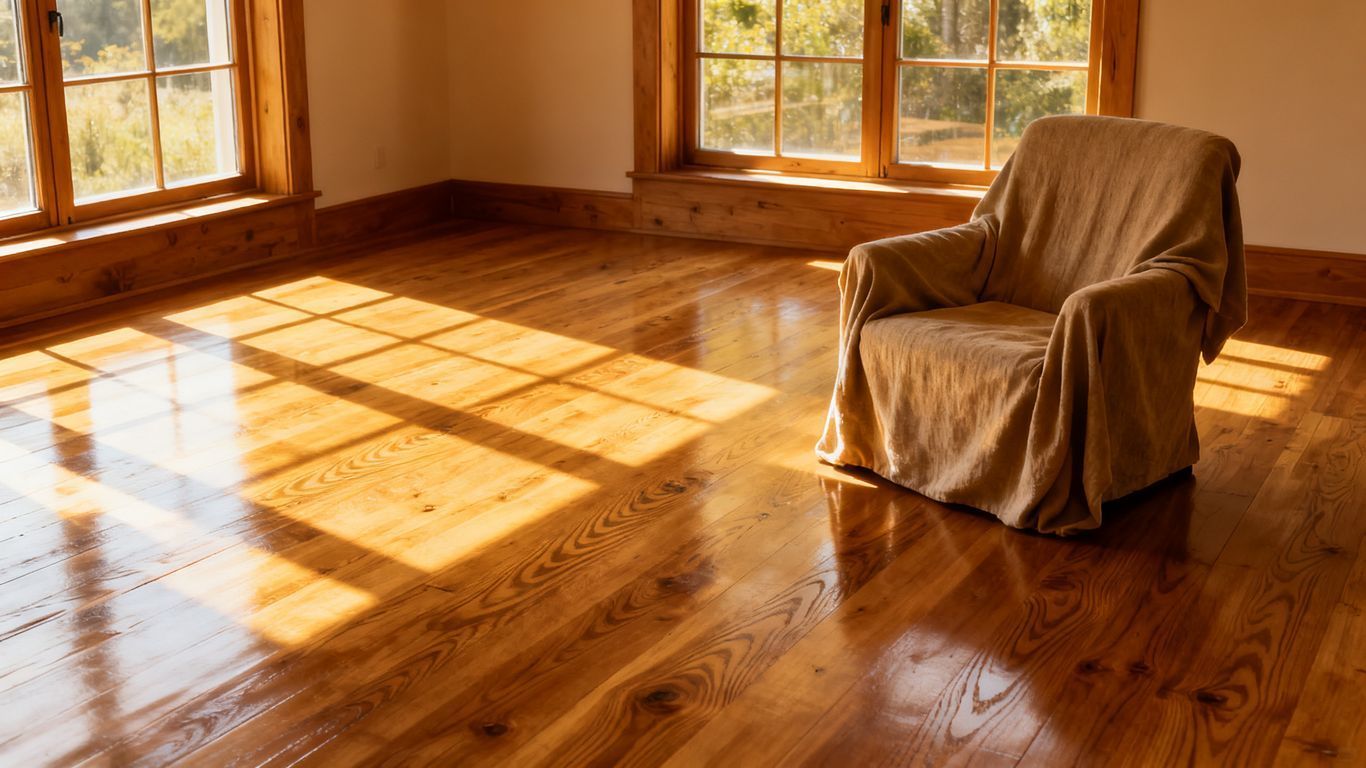
Spring is a great time to notice how the sun has treated your floors over the winter. You might be surprised to see that some areas of your hardwood look lighter or even a bit washed out. This happens because ultraviolet (UV) rays from the sun can break down the wood's natural pigments and the finish over time. It's not just about aesthetics; prolonged sun exposure can weaken the wood itself. You'll often see this most clearly near windows or sliding glass doors where the sun hits directly for extended periods. Sometimes, it's a uniform fading, but other times, you might see distinct lines where furniture or rugs blocked the sun, creating a noticeable contrast.
Protecting Floors from UV Rays
Dealing with sun damage is easier if you prevent it in the first place. Think about how you protect your skin from the sun; your floors need similar care.
- Window Treatments: Use curtains, blinds, or shades. Even sheer ones can block a good amount of UV light. For really sunny spots, consider UV-filtering films you can apply directly to the glass.
- Furniture Placement: Try not to keep heavy furniture in the exact same spot for years on end, especially in direct sunlight. Moving things around occasionally can help the floor age more evenly.
- Area Rugs: While rugs protect the floor underneath, they also create a contrast when removed. Using rugs in sunny areas is still a good idea, but be mindful of the fading pattern they can create.
The sun's rays are powerful, and even though wood is tough, it's not immune to their effects. Over time, this constant bombardment can change the color and even the integrity of your flooring. It's a slow process, but one that becomes very apparent when you start looking closely.
Restoring Faded Hardwood
If you've noticed fading, don't despair. There are ways to bring back your floor's original look. The approach depends on how bad the damage is. For minor fading, sometimes a good cleaning and a fresh coat of polish or wax can help even out the appearance. If the finish itself is worn and the wood is exposed, you might need to consider refinishing. This involves sanding down the old finish and applying a new one. For very deep discoloration that has penetrated the wood, more intensive treatments or even board replacement might be necessary. It's often best to consult with a flooring professional to figure out the right plan for your specific situation.
Loose Boards Requiring Re-nailing
Every spring, it's common to hear that signature creak as you walk across the old boards in your hallway. Loose floorboards are more than just annoying—they can actually make walking feel unsteady and get worse if not fixed. If your hardwood is starting to shift or give under your steps, it's probably time to grab your tools.
Detecting Loose Flooring
When determining if your boards are loose, it's usually one of these signs:
- Boards move up and down or side-to-side with each step
- Noticeable squeaks or creaking in specific spots
- Nails visible above the surface or signs of separation from the subfloor
Often, a simple walk through your rooms is enough to know where trouble spots are. That slight movement isn't your imagination—spring air dries out wood and loosens nails after winter.
Why Boards Loosen Over Time
Hardwood is always changing with the seasons. Here’s what usually causes loosening:
- Dry winter air shrinks boards, pulling them away from nails.
- Heavy foot traffic and moving furniture works nails out slowly.
- Nails that weren’t set deep enough when installed start to pop up after a few years.
Spring is the best time to check because the boards have usually shrunk as much as they will all year.
Securing Loose Hardwood
Re-nailing isn't as hard as it sounds. If a board won’t stay flat or makes noise, you can get it back in place with these steps:
- Tap the board down firmly to see if it will settle by pressure alone.
- Use thin, long flooring nails at an angle through the edge of the board for better grip.
- Tap the nails slightly below the wood surface and cover with a bit of putty for a clean look. (If your repair leaves a small chip, fixing chipped hardwood is simple with the right putty.)
If you put in a little regular maintenance each spring, your hardwood will last years longer and feel a lot better underfoot—without those annoying squeaks and loose spots.
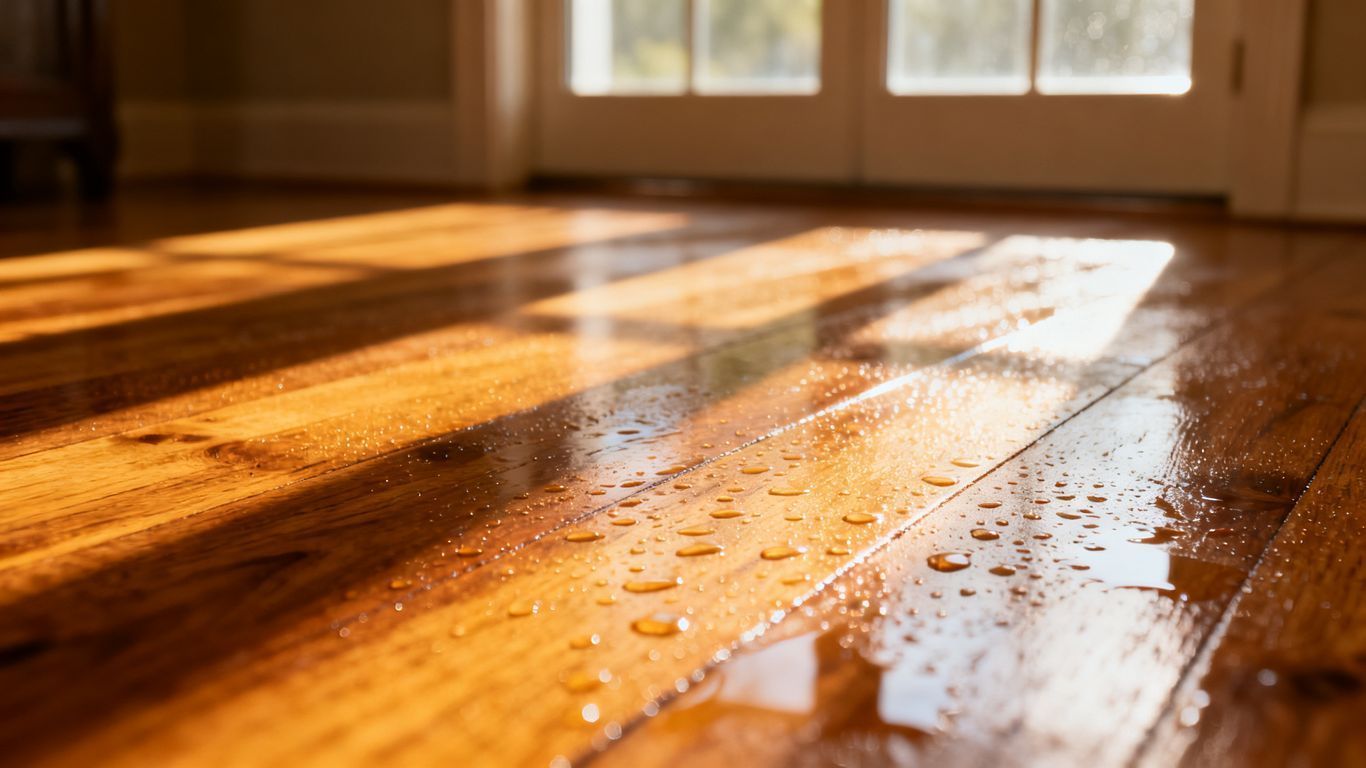
Gaps Appearing Between Floorboards
You might notice some small spaces popping up between your hardwood floor planks, especially after a long winter. It's a pretty common sight, and usually, it's just the wood doing its thing.
Understanding Floorboard Gaps
These gaps aren't always a sign of a major problem. Hardwood is a natural material, and it reacts to its surroundings. When the air gets dry, like it often does in the winter with heating systems running, the wood loses some moisture. This moisture loss causes the planks to shrink slightly. Think of it like a sponge drying out – it gets smaller. When the planks shrink, they pull away from each other, creating those little gaps you see. The size of the gap can tell you a lot about how much moisture has been lost.
Seasonal Expansion and Contraction
This shrinking and expanding is a normal part of owning hardwood floors. It's most noticeable between seasons. Winter's dry air causes contraction, leading to gaps. Then, when spring arrives and humidity levels rise, the wood absorbs moisture and expands again, often closing those gaps. However, if the gaps are quite large or don't close up in the warmer months, it might indicate a more significant issue with humidity control or the installation itself.
It's important to remember that wood is alive, in a way. It breathes and changes with the environment. While some seasonal movement is expected, extreme changes can stress the wood and the floor as a whole. Maintaining a consistent indoor humidity level is key to keeping your floors happy.
Filling Gaps in Hardwood Floors
For minor gaps that appear seasonally, you might not need to do much. They often resolve themselves with changing humidity. If the gaps are persistent or unsightly, there are a few ways to address them:
- Wood Filler: For smaller, stable gaps, a good quality wood filler can be applied. You'll want to match the color of your floor as closely as possible for a natural look.
- Caulking: In some cases, a flexible wood-colored caulk can be used, especially if there's a chance of slight movement.
- Professional Assessment: If the gaps are wide, uneven, or you're unsure about the cause, it's best to call in a professional. They can determine if the issue is just seasonal shrinkage or something more serious, like a subfloor problem or improper installation. They might suggest re-nailing or even more involved repairs.
Dealing with these gaps is often about managing your home's humidity levels. Aim for a steady 40-50% relative humidity year-round if possible. A humidifier in the winter and a dehumidifier in the summer can make a big difference for your floors and your comfort.
Worn Finish and Dull Appearance
Signs of a Worn Finish
Over time, even the toughest hardwood floors can start to show their age. The protective top layer, often called the finish, takes a beating from daily life. You might notice it first as a general dullness that seems to settle over the entire floor, no matter how much you clean it. Sunlight can also play a role, breaking down the finish in certain areas. Look closely for areas that appear lighter or have lost their sheen, especially in high-traffic zones like hallways and living rooms. Sometimes, you'll see faint scratches or scuff marks that don't seem to buff out anymore. This is your floor telling you it's time for some attention.
The Importance of Protective Coating
That finish isn't just for looks; it's the primary shield for your wood. It protects the planks from spills, dirt, and everyday wear and tear. Without a good finish, the wood itself is exposed and much more vulnerable to damage. Think of it like a raincoat for your floor – it keeps the water (and everything else) out. A well-maintained finish means your floors will last longer and look better for years to come.
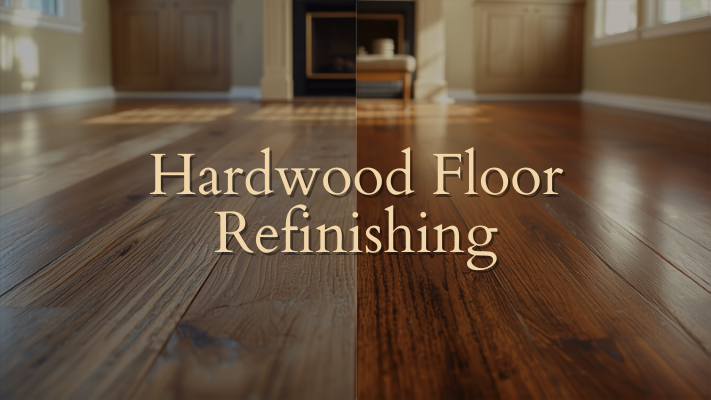
Refinishing Your Hardwood Floors
When the finish is truly worn out, refinishing is often the best solution. It's a multi-step process that brings your floors back to life:
- Sanding: This is the most labor-intensive part. We use specialized machines to carefully sand off the old, damaged finish and any minor imperfections in the wood. This creates a smooth, clean surface.
- Staining (Optional): If you want to change the color or deepen the existing tone, this is when we apply stain. We can achieve a wide range of looks.
- Applying New Finish: Several coats of a durable finish are applied. This is what gives your floor its protective layer and beautiful sheen back. We typically use polyurethane or similar modern finishes for maximum durability.
Refinishing isn't just about making your floors look good again; it's an investment in their longevity. It addresses the wear and tear that accumulates over years, effectively giving your hardwood a new lease on life and protecting your home's value. It's a bit of work, sure, but the results are usually pretty dramatic.
While DIY refinishing is possible, it's a demanding job that requires skill and the right equipment. For most homeowners, hiring professionals ensures a smooth, even finish and a result that truly transforms the space.
Is your hardwood floor looking a bit tired and losing its shine? Over time, floors can get scuffed and their color can fade, making them seem old and worn. But don't worry, there's a simple fix! We can bring back the beauty of your wood floors. Visit our website today to see how we can make your floors look new again!
Don't Let Spring Bring Floor Woes
So, as the snow melts and we start thinking about spring cleaning, take a good look at your hardwood floors. Those little issues you noticed over winter, like scratches or dull spots, don't usually fix themselves. It's actually the perfect time to get them sorted. A little attention now can make a big difference, keeping your floors looking good for years to come. If you're not sure where to start, or if the problems seem a bit much, that's okay. We're here to help get your floors back in shape so you can enjoy your home all season long.
Frequently Asked Questions
Why do my hardwood floors get wavy or bent after winter?
Winter's damp air can make your wood floors soak up moisture, causing the planks to swell and bend. Think of it like a sponge getting wet – it gets bigger! This is especially common when indoor heating systems dry out the air, and then outside humidity comes in.
What causes scratches and dents on my wood floors, and how can I fix them?
Heavy furniture, pet claws, and even grit tracked in from outside can leave marks. Small scratches can often be buffed out or filled with a wood repair crayon. For deeper dents, we might need to carefully fill them or even replace the damaged board.
My floors look lighter in some spots. Is the sun ruining them?
Yes, direct sunlight can act like a slow bleach on hardwood, fading the color over time. Keeping curtains or blinds closed during the sunniest parts of the day can help protect your floors. We can also use special treatments to bring back the color.
Some of my floorboards feel loose when I walk on them. What's happening?
Over time, the nails holding your floorboards can loosen, especially with changes in temperature and humidity. This causes that annoying creaking or shifting feeling. We can usually fix this by carefully re-nailing the loose boards back into place.
Why are there little spaces opening up between my wood floor planks?
Wood naturally expands and shrinks with changes in temperature and moisture. In dry winter months, the wood shrinks, creating small gaps. When it's more humid, it expands again. We can fill these gaps to make your floor look smooth again.
My wood floor doesn't shine like it used to. What can be done?
The protective top layer, called the finish, can wear down over time from foot traffic and cleaning. This makes the floor look dull. We can often restore the shine by cleaning the floor thoroughly and applying a new protective coating, or sometimes a full refinish is needed.