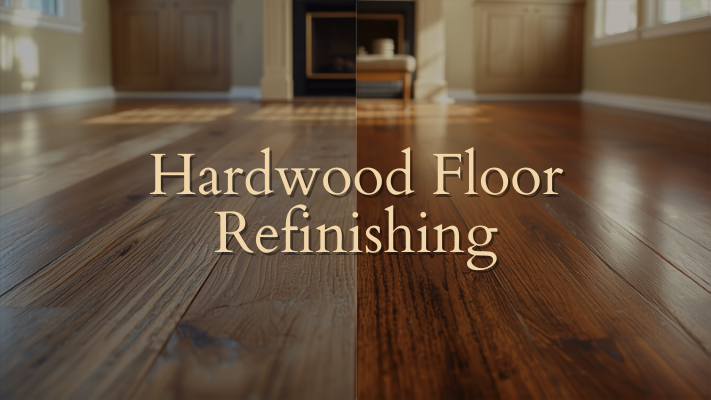
Year-End Upgrade: Installing New Hardwood Floors in Dalton & Ringgold
Thinking about giving your home a fresh look before the year wraps up? Installing new hardwood floors is a fantastic way to do just that. It adds warmth and style, and when done right, it really makes a house feel like a home. If you're in Dalton or Ringgold and considering this kind of upgrade, there's a bit to think about. From picking the wood to finding someone to do the actual hardwood floor installation Dalton Ringgold, we'll walk through what you need to know.
Key Takeaways
- When picking wood for your floors, think about different types like oak or maple, and decide if solid wood or engineered wood works best for your house and lifestyle.
- Before the installers arrive, make sure the room is clear and the floor underneath is in good shape. New wood needs time to adjust to your home's temperature and dampness.
- The actual installation involves careful nailing or gluing, and making sure edges and doorways look neat. Good work here means the floor lasts longer.
- After installation, floors get a final smoothing with sanding, and then a protective coat is put on to give them a nice finish and keep them looking good.
- To keep your new hardwood floors looking great, clean them regularly, watch out for scratches and water, and give them a good cleaning now and then.
Choosing The Right Hardwood Floor Installation Dalton Ringgold
Picking out new hardwood floors can feel like a big decision, and honestly, it is! You want something that looks good, lasts a long time, and fits your life in Dalton or Ringgold. It's not just about picking a color; there's more to it than that.
Understanding Wood Species For Your Home
Different types of wood have their own personalities, so to speak. Some are harder and can take more of a beating, which is great if you have pets or kids running around. Others are softer and might show dents more easily, but they can have a really beautiful, unique grain.
- Oak: Super common, strong, and comes in red and white varieties. It's a solid choice for most homes.
- Maple: A bit harder than oak, with a smoother, more uniform look. Great for a clean, modern feel.
- Hickory: One of the hardest woods out there. If you need something tough, hickory is your guy.
- Walnut: Beautiful, rich color, but it's softer than oak. It's more for a statement piece than a high-traffic zone.
Think about how you actually use your space. Are you constantly moving furniture? Do you have a dog that loves to zoom? These things matter when you're picking a wood that can keep up.
Engineered vs. Solid Hardwood Options
This is a big one. Solid hardwood is exactly what it sounds like – one solid piece of wood. It can be sanded down many times over the years, which is nice for refinishing. Engineered hardwood, on the other hand, is made of layers. The top layer is real wood, but underneath are other layers glued together. This makes it more stable, especially in places where the humidity changes a lot, like bathrooms or basements.
- Solid Hardwood:
- Can be sanded and refinished multiple times.
- Generally more expensive.
- Can be sensitive to moisture changes.
- Engineered Hardwood:
- More stable in varying humidity.
- Can only be refinished once or twice, if at all.
- Often a bit more budget-friendly.
Exploring Different Finishes And Styles
Once you've picked your wood and decided between solid or engineered, you get to play with finishes and styles. The finish is like the wood's protective coat, and it affects how it looks and how well it holds up.
- Finishes:
- Polyurethane: The most common. It's durable and comes in different sheens (matte, satin, semi-gloss).
- Hardwax Oil: Gives a more natural look and feel, but needs more upkeep.
- Styles:
- Plank Width: Narrow planks give a classic look, while wider planks feel more modern.
- Beveling: Some planks have a slight edge (bevel) that creates a small "V" groove between them. This adds definition but can also trap dirt.
- Color and Grain: From light, airy tones to deep, dark shades, and from straight grains to more swirly patterns, the options are pretty much endless.
Preparing Your Home For Hardwood Floor Installation
Getting ready for new hardwood floors is a big part of the process, and honestly, it's not something you want to rush. A little prep work now saves a lot of headaches later. Think of it like getting your house ready for a guest – you want everything to be just right.
Clearing The Space For Installation
This is pretty straightforward, but important. You'll need to move all the furniture out of the rooms where the new floors are going. This includes everything: couches, tables, beds, dressers, even those little decorative items on shelves. If you have a lot of stuff, consider renting a small storage unit for a week or two, or maybe ask a friend or family member if you can stash some things at their place. The installers need a completely clear area to work efficiently. Don't forget to empty out closets too, if they're part of the installation zone.
Subfloor Assessment And Preparation
The subfloor is what your new hardwood will sit on, so it needs to be in good shape. Your installer will check it for:
- Levelness: Any dips or high spots can cause problems down the line, like squeaks or uneven boards.
- Dryness: Moisture is the enemy of wood. The subfloor needs to be completely dry.
- Integrity: It shouldn't be soft, rotten, or damaged in any way.
If there are issues, the installer might need to do some repairs, like adding leveling compound or replacing damaged sections. This is a good time to address any old carpet tack strips or staples too.
Acclimating Your New Flooring Materials
This step is super important and often overlooked. Wood is a natural material, and it expands and contracts with changes in temperature and humidity. Your new hardwood planks need time to adjust to the conditions inside your home before they're installed. This process is called acclimation.
Your installer will likely ask you to let the unopened boxes of flooring sit in the rooms where they'll be installed for at least 48-72 hours, sometimes longer depending on the wood and your climate. This allows the wood to reach equilibrium with your home's environment, preventing issues like gapping or cupping after installation.
So, plan ahead! Get the flooring delivered a few days before the installation date and have it brought into the rooms. It might seem like a small thing, but it makes a big difference in how your floors look and last.
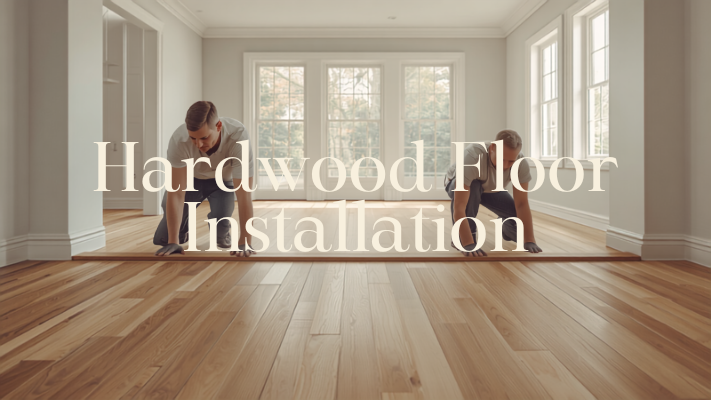
The Professional Hardwood Floor Installation Process
So, you've picked out your dream hardwood floors, and they're ready to go. Now comes the part where the magic really happens: the actual installation. This isn't just about slapping planks down; it's a skilled job that makes a big difference in how your floors look and how long they last. Getting this part right is key to a beautiful, durable floor.
Precision Nailing And Gluing Techniques
Professionals use specific methods to make sure your new wood floors stay put. For solid hardwood, they often use a combination of nailing and gluing. A specialized flooring nailer drives thin nails at an angle through the tongue of the plank, securing it to the subfloor. This is usually paired with a strong adhesive applied to the subfloor or the back of the plank itself. This double-duty approach prevents gapping and squeaking down the road. Engineered wood might be installed differently depending on its construction, sometimes just glued or even floated over an underlayment.
Seamless Transitions And Edge Work
Think about where your new hardwood meets other flooring types, like tile in the kitchen or carpet in a bedroom. Installers pay close attention to these transition points. They use special strips or pieces to create a smooth, clean line that looks intentional, not like an afterthought. This also applies to edges, like along walls or staircases. They make sure everything is cut precisely and finished neatly, so there are no awkward gaps or rough spots. It's all about making the new floor look like it belongs there.
Expert Installation For Durability
What really separates a pro job from a DIY attempt is the attention to detail that leads to long-term durability. Pros know how to handle different types of subfloors, account for humidity changes, and lay planks with the correct spacing. They understand the expansion and contraction of wood, which is vital for preventing buckling or warping. They also know how to work around obstacles like vents or doorways without making it look messy. It's this know-how that gives you floors you can enjoy for decades.
The installation process involves several steps that require specific tools and a good eye. It's not just about laying down boards; it's about creating a stable, attractive surface that will stand up to daily life. Professionals have the experience to anticipate problems and solve them before they become issues, leading to a much better final result.
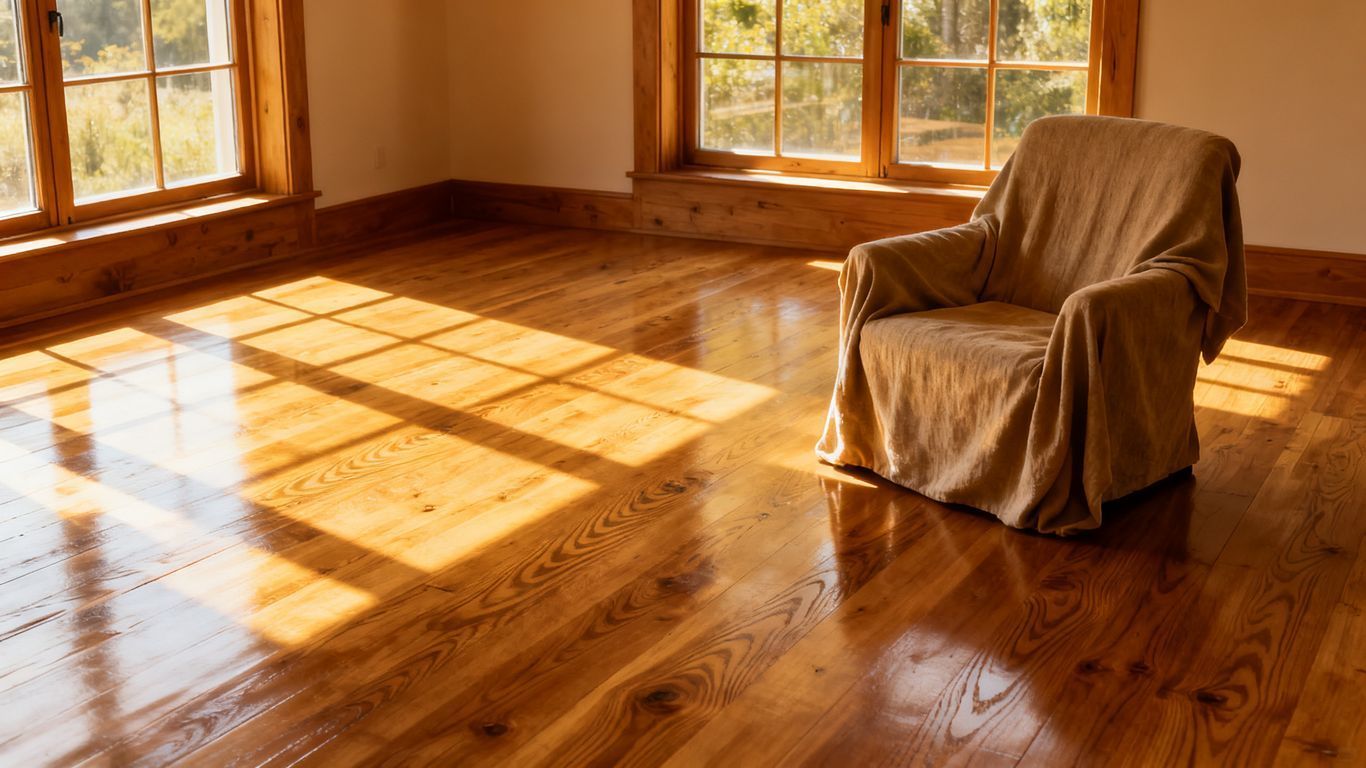
Finishing Touches For Your New Hardwood Floors
So, you've got your beautiful new hardwood planks all laid down. That's a huge step! But we're not quite done yet. The final stages are what really make those floors pop and ensure they stand up to daily life.
Sanding And Refinishing For A Smooth Surface
Even with pre-finished flooring, sometimes a light sanding is needed to get everything perfectly level. If you went with unfinished wood, this is where the magic really happens. A good sanding removes any minor imperfections from installation and creates a perfectly smooth canvas. We're talking about getting rid of little bumps or uneven edges so the surface is totally flat. This step is key for a professional look.
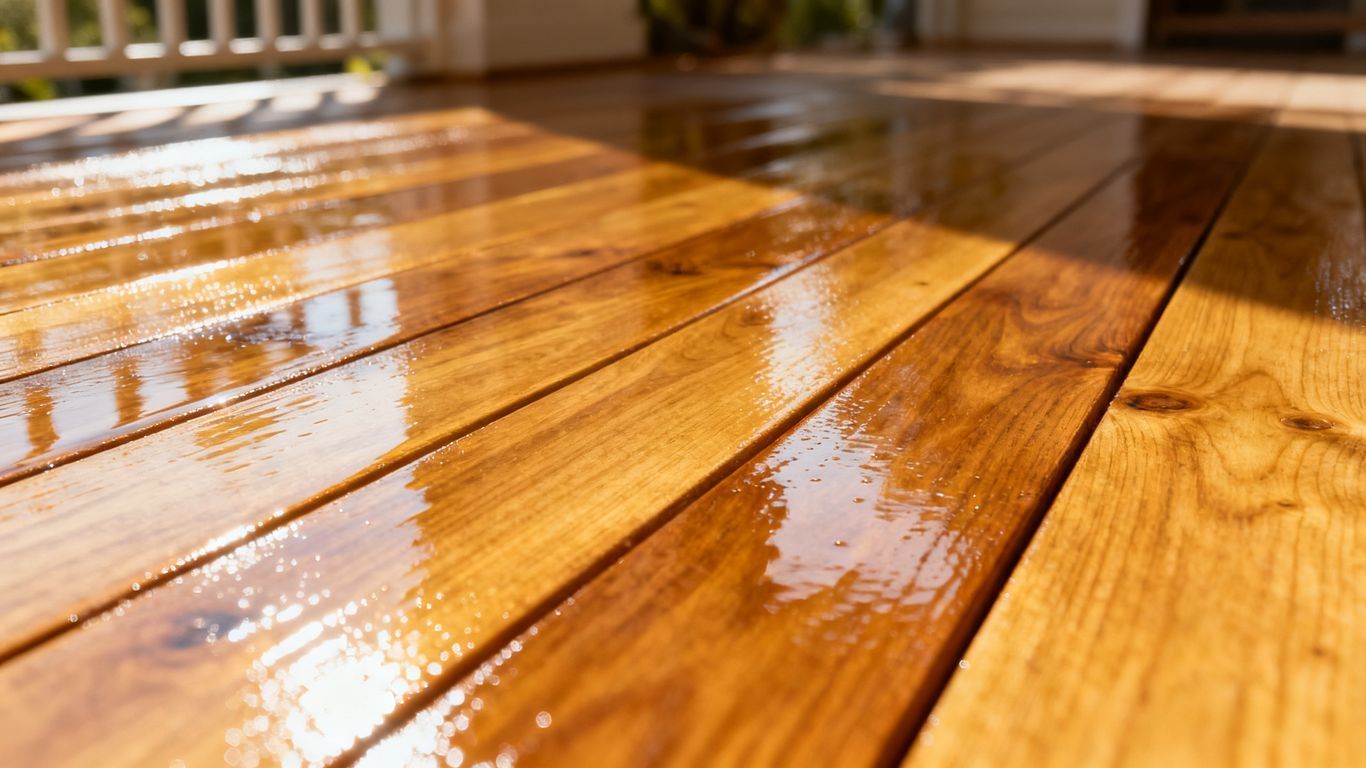
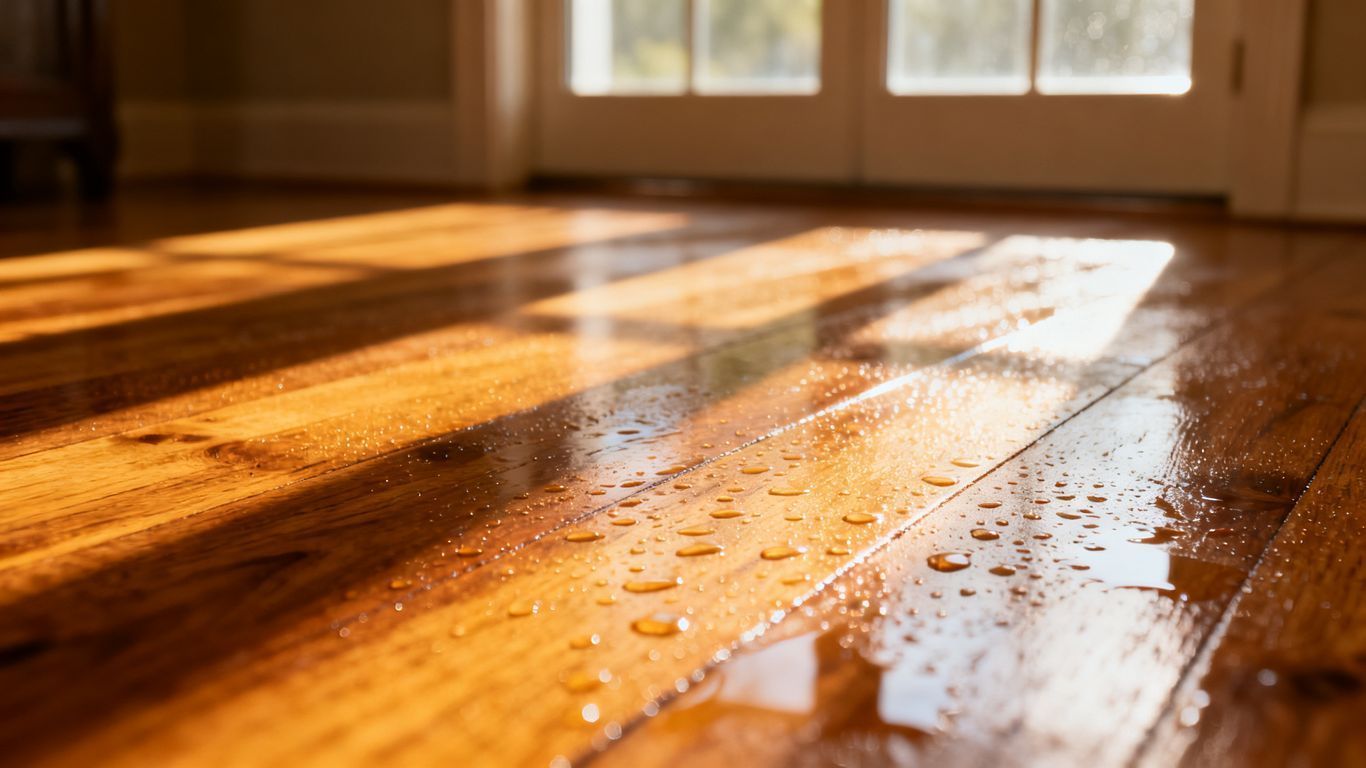
Applying Protective Sealer And Top Coats
After sanding, it's time to protect your investment. A good sealer goes down first, filling in the wood grain and preparing it for the top coats. Then come the top coats – usually polyurethane, water-based finishes, or oil-based options. These are what give your floors their sheen and, more importantly, their defense against spills, scuffs, and wear. You'll typically want at least two or three coats for good protection.
- Sealer Coat: Prepares the wood.
- First Top Coat: Adds initial protection and builds thickness.
- Second (and Third) Top Coat: Provides the main wear layer and desired sheen.
Choosing the right finish is a big deal. It affects not only how your floors look but also how easy they are to clean and how well they hold up over time. Think about the traffic your floors will see and the general style you're going for.
Achieving A Flawless, Long-Lasting Shine
Each coat of finish needs proper drying time. Rushing this can lead to a dull or uneven appearance. Sometimes, a very light buffing or sanding between coats is done to make sure each layer adheres well and the final surface is super smooth. The goal is a consistent sheen across the entire floor, making it look like one continuous, beautiful surface. For those looking to restore older floors, understanding the different restoration methods can help you decide if a full refinish is needed. The right finishing touches mean your new floors won't just look good; they'll last.
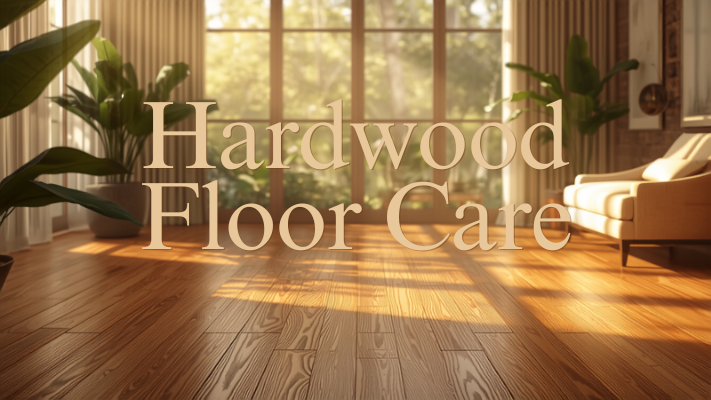
Maintaining Your Beautiful Hardwood Floors
So, you've got these gorgeous new hardwood floors in Dalton and Ringgold. They really make the place feel different, right? But now comes the part where you gotta keep them looking good. It’s not super hard, but you do need to pay a little attention.
Daily Cleaning and Dusting Tips
Think of this as the everyday stuff. You don't want dirt and grit hanging around because it can act like sandpaper on your floors over time. So, what's the plan?
- Sweep or dust mop regularly. I like to do this every couple of days, especially in high-traffic areas. A good quality dust mop with a microfiber head works wonders.
- Wipe up spills immediately. Seriously, don't let anything sit. Water, juice, whatever it is – grab a soft cloth and get it up. This is probably the most important habit to get into.
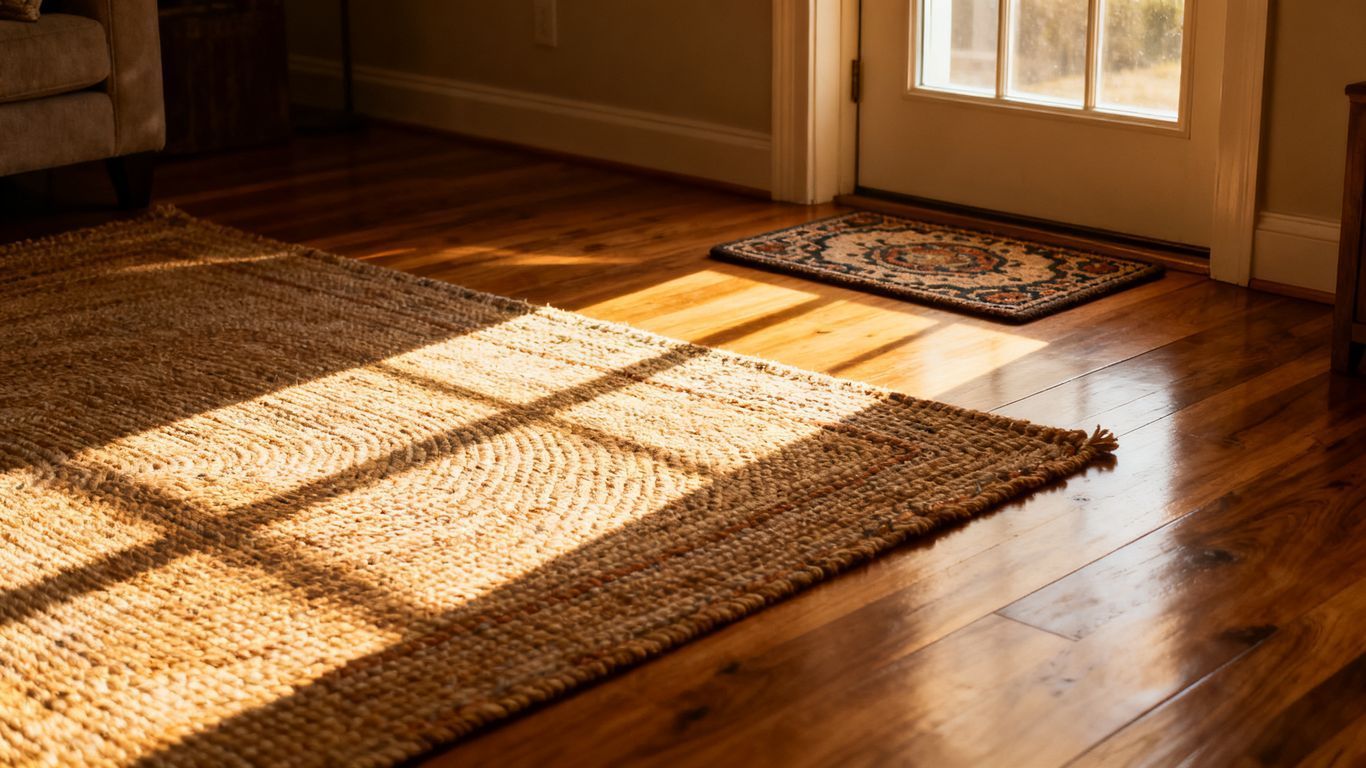
- Use doormats. Put them both inside and outside your main entrances. This catches a lot of the dirt before it even gets tracked onto the wood.
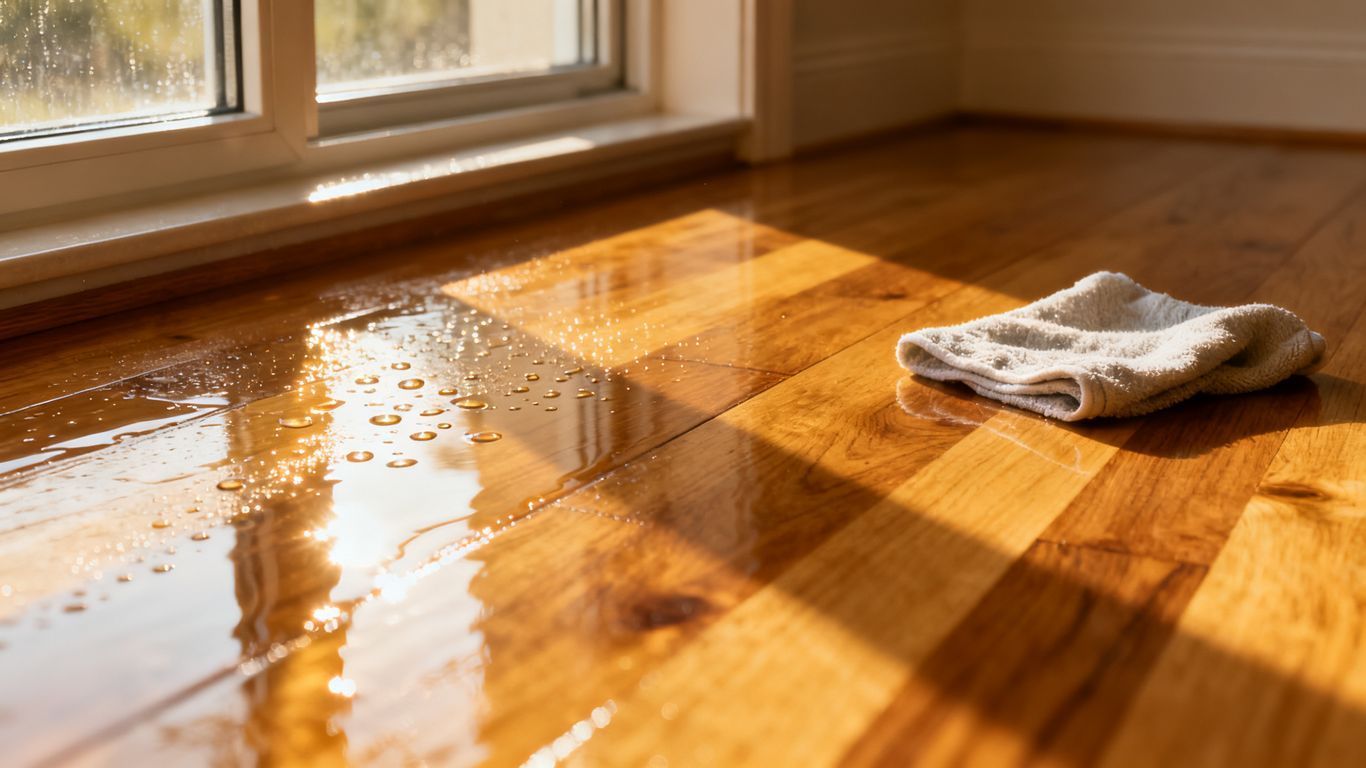
Protecting Floors From Scratches and Moisture
Beyond the daily sweep, there are other things to watch out for. Wood and water aren't best friends, and sharp objects can leave their mark.
- Furniture pads are your friend. Stick felt pads on the bottom of all your furniture legs – chairs, tables, sofas, you name it. It makes moving things so much easier and prevents those awful scratches.
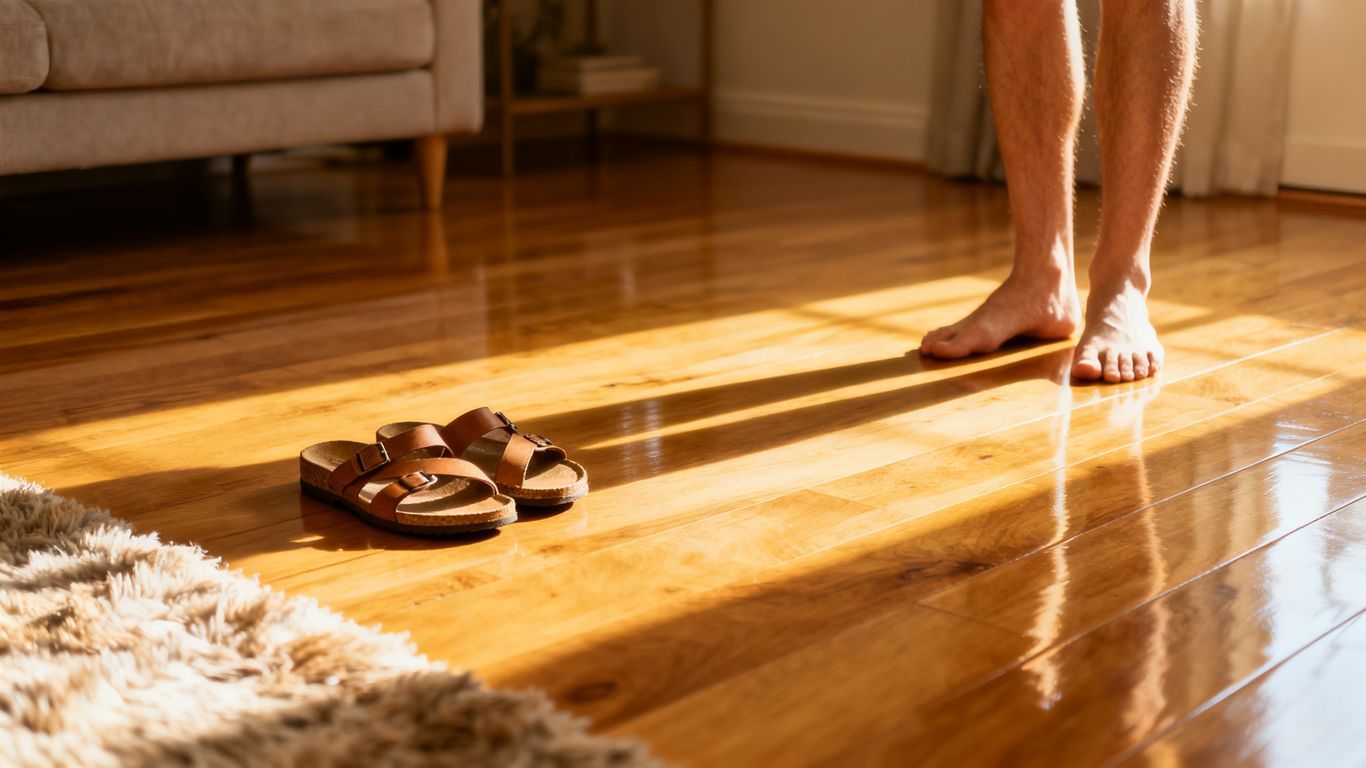
- Avoid high heels and cleats. If you're wearing shoes that could dent or scratch the floor, maybe take them off at the door. It’s a small change that makes a big difference.
- Be careful with pet claws. Keep your furry friends' nails trimmed. It helps a lot.
- Use rugs in key areas. Place area rugs in spots that get a lot of foot traffic, like hallways or in front of the sink. Just make sure they have a non-slip backing so they don't slide around.
Moisture is the enemy of hardwood. While modern finishes offer good protection, prolonged exposure can still cause damage. Think about what happens when a plant pot sits directly on the wood for weeks, or if a pet bowl leaks. These situations can lead to staining or even warping if left unchecked.
Periodic Deep Cleaning and Care
Once in a while, you'll want to do a more thorough clean. This isn't something you need to do every week, but it keeps the floors looking their best.
- Use a wood floor cleaner. Make sure it's specifically made for hardwood and follow the product instructions. Usually, you just need a slightly damp mop – not soaking wet.
- Check the finish. Over time, the protective coating can wear down, especially in busy spots. If you notice it looking dull or scratched, you might need to think about a recoat. This is different from a full refinish and can often be done without sanding.
- Address any damage promptly. If you get a deep scratch or a dent, it's better to fix it sooner rather than later. Sometimes a wood repair pen or putty can do the trick for minor issues.
Finding Quality Hardwood Floor Installation Dalton Ringgold Services
What To Look For In A Flooring Contractor
When you're ready to get new hardwood floors, picking the right person or company to do the installation is a big deal. You want someone who knows what they're doing, plain and simple. A good contractor will have a solid track record and be upfront about everything. Don't be afraid to ask questions. You're investing a good chunk of money, and you want it done right.
Here are a few things to check:
- Experience: How long have they been installing hardwood floors specifically? Ask if they have experience with the type of wood you're considering.
- Licensing and Insurance: Make sure they are properly licensed and insured. This protects you if something goes wrong.
- References: Ask for references from past clients. It's always good to hear from people who have used their services before.
- Communication: Do they explain the process clearly? Are they easy to get in touch with?
Getting Accurate Installation Quotes
Getting quotes is a necessary step, but it can feel a bit tricky. You want to compare apples to apples, so make sure each quote includes the same details. This means:
- Cost of materials (flooring, underlayment, nails, glue, etc.)
- Labor costs for installation
- Any prep work needed (like removing old flooring or fixing the subfloor)
- Details about the warranty or guarantee they offer
- Timeline for the project
Don't just go with the cheapest option. Sometimes, a lower price means they're cutting corners somewhere. It's better to pay a bit more for quality work that will last.
It's easy to get caught up in the numbers, but remember that the installation itself is a skill. A poorly installed floor can lead to problems down the road, like squeaks, gaps, or even warping. Think about the long-term value of a professional job.
Reviews And Recommendations For Local Pros
Word of mouth is still one of the best ways to find good help. Ask friends, family, or neighbors in Dalton and Ringgold if they've had hardwood floors installed recently and who they used. Online reviews can also be helpful, but take them with a grain of salt. Look for patterns in the feedback, both good and bad. A company that consistently gets good reviews for attention to detail and customer service is usually a safe bet. Check local business directories and flooring association websites too; they often have lists of reputable installers.
Looking for great hardwood floor installation in Dalton and Ringgold? We make installing beautiful wood floors easy and affordable. Our team is ready to help you get the floors you've always dreamed of. Visit our website today to learn more and get a free quote!
Wrapping Up Your Flooring Project
So, that's the rundown on getting new hardwood floors installed in your Dalton or Ringgold home. It's a big change, for sure, and can really make your place feel fresh for the new year. Think about it – walking on beautiful wood every day. It’s a solid investment that adds a lot of charm. If you're thinking about doing this, take your time picking out the right wood and finding a good installer. It makes all the difference in the final look and how long it lasts. Happy flooring!
Frequently Asked Questions
How do I pick the best wood for my new floors in Dalton or Ringgold?
Think about how you use each room. For busy areas like the living room, you'll want a tougher wood like oak or maple that can handle lots of foot traffic. If you want something a bit softer or with a unique look, consider woods like cherry or walnut, but be ready to take extra care of them. It's all about matching the wood's toughness to your lifestyle.
What's the difference between solid and engineered hardwood floors?
Solid hardwood is made from one single piece of wood all the way through. It's beautiful and can be sanded down many times if it gets scratched. Engineered hardwood is built in layers, with a thin top layer of real wood over a strong core. It's often more stable, meaning it won't warp as easily with changes in humidity, making it a great choice for basements or areas with more moisture.
How long does it usually take to install new hardwood floors?
The time it takes can change depending on the size of your home and the complexity of the job. Usually, installing new hardwood floors takes about 3 to 7 days. This includes time for preparing the room, laying the wood, and letting any finishes dry properly. Bigger projects might take a bit longer, but a good installer will give you a clear timeline.
Do I need to move all my furniture out before the installers arrive?
Yes, it's best to have the rooms completely cleared. This means moving out all furniture, rugs, and anything else that's on the floor. It gives the installation team plenty of space to work safely and efficiently. If you have large or heavy items, ask your installer if they offer moving services or if you need to arrange for help.
How do I keep my new hardwood floors looking great?
To keep your floors looking new, sweep or vacuum them regularly to get rid of dirt and grit that can scratch the wood. Clean up spills right away with a damp cloth. Avoid using too much water or harsh cleaning chemicals. Using rugs in high-traffic areas and furniture pads under chair legs can also help prevent scratches.
What should I look for when hiring someone to install my floors?
Look for a company or contractor with plenty of experience specifically in hardwood floor installation. Check if they are licensed and insured – this protects you. It's also smart to read reviews from past customers in the Dalton and Ringgold areas and ask for references. Getting a detailed written estimate that clearly lists all costs is super important too.