How to Fix Gaps and Creaks in Wood Floors During Cold Weather
So, the cold weather hits, and suddenly your nice wood floors start making all sorts of noises. Gaps appear, and you hear those annoying creaks. It's a common problem, mostly because wood does its own thing with changes in temperature and humidity. Don't worry, though. Most of the time, you can fix these issues yourself without too much fuss. We'll go over why it happens and what you can do about it, whether it's a small gap or a bigger issue. And if you're in the Chattanooga area and need a hand with those hardwood floor gaps, we'll touch on that too.
Key Takeaways
- Wood floors shrink in dry, cold air, leading to gaps and sometimes creaks.
- Small gaps can often be fixed with wood filler or caulk, especially if they're seasonal.
- Larger gaps might need methods like suction cups or floor jacks to pull boards together.
- Keeping your home's humidity steady is the best way to prevent these problems.
- If you're struggling to fix hardwood floor gaps in Chattanooga, it might be time to call a pro.
Understanding Wood Floor Behavior in Cold Weather
You know how sometimes in the winter, your wood floors seem to develop little gaps between the planks? Or maybe you hear a random creak when you walk across the room? It's not magic, and it's usually not a sign of a major problem. It's just wood doing what wood does, especially when the temperature drops and the air gets drier.
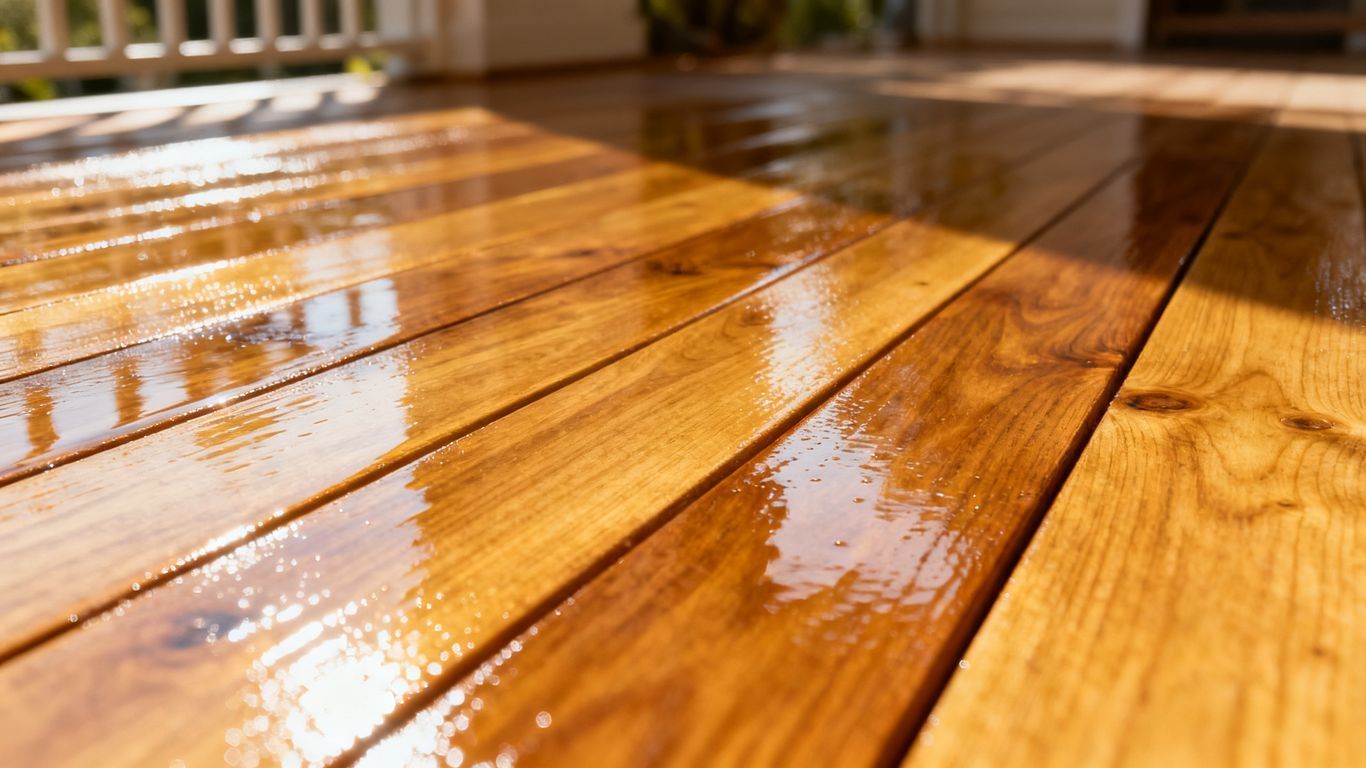
Why Wood Floors Shrink and Expand
Wood is a natural material, and like most natural things, it reacts to its environment. The main culprit here is moisture. When the air inside your home gets dry – which often happens in winter because heating systems pull moisture out of the air – the wood in your floors loses some of its own moisture. As it dries out, it shrinks. Think of it like a sponge drying out; it gets smaller. This shrinking is what causes those gaps to appear between your floorboards. Then, when the humidity goes back up, the wood absorbs moisture and expands again. It's a constant cycle, especially noticeable during the colder months.
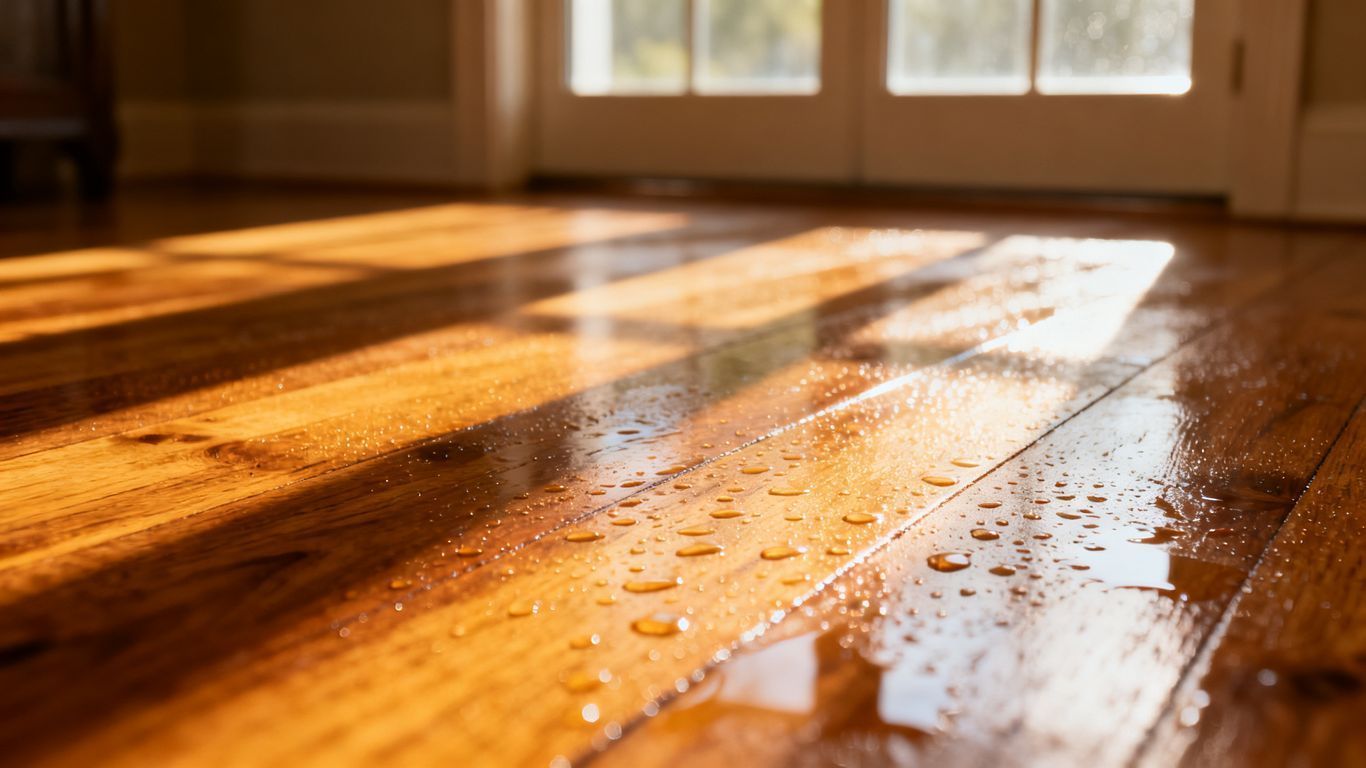
The Role of Humidity in Floor Gaps
Humidity is basically the amount of water vapor in the air. In the summer, the air is usually more humid, and your floors will likely be expanded, with fewer or no visible gaps. But come winter, especially if you live in a dry climate or run your heating system a lot, the indoor humidity can drop significantly. We're talking maybe 20-30% relative humidity, sometimes even less. Wood floors typically perform best when the humidity is between 35% and 55%. When it dips below that, the wood starts to dry out and contract.
- Low Humidity: Heating systems dry out the air.
- Wood Contraction: Dry wood shrinks, pulling away from itself.
- Gap Formation: This shrinkage creates visible spaces between planks.
Identifying the Source of Creaks
Creaks are a bit different but often related to the same shrinking and expanding. When the wood planks shrink, they can pull away from the subfloor or from each other. As you walk on the floor, these slightly loose boards rub against nails, staples, or even the subfloor itself. This friction creates that annoying creaking sound. Sometimes, a board might be rubbing against another board that's also shrunk. It's usually just a sound of movement, but it can be a hint that things are a bit loose.
It's important to remember that wood is a living material, even after it's been milled into flooring. It breathes, in a way, by absorbing and releasing moisture. This natural characteristic is why seasonal changes can affect its size and shape, leading to common issues like gaps and creaks. Understanding this basic behavior is the first step to fixing them.
So, those gaps and creaks aren't usually a sign that your floor is falling apart. They're more like the floor's way of telling you it's cold and dry inside. Knowing this helps us figure out the best way to deal with them.
Simple Solutions for Minor Gaps
When the cold weather hits, you might notice some small gaps appearing between your wood floorboards. Don't panic! These are often just a sign that the wood is reacting to the drier air. Usually, these minor gaps can be fixed with a few simple DIY tricks. It's all about understanding how wood moves and using the right materials to fill those spaces.
Using Wood Filler for Small Gaps
For those tiny slivers of space that show up, wood filler is your best friend. It's pretty straightforward to use. You'll want to pick a filler that matches your floor's color as closely as possible. If you can't find an exact match, it's often better to go a shade lighter, as wood filler can sometimes dry darker than it appears in the can.
Here’s a basic rundown:
- Clean the Gap: Make sure the gap is free of dust and debris. A vacuum cleaner with a crevice tool works well.
- Apply the Filler: Use a putty knife to press the wood filler firmly into the gap. Overfill it slightly, as it might shrink a bit when it dries.
- Smooth and Scrape: Once the filler is mostly dry (check the product instructions), use a clean putty knife or a damp cloth to scrape away any excess, making it flush with the floor.
- Let it Cure: Allow the filler to dry completely according to the manufacturer's directions before walking on it or applying any finish.
Applying Caulk for Seasonal Gaps
Sometimes, the gaps are more like temporary openings that appear and disappear with the seasons. For these, a flexible caulk designed for wood can be a good option. It allows for some movement, which is helpful since wood naturally expands and contracts. Look for a paintable caulk if you plan to paint or stain over it later. This method is great for filling those seasonal gaps that might reappear year after year.
When choosing a caulk, make sure it's specifically made for wood or flooring applications. Standard bathroom caulk might not adhere well or could crack over time. You want something that can handle the natural flex of the wood without becoming brittle.
Color Matching Your Filler
Getting the color right is key to making the repair look natural. Most wood fillers come in a few standard wood tones, but you can also find ones that are stainable. This means you can mix different colors or stain the dried filler to perfectly match your floor. It takes a little patience, but the result is worth it. You can find helpful tips on repairing wood floor gaps if you need more ideas.
If your gaps are a bit wider or you're dealing with boards that have pulled apart significantly, you might need to look at more involved methods. But for those small, annoying cracks that pop up in winter, these simple solutions should do the trick.
Addressing Larger Gaps and Persistent Creaks
So, you've got gaps that are more than just a little bit noticeable, and those creaks are starting to sound like a haunted house soundtrack. Don't worry, we've got a few tricks up our sleeve for these tougher situations. It's time to get a bit more hands-on with your floor.
The Suction Cup Method for Pulling Boards Together
This is a pretty neat trick for when your floorboards have pulled away slightly, creating a gap. You'll need a good quality suction cup, the kind you might use for lifting glass or tile.
- Clean the area: Make sure the floorboards around the gap are clean and free of dust or debris. This helps the suction cup get a good grip.
- Attach the suction cup: Firmly press the suction cup onto the edge of the board you want to move, right near the gap.
- Pull gently: Slowly and steadily pull the suction cup towards the other board. The goal is to gently coax the boards closer together. You might need to reposition the cup a few times.
- Secure if needed: Once the boards are closer, you might need to temporarily secure them while the wood settles or while you apply a filler. Sometimes, just getting them closer is enough to reduce the gap.
This method works best for gaps that aren't too wide and where the boards are still relatively flexible.
Using a Floor Jack for Wider Gaps
For those wider, more stubborn gaps, a floor jack might be your best friend. This tool is designed to apply more force than a simple suction cup. It's a bit more involved, so read up on how to use yours safely.
- Safety First: Always wear safety glasses and gloves. These tools can exert a lot of pressure.
- Positioning is Key: You'll typically place one end of the jack against a solid structural element (like a joist or a wall stud) and the other end against the floorboard you want to move.
- Gradual Pressure: Slowly increase the pressure. You're not trying to force the wood, but rather encourage it to move back into place. Listen to the wood; if it sounds like it's about to crack, ease up.
- Check for Stability: Once the gap is reduced, you might need to add shims or a temporary brace to keep the boards in place while you work on a more permanent fix.
Working with floor jacks requires a bit of know-how. If you're not comfortable with the amount of force involved or the potential for damaging your floor, it's probably time to consider getting some help. These tools can be powerful, and a mistake can lead to more costly repairs down the line.
Sanding and Refinishing for a Seamless Look
After you've managed to close up those gaps, you might notice that the wood in the repaired area doesn't quite match the rest of your floor. This is where sanding and refinishing come in.
- Assess the Area: Look at the repaired section. Is the color off? Is the texture different?
- Light Sanding: Start with a fine-grit sandpaper. You're not trying to remove a lot of wood, just to lightly scuff the surface so it's ready to accept stain or finish.
- Stain Matching: If your floor is stained, this is the tricky part. You'll need to find a stain that closely matches your existing color. It's often best to test stains on a scrap piece of wood first.
- Apply Finish: Once you're happy with the color, apply a protective finish (like polyurethane) that matches the sheen of your existing floor. You might need multiple coats.
This step is all about making the repair blend in. It takes patience, but the result is a floor that looks like the gaps were never there.
Preventative Measures to Avoid Future Issues
Cold weather can really do a number on your wood floors, making them shrink and leading to those annoying gaps and creaks. But don't worry, there are things you can do to keep your floors looking and sounding their best, even when the temperature drops.
Maintaining Optimal Indoor Humidity Levels
This is probably the biggest one. Wood is a natural material, and it reacts to the moisture in the air. When the air gets dry in the winter because of heating systems, the wood in your floors loses moisture and shrinks. This shrinkage is what causes those gaps to appear between the boards.
- Controlling humidity is key to preventing wood floor movement.
- Use a hygrometer to measure your home's humidity. Aim for a level between 35% and 55%.
- A humidifier can add moisture back into the air during dry winter months. Portable ones work well for single rooms, or you can get a whole-house system installed.
- Be careful not to over-humidify, as too much moisture can cause wood to swell, leading to different problems.
Keeping your home's humidity steady is like giving your wood floors a consistent environment to live in. It stops them from going through those drastic shrink-and-swell cycles that cause damage.
Proper Floor Maintenance and Cleaning
How you care for your floors day-to-day also plays a role. Regular cleaning helps prevent dirt and grit from getting ground into the wood, which can scratch the finish and make the wood more susceptible to moisture damage.
- Sweep or vacuum your floors regularly to remove loose debris. Use a vacuum with a soft brush attachment to avoid scratching.
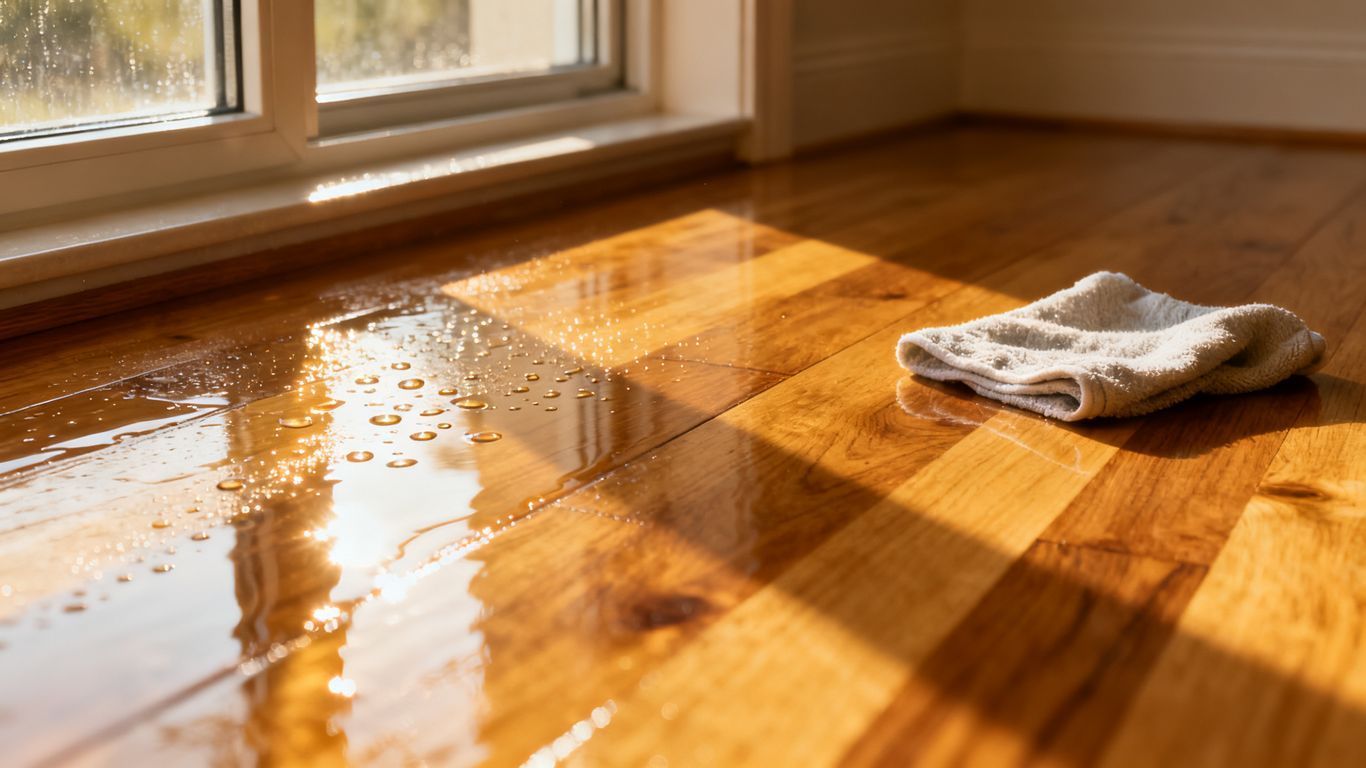
- Clean up spills immediately. Water left sitting on wood can cause staining and warping.
- Use cleaning products specifically designed for hardwood floors. Avoid harsh chemicals or excessive water.
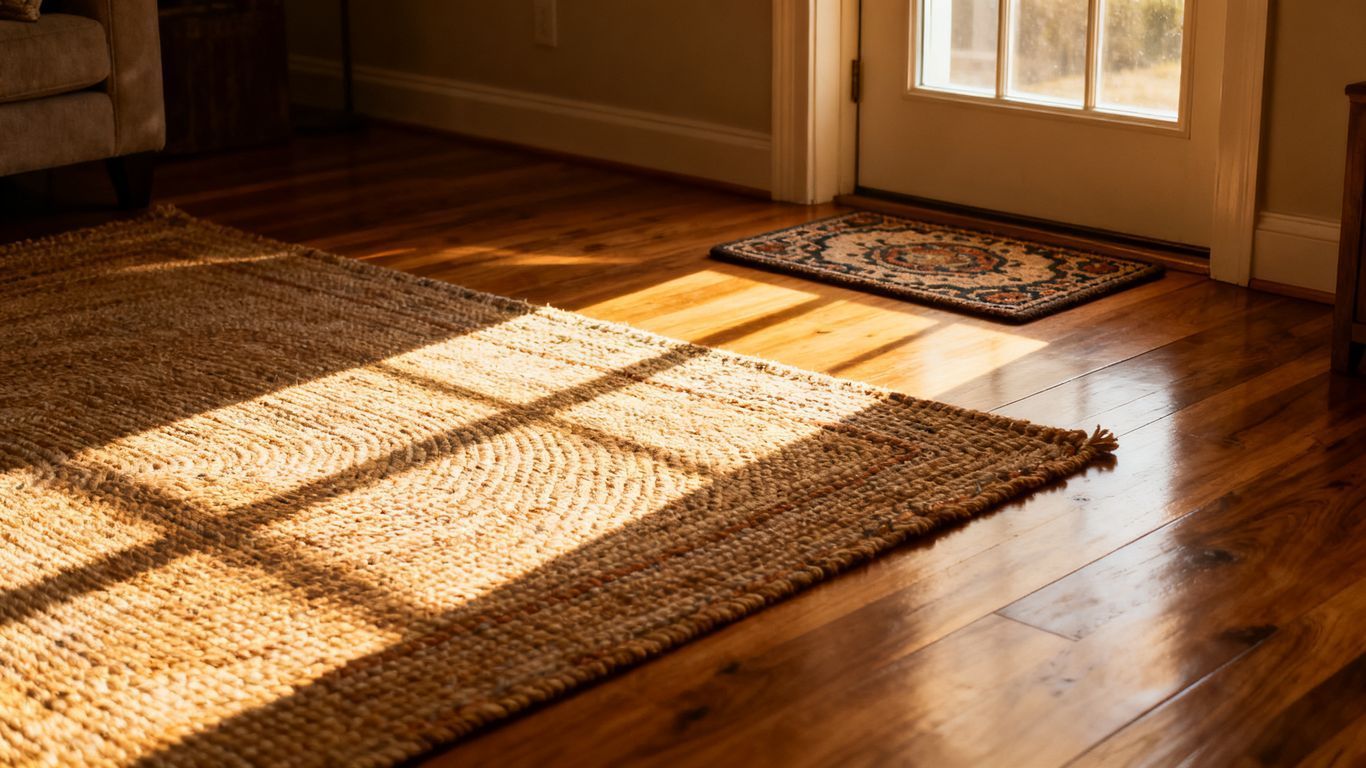
- Consider using area rugs in high-traffic areas to protect the wood from wear and tear.
Considering Professional Installation for Stability
Sometimes, the issues you're experiencing might stem from how the floor was originally installed. If your floors weren't installed with proper expansion gaps or if the subfloor isn't stable, you're more likely to have problems down the line.
- When installing new floors, make sure the installer leaves adequate space around the perimeter of the room for the wood to expand and contract naturally.
- A stable subfloor is critical. If your subfloor is loose or uneven, it can contribute to creaking sounds.
- Discuss your climate with your installer. They can advise on the best wood types and installation methods for your area.
Taking these steps can really help keep your wood floors looking great and sounding quiet, no matter what the weather's doing outside.
When to Call a Professional for Your Floors
Sometimes, the DIY fixes just don't cut it, and that's okay. Wood floors can be tricky, and when things get complicated, it's smart to know when to hand it over to someone who does this for a living. Don't hesitate to call in the pros if your floor issues are beyond simple fixes.
Signs You Need Expert Assistance
It's easy to get excited about fixing things yourself, but some problems are a clear signal that you need more than just a tube of filler. Look out for these signs:
- Widespread Gapping: If you've got gaps appearing across a large section of your floor, not just in one or two spots, it might point to a bigger issue with the subfloor or the overall installation.
- Persistent Creaking: While a little creak now and then is normal, if your floor sounds like a haunted house with every step, it could mean boards are rubbing against each other or even the subfloor in a way that needs careful attention.
- Cupping or Crowning: If your floorboards are starting to look like little canoes (cupping) or have a hump in the middle (crowning), this is a sign of serious moisture problems or improper acclimation that a pro can diagnose and fix.
- Visible Damage: Deep scratches, gouges, or splintering that go beyond surface-level wear are often best handled by someone with the right tools and techniques.
Finding Local Experts to Fix Hardwood Floor Gaps Chattanooga
If you're in the Chattanooga area and need help, look for flooring specialists who specifically mention hardwood floor repair or restoration. A quick online search for "hardwood floor repair Chattanooga" or "flooring contractors Chattanooga" should give you a good starting point. Check reviews and ask for recommendations from friends or neighbors who have had similar work done. It's always a good idea to get a few quotes before settling on a professional.
Cost Considerations for Professional Repairs
Getting a professional to fix your floors will definitely cost more than a DIY approach, but it often saves you time, frustration, and potentially more expensive repairs down the line. The cost can vary a lot depending on the extent of the damage, the type of wood, and your location. For simple gap filling or minor creak fixes, you might be looking at a few hundred dollars. For more involved work, like fixing warped boards or refinishing a large area, the price can go up significantly. Always get a detailed written estimate that breaks down the labor and materials before agreeing to any work.
Sometimes, the most economical choice in the long run is to hire someone who knows what they're doing. Trying to fix a complex floor problem without the right knowledge or tools can sometimes make the issue worse, leading to even higher repair bills later on. It's about weighing the upfront cost against the potential for a lasting, quality fix.
Is your floor looking a little rough? Maybe there are scratches, dents, or even some loose boards. Sometimes, these issues are small enough to fix yourself, but other times, they can become bigger problems if not handled correctly. If you're unsure about what to do or if the damage seems serious, it's best to get expert advice. Don't let minor floor troubles turn into major headaches. Visit our website today to learn more about when to call in the pros and how we can help restore your floors to their former glory!
Wrapping It Up
So, those creaks and gaps in your wood floors don't have to be a constant reminder of the cold. We've gone over a few ways to tackle them, from simple fixes you can do yourself to knowing when it's time to call in someone who really knows their stuff. Usually, a little humidity adjustment or a quick fix with some wood filler can make a big difference. Don't let those noises get to you all winter. Give these tips a try, and hopefully, you'll have quieter floors until spring rolls around. If things are still bad, though, it might be worth getting a pro to take a look. Sometimes that's just the easiest way to get it sorted.
Frequently Asked Questions
Why do my wood floors make noise when it's cold out?
Wood is a natural material that reacts to changes in the air. When the weather gets cold and dry, the wood in your floors loses moisture. This causes it to shrink, which can create small spaces between the boards. As you walk on these shrunken boards, they rub against each other or the subfloor, making those annoying creaking sounds.
Can I fix the gaps in my floor myself?
For small gaps, you can often fix them yourself! Using a product like wood filler or even a special caulk designed for floors can help close up tiny spaces. Make sure to pick a color that matches your floor so it blends in nicely. It's a good way to make your floor look whole again without needing a pro.
What's the deal with humidity and my floors?
Humidity is basically the amount of water vapor in the air. When the air is very dry, like it often is in winter when heating systems are running, your wood floors dry out and shrink. If the air is too damp, the wood soaks up moisture and can swell. Keeping the humidity just right is key to preventing your floors from moving too much.
How can I stop my floors from creaking in the first place?
The best way to prevent creaks is to control the moisture in your home. Using a humidifier during dry winter months can add moisture back into the air, helping your wood floors stay stable. Also, try to keep your floors clean and dry, and avoid dragging heavy furniture across them, which can cause stress.
When should I worry about the gaps and creaks?
If the gaps are getting really wide, or the creaking is constant and loud, it might be time to get some help. Also, if you notice boards are lifting up or feel loose, that's a sign something more serious might be going on. Small issues are often DIY, but bigger problems usually need an expert's touch.
Is it expensive to have a professional fix my floors?
The cost can vary a lot depending on how big the problem is and who you hire. Simple fixes like filling small gaps might not cost much at all. However, if you need major work done, like fixing wide gaps or dealing with widespread creaking, it can cost more. Getting a few quotes from local flooring experts can give you a better idea of the price.