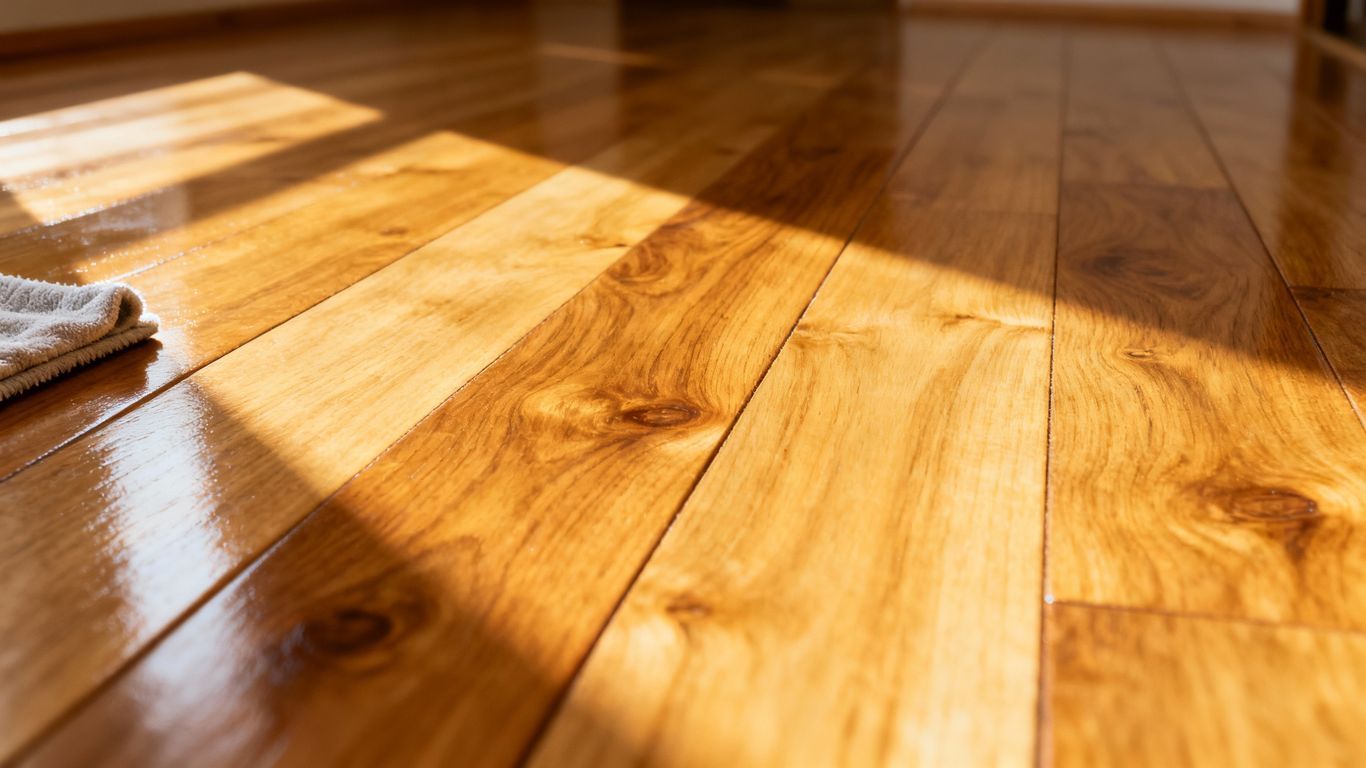
How Homeowners in Ringgold & Fort Oglethorpe Can Prepare for Flooring Installation Day

Getting new floors installed is exciting, but the day itself can feel a bit chaotic if you're not ready. Whether you're looking at beautiful Ringgold hardwood flooring or another type, a little preparation goes a long way. This guide will help you get your home set up for a smooth installation day, making the process easier for both you and your installers.

Key Takeaways

  • Clear your space: Move furniture and personal items away from the installation area.
  • Protect your home: Cover or remove anything you don't want scratched or dirty.
  • Talk to your installer: Confirm the plan and discuss any subfloor issues.
  • Control the environment: Make sure the room temperature and humidity are right for your new floors.
  • Plan for the day: Think about where pets and kids will be during the work.

Clearing The Way For Your New Floors

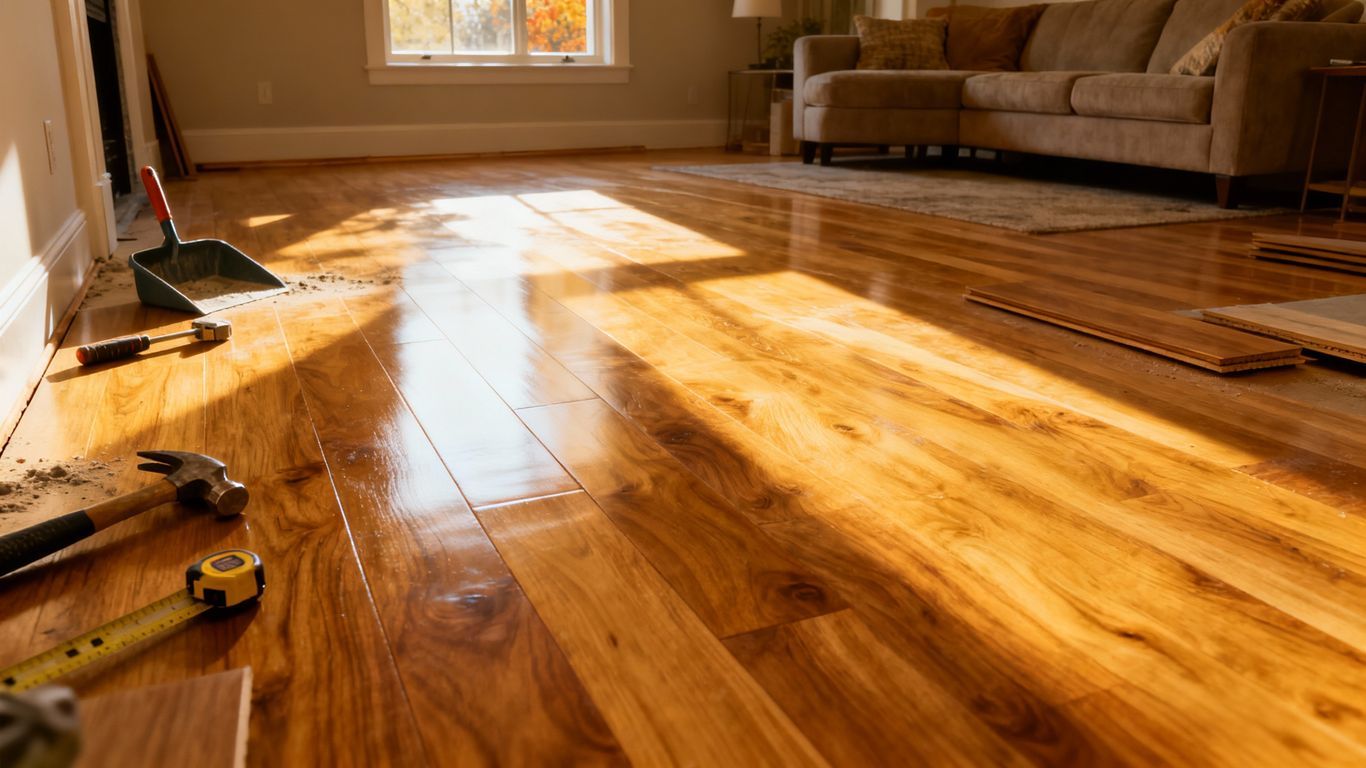
Getting ready for your new floors means clearing the stage so the installation crew can do their best work. It’s not just about moving furniture; it’s about making sure everything is out of the way and protected.

Relocating Furniture and Valuables

Before the installers arrive, you’ll need to move all furniture, rugs, and any decorative items from the rooms where the new flooring will be installed. Think about smaller items too – things like lamps, plants, and even knick-knacks on shelves. It’s a good idea to have a plan for where this stuff will go temporarily. Maybe a garage, a spare bedroom, or a friend’s place if you’re really tight on space. Don't leave anything heavy or delicate near the installation area. This includes electronics, artwork, and anything that could easily tip over. If you have large, heavy items like pianos or large entertainment centers, talk to your installer about whether they can move them or if you need to hire professional movers for those specific pieces. It’s better to be over-prepared than to have something damaged.

Protecting Existing Fixtures and Walls

Even though the crew will be careful, it’s smart to protect anything that won't be removed. This means covering or taping off baseboards, cabinets, and doorways. Sometimes, installers use a special tape that won't damage paint, but it’s always good to check with them beforehand. You might also want to put down drop cloths or plastic sheeting in hallways or other areas the crew will be walking through to protect your existing surfaces from dust and foot traffic. Think about any built-in features like fireplaces or kitchen islands; these might need extra protection around the edges. For a smooth start, confirming installation details with your provider is a good step, especially regarding subfloor preparation, which is key for a lasting finish. You can find more about this at First Class Wood Floors.


Taking the time to clear and protect your space beforehand really makes a difference. It helps the installation go faster and reduces the risk of accidental damage to your belongings or home.

Understanding Your Ringgold Hardwood Flooring Project

Before the installers even show up, it’s a good idea to get on the same page about what’s happening with your new floors. This isn't just about picking out a pretty color; it's about making sure the whole process goes smoothly from start to finish.

Confirming Installation Details

It might seem obvious, but double-checking all the little things can save a lot of headaches later. Make sure you and the flooring company are clear on:

  • The exact type and quantity of flooring being installed.
  • The agreed-upon start date and estimated completion time.
  • Any specific patterns or layouts you discussed.
  • Who is responsible for moving heavy furniture (usually you, but confirm!).

It’s always best to have these details confirmed in writing. This way, there’s no confusion about what you’re getting and when.

Discussing Subfloor Preparation

The surface underneath your new hardwood is super important. If the subfloor isn't ready, your beautiful new floors could end up with problems down the road. You’ll want to talk to your installer about:

  • Checking for flatness: Uneven subfloors can cause squeaks and gaps.
  • Moisture levels: Too much moisture can warp or damage hardwood.
  • Existing flooring removal: If you have old flooring, how will it be removed and what happens to it?
  • Repair needs: Are there any loose boards or damage that need fixing before the new floor goes down?
The condition of your subfloor really sets the stage for how well your new hardwood flooring will perform over time. A little attention here can prevent big issues later on.

Remember, your installer is the expert, so don't hesitate to ask questions. They can tell you if your subfloor needs any special treatment, like a leveling compound or a moisture barrier. For instance, if you're installing over concrete, proper acclimation is key, and that includes considering the subfloor's condition.

Preparing Your Home's Environment

Getting your home ready for flooring installation day is more than just moving furniture. It's about setting up the right environment so the new floors can settle in properly and the installation goes smoothly. Think of it like preparing a stage for a performance – you want everything just right.

Ensuring Proper Temperature and Humidity

Wood flooring, especially, needs time to adjust to your home's climate before it's installed. This process is called acclimation, and it helps prevent issues like warping or gapping later on. Your installer will likely tell you the specific temperature and humidity levels needed, but generally, you want to aim for a stable environment.

  • Maintain a consistent temperature between 60-80°F (15-27°C).
  • Keep humidity levels between 35-55%.
  • Avoid drastic temperature swings in the days leading up to and during installation.

If your home has trouble maintaining these conditions, consider using a dehumidifier or humidifier. It might seem like a small detail, but it makes a big difference for the longevity of your new floors.


Proper acclimation is key to happy hardwood. Don't skip this step!

Managing Pets and Children on Installation Day

Installation day can be a bit chaotic, with people coming and going and tools everywhere. For the safety of your little ones and furry friends, it’s best to have a plan.

  • Designate a safe zone away from the work area where pets and children can stay comfortably.
  • Consider boarding pets or having a friend or family member watch them for the day, especially if they get anxious around strangers or loud noises.
  • Keep children supervised and explain to them that the installation area is off-limits for their safety.

Having a clear plan for pets and kids will make the day less stressful for everyone, including the installation crew.

What To Expect During Installation

So, you've prepped your home, confirmed the details, and now it's installation day! It's natural to wonder what exactly goes down. The installation process itself is usually pretty straightforward, but it's good to know what to expect. Your flooring pros will arrive and get right to work, often starting with laying down protective coverings to keep your walls and existing structures safe. They'll then begin the actual installation of your new floors, working methodically across the room. You might hear saws and other tools, which is totally normal.

The Installation Process Overview

  • Room Preparation: This involves clearing the space, removing old flooring if necessary, and making sure the subfloor is ready.
  • Layout and Cutting: The installers will plan the layout of the planks or tiles and start cutting them to fit the room's dimensions, including around doorways and corners.
  • Installation: This is where the magic happens! Planks or tiles are laid down and secured according to the specific flooring type.
  • Finishing Touches: Once the main area is covered, they'll install baseboards or trim, clean up, and do a final inspection.

Addressing Potential Challenges

Sometimes, things don't go exactly as planned. Unexpected issues with the subfloor, like unevenness or moisture, can pop up. If this happens, your installers will discuss the best way to fix it, which might involve extra steps or materials. It's also possible that the amount of flooring ordered might need a slight adjustment, though this is rare if measurements were accurate.


It's always a good idea to have a small buffer of extra flooring material on hand for future repairs, just in case. This is something you can discuss with your installer from 1st Class Flooring before they start.

Remember, communication is key. If you have any questions or concerns during the day, don't hesitate to ask your installation team. They're there to make sure your new floors look fantastic!

Post-Installation Care and Maintenance

So, your beautiful new floors are finally in! That's fantastic. But the job isn't quite done yet. Taking care of your new floors right after installation is super important for making them look great for years to come. It’s not complicated, but there are a few things you’ll want to do.

Initial Cleaning and Protection

Once the installers are finished and have packed up, you'll want to give your new floors a gentle clean. Usually, a quick sweep or vacuum with a soft brush attachment is all that's needed to pick up any dust or small debris left behind. Avoid using any harsh cleaning chemicals or wet mops right away, as the flooring might still be settling, and you don't want to introduce too much moisture. It’s also a good idea to put down felt pads on the bottom of all furniture legs before you start moving things back. This stops scratches before they even have a chance to happen.

Long-Term Care for Ringgold Hardwood Flooring

Keeping your hardwood floors looking their best involves a few regular habits. Here’s a quick rundown:

  • Regular Cleaning: Sweep or vacuum your floors weekly to prevent grit from scratching the surface. Use a vacuum cleaner with a soft brush attachment, not one with a beater bar.
  • Spill Management: Wipe up spills immediately with a slightly damp cloth. Don't let liquids sit on the wood.
  • Protect from Sun: Direct sunlight can fade and damage wood over time. Use curtains or blinds to block harsh rays, especially during peak sun hours. You can check out some tips on home exteriors to help with this.
  • Entry Mats: Place mats both inside and outside entryways to catch dirt and moisture before it gets tracked onto your floors.
Remember, consistency is key. A little bit of regular care goes a long way in preserving the beauty and integrity of your new hardwood floors. Think of it as giving them a little spa treatment now and then.

For more detailed advice on maintaining your home's features, you can explore the Durante Home Exteriors blog.

Keeping your new floors looking great is simple! Regular sweeping and occasional damp mopping will keep them clean. For deeper cleaning, check out our recommended products. Want to learn more about keeping your floors in top shape? Visit our website for detailed tips and advice.

Ready for Your New Floors!

So, you've done your homework and prepped your home. That's a big step! Getting ready for flooring installation might seem like a lot, but taking these simple steps really makes a difference. Your installers will have an easier time, and you'll be one step closer to enjoying those beautiful new floors in your Ringgold or Fort Oglethorpe home. Just imagine how great it will look! Now, sit back, relax, and get ready for the transformation. It’s going to be worth it.

Frequently Asked Questions

What do I need to move before the installers arrive?

It's best to move all your furniture, rugs, and anything else that might get in the way. Also, take down any wall hangings or decorations near the installation area. This makes it easier for the installers to do their job and keeps your belongings safe.

What about the floor underneath the old flooring?

Your flooring company will likely tell you if any special prep is needed for your subfloor, like leveling or repairs. It's a good idea to confirm this with them beforehand to make sure everything is ready for your new floors.

Does the temperature and humidity in my house matter?

Yes, keeping your home at a steady temperature and humidity level is important. This helps new flooring adjust properly and prevents issues like shrinking or expanding later on. Check with your installer for the ideal conditions.

How should I handle my pets and kids on installation day?

On installation day, it's wise to keep pets in a separate, secure room. Also, make sure children are supervised and stay clear of the work area to avoid accidents and keep the installation running smoothly.

What actually happens during the installation?

The installers will start by removing your old flooring, if necessary, and preparing the subfloor. Then, they'll carefully lay down your new flooring, piece by piece. They'll also trim doors if needed and clean up the main mess.

What should I do right after the new floors are installed?

After installation, you'll want to avoid walking on the new floors for a bit, usually a few hours, and avoid heavy cleaning for a day or two. Follow your installer's specific advice for cleaning and upkeep to keep your floors looking great for years.
New LVP Flooring
By Rise Design July 31, 2025
See how LVP flooring Chattanooga transformed an office space with durability, style, and improved employee morale. Read our case study!
Flooring Contractor
By Rise Design July 31, 2025
10 essential questions for your flooring contractor in Chattanooga, TN or North GA. Focus on experience, licensing, and more.
Summer Flooring Mistakes
By Rise Design July 31, 2025
Protect your Dalton hardwood flooring this summer! Learn to avoid sun damage, humidity issues, and scratches for lasting beauty.
Tile Grout Maintenance
By Rise Design July 31, 2025
Summers in LaFayette and Summerville can get pretty sticky, and that humidity isn't just uncomfortable for us; it's tough on our homes too, especially our tile and grout . If you've noticed a bit of fuzz or some questionable spots appearing on your grout lines , you're not alone. Keeping things clean and protected is key to making sure your tiles look good and last a long time. Good tile maintenance in Georgia means tackling these humid-month challenges head-on. Let's talk about some simple ways to keep your tile looking its best, even when the air is thick with moisture. Key Takeaways Fight mold and mildew by cleaning regularly and making sure bathrooms and kitchens have good airflow. Protect your grout from water damage by sealing it and reapplying sealant when needed. Deal with grout stains using mild cleaners first, and call a pro if they won't budge. Wipe down tiles daily in humid weather and consider using a dehumidifier to cut down on moisture. Understand your grout type and fix small cracks fast to keep your tile looking good longer. Combatting Mold and Mildew Growth Humid summers in LaFayette and Summerville can feel great, but they also create a perfect breeding ground for mold and mildew on your tile grout. Keeping these fuzzy invaders at bay is key to maintaining a clean and healthy home. Regular Cleaning for Prevention Think of regular cleaning as your first line of defense. It’s not about deep scrubbing every day, but more about consistent upkeep. A quick sweep or vacuum to get rid of loose dirt and debris is a good start. Then, a damp mop with a mild cleaner can really make a difference. Doing this a couple of times a week can stop mold from even thinking about setting up shop. Utilizing Effective Cleaning Agents When you do need to tackle existing grime or potential mold spots, you have options. For everyday cleaning, a simple mix of water and a little dish soap works wonders. If you’re dealing with tougher spots or want to be extra cautious about mold, a solution of equal parts white vinegar and water is a good choice. It’s a natural disinfectant that’s pretty effective. Just be sure to test it on an inconspicuous area first. For really stubborn issues, you might look into specialized grout cleaners, but always follow the product instructions carefully. Remember, harsh chemicals aren't always the answer, and sometimes a gentler approach is better for your grout and your health. You can find some helpful tips on keeping drains clear, which is related to preventing moisture buildup natural drain cleaner. Ensuring Proper Ventilation This is a big one, especially in bathrooms and kitchens. Good airflow helps dry out surfaces and makes it harder for mold to grow. After showers, open a window or run the exhaust fan for at least 20-30 minutes. If you don't have an exhaust fan, or if it’s not very powerful, consider using a small portable fan to circulate air. Proper ventilation is like giving your grout a chance to breathe and dry out, which is exactly what it needs during these muggy months. It’s a simple step that pays off big time in preventing those unsightly and unhealthy mold patches. Making sure air can move freely around your tiled areas can significantly reduce the chances of mold and mildew taking hold. It’s a proactive step that complements your cleaning routine nicely. Protecting Your Grout from Moisture Humid summers in LaFayette and Summerville can really do a number on your tile grout. That constant moisture creates a perfect environment for mold and mildew, but it also wears down the grout itself. Protecting your grout from excess moisture is key to keeping your tiles looking good and preventing bigger problems down the line. The Importance of Grout Sealing Think of grout sealing like putting a raincoat on your grout. Unsealed grout is porous, meaning it can soak up water, spills, and all sorts of grime. This makes it a magnet for stains and, as we know, mold. Sealing fills in those tiny pores, making the grout more resistant to water penetration. It’s a simple step that makes a big difference in how long your grout lasts and how clean it stays. It’s really one of the best ways to keep your tile looking fresh, especially with all the humidity we get around here. You can find good sealing products at most home improvement stores. Reapplying Sealant Periodically Now, grout sealant isn't a one-and-done deal. Over time, especially with regular cleaning and exposure to moisture, the sealant wears away. You'll need to reapply it every so often to keep up that protection. How often depends on the type of sealant and how much traffic your tiled areas get, but a good rule of thumb is every 1-2 years. A simple test is to drop a little water on the grout; if it soaks in and darkens the grout, it’s time for a reapplication. It’s not a difficult job, and it really pays off. Choosing the Right Sealant for Georgia's Climate When you're picking out a sealant, consider what works best for our Georgia climate. There are different types, like water-based and solvent-based. Water-based sealants are generally easier to use and clean up, and they work well for most residential applications. Solvent-based ones might offer a bit more durability, but they can have stronger fumes. For our humid summers, you want something that offers good moisture resistance. Look for products specifically designed for tile and grout that mention breathability, as this helps prevent moisture from getting trapped underneath. It’s worth checking out different grout sealant options to see what fits your needs best. Addressing Stains and Discoloration Humid summers in LaFayette and Summerville can really do a number on your tile grout. You might start noticing some unwelcome spots or changes in color, and it’s not just about looks; it can sometimes mean something’s going on with the grout itself. Identifying Common Grout Stains So, what kind of gunk are we talking about? Usually, it’s mold and mildew that show up as black or greenish fuzzy patches, especially in bathrooms and kitchens where moisture hangs around. Then there's soap scum, which can leave a chalky, whitish film. Food spills, drinks like coffee or wine, and even dirt tracked in from outside can cause discoloration, turning your once-clean grout lines a dingy brown or yellow. It’s important to know what you’re dealing with before you start scrubbing. Gentle Stain Removal Techniques Don't just grab the harshest cleaner you can find. Often, a gentler approach works just fine. For everyday grime and light stains, a paste made from baking soda and water is surprisingly effective. Apply it to the grout, let it sit for about 10-15 minutes, then scrub gently with an old toothbrush or a grout brush. Rinse thoroughly. For tougher spots, a solution of equal parts white vinegar and water can work wonders, but be sure to test it on an inconspicuous area first, as vinegar is acidic. Baking Soda Paste: Mix baking soda with a little water to form a paste. Apply, let sit, scrub gently, and rinse. Vinegar Solution: Dilute white vinegar with water (1:1 ratio). Apply, scrub, and rinse. Always test first. Hydrogen Peroxide: For stubborn mold or mildew, a bit of hydrogen peroxide can help lift the stain. Apply directly, let it bubble, then scrub and rinse. Remember, consistent cleaning is your best defense against stains setting in. Addressing spills and moisture promptly makes a huge difference in keeping your grout looking good. When to Consider Professional Help If you’ve tried a few different methods and the stains just won’t budge, or if you notice the grout itself is crumbling or damaged, it might be time to call in the pros. Sometimes, deep-set stains or grout that’s past its prime needs more than a DIY fix. A professional tile cleaner has access to stronger, specialized products and equipment that can often restore grout that looks beyond saving. They can also assess if the grout needs to be re-grouted or sealed, which can prevent future staining issues. For serious problems, like those sometimes seen in new home construction where quality control might be an issue, seeking expert advice is a smart move. You can find local services specializing in tile and grout restoration. Maintaining Tile Surfaces in Humid Conditions Humid summers in LaFayette and Summerville can really do a number on your tile surfaces, especially the grout. It's not just about looks; moisture can lead to bigger problems down the road. So, keeping those tiles and grout lines in good shape during these muggy months is pretty important. Daily Wiping Down of Tiles Think of this as your first line of defense. After showers or cooking, just a quick wipe with a dry or slightly damp cloth can make a big difference. It removes surface moisture before it has a chance to really soak into the grout. This simple habit prevents a lot of potential issues. It’s like giving your tiles a little pat on the back to keep them happy and dry. Avoiding Harsh Scrubbing When you do need to clean, try not to go at it with super stiff brushes or abrasive cleaners. These can wear down the grout over time, making it more porous and, you guessed it, more likely to absorb moisture and stains. A softer brush or a microfiber cloth is usually plenty for everyday grime. You want to clean the tile, not strip away the grout's protection. The Role of Dehumidifiers If you've got a particularly damp bathroom or kitchen area, consider running a dehumidifier. These machines pull excess moisture right out of the air. Less moisture in the air means less moisture trying to find its way into your grout lines. It’s a really effective way to manage the overall humidity in your home, especially during those sticky summer days. It helps keep everything, including your grout, drier and happier. Long-Term Grout Durability So, you've got your tile looking great, but how do you keep it that way for years to come, especially with LaFayette's humid summers? It really comes down to a few key things. Understanding what you're working with is the first step. Understanding Grout Types Not all grout is created equal, you know? You've got your basic cementitious grout, which is pretty common but can be a bit porous if not sealed well. Then there's epoxy grout, which is way more durable and resistant to moisture and stains – a real plus in humid climates. Knowing which type you have makes a big difference in how you care for it. If you're not sure, a quick peek at your tile installation records or even a close look at the grout itself might give you clues. Epoxy grout often has a slightly plastic-like sheen, while cementitious grout can look more like fine sand. Repairing Minor Cracks Promptly Little cracks might not seem like a big deal, but they can turn into major headaches. Moisture can seep into those tiny openings, leading to bigger problems down the line, like mold growth or even damage to the tile itself. It’s best to tackle these small issues before they get out of hand. You can find grout repair kits at most hardware stores. It’s usually a pretty straightforward process: clean out the crack, mix a bit of grout or epoxy filler, apply it, and smooth it over. Don't let small problems become big ones. Investing in Quality Tile Maintenance Sometimes, it's worth spending a little extra upfront to save yourself trouble later. This could mean using high-quality sealants or even opting for more durable grout types during renovations. Think of it as a long-term investment in your home. Regular, proper care, like using the right cleaning agents and keeping things dry, is also part of this quality maintenance. It’s all about preventing damage and keeping your tile and grout looking good, which is why consistent cleaning practices are so important. Taking a proactive approach to grout care means fewer emergency repairs and a more beautiful home overall. It’s about working smarter, not harder, to keep your surfaces looking their best through all the seasons. When it comes to keeping your floors looking great for years, the grout is super important. It needs to be tough and last a long time. We know how to make sure your grout stays strong and looks good, no matter what. Want to learn more about making your floors last ? Visit our website today! Keeping Your Grout in Shape So, summer's here, and with it comes that sticky humidity we know all too well in LaFayette and Summerville. Keeping your tile grout looking good doesn't have to be a huge chore. A little regular cleaning and a good seal can make a big difference, especially when the weather gets damp. Don't let that moisture win. A quick wipe-down after spills and checking your sealant every so often will go a long way in preventing mold and keeping your tiles looking fresh. It’s really about staying ahead of it, rather than trying to fix a big problem later. Your floors will thank you. Frequently Asked Questions How can I stop mold from growing on my grout? To keep mold and mildew away, clean your grout often. Think of it like tidying up your room – the more you do it, the less mess builds up. Using a good cleaner that's made for grout can really help, and making sure air can move around your bathroom or kitchen is super important. Open windows or use a fan! Why is sealing my grout so important in humid weather? Yes, sealing your grout is a big deal, especially when it's humid. Sealant acts like a shield, stopping water and other yucky stuff from soaking into the grout. You'll need to put on a new coat every so often to keep that protection strong. Picking a sealant that works well in Georgia's weather is key. What are common grout stains and how do I clean them? Common grout stains come from things like soap scum, toothpaste, or food spills. To get rid of them, try a gentle cleaner first. Sometimes a soft brush can work wonders. If the stain is really stubborn, you might need a stronger cleaner, but always test it in a small spot first. If you can't get it out, calling a pro is a good idea. What's the best way to keep tiles clean when it's damp outside? Wiping down your tiles every day can make a huge difference. It removes moisture before it has a chance to seep into the grout. Try not to scrub too hard, as this can damage the grout over time. Using a dehumidifier in your home can also pull extra moisture out of the air, helping your grout stay drier. How does the type of grout affect its upkeep? Different types of grout have different strengths. Some are more likely to get stained or absorb moisture than others. Keeping an eye out for tiny cracks and fixing them right away stops bigger problems from starting. Putting a little money into good tile care now can save you a lot of trouble later. Do I really need to seal my grout, even if it looks okay? Yes, it's really important to keep your grout sealed. The sealant acts like a barrier, preventing water and dirt from getting into the porous grout material. Without it, your grout can easily get stained and even start to grow mold or mildew, especially in a humid climate like ours here in LaFayette and Summerville.
Durable Flooring for Pets
By Rise Design July 31, 2025
Find the best pet-friendly flooring for busy homes in Rossville & Chickamauga. Explore durable options like vinyl, tile, and more.
Signal Mountain hardwood flooring
By Rise Design July 31, 2025
Explore top flooring for bright homes in Lookout Mountain & Signal Mountain. Discover Signal Mountain hardwood flooring options.
Wood floors
By Rise Design July 31, 2025
Wood floors gapping in Georgia heat? Learn causes & fixes for summer wood floor gaps. Control humidity & maintain your floors.
A wooden floor next to a white carpet in a living room.
June 1, 2025
Is it time to refinish your hardwood floors? Learn the key signs, process, and benefits of hardwood floor refinishing in Ringgold, GA.
A red tool is sitting on a wooden floor in a room.
June 1, 2025
Discover the top hardwood flooring trends in Dalton homes for 2025. Explore colors, plank styles, finishes, and expert installation options.
Repairing broken pieces of wooden floor
June 1, 2025
Learn the cost, process, and common questions for hardwood floor repair in Fort Oglethorpe. Trusted repairs by 1st Class Flooring.